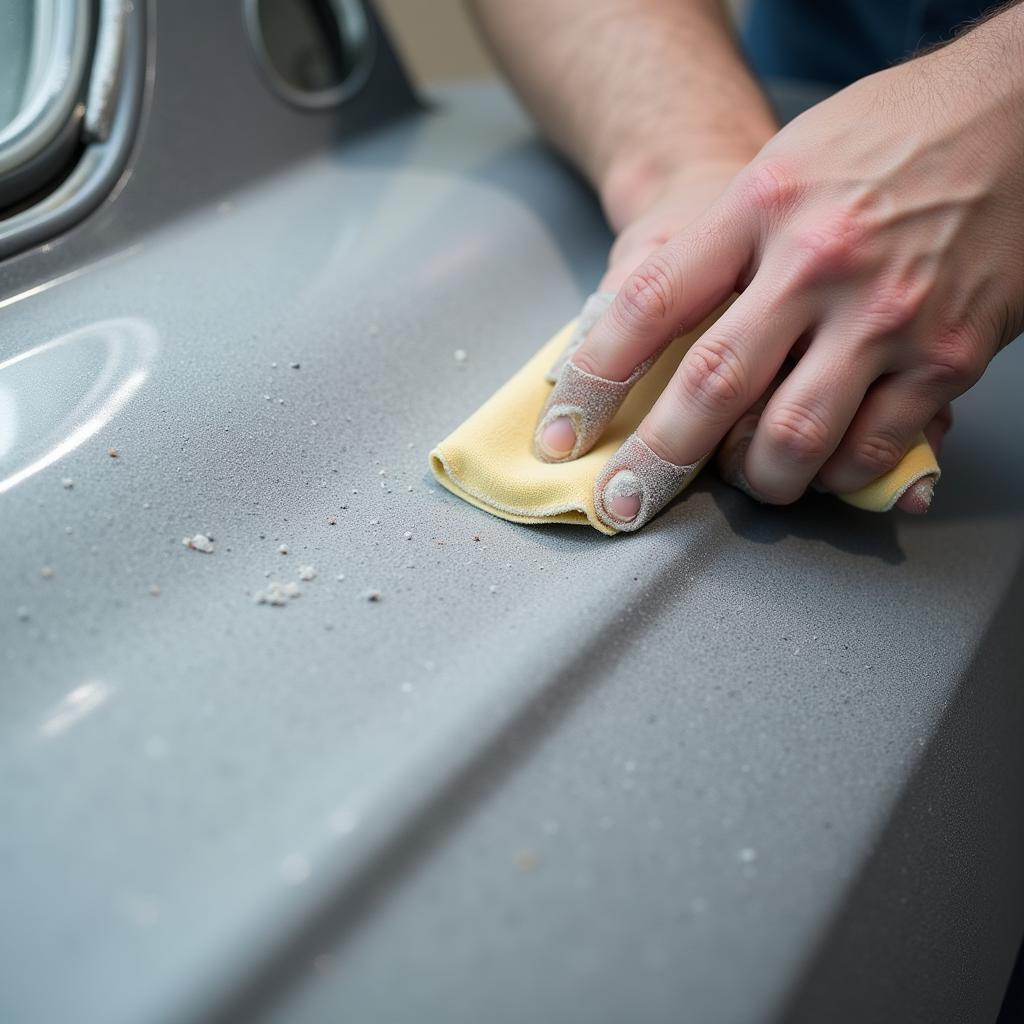
When it comes to car bodywork repair, the question of sanding primer often arises. Understanding the role of primer and the importance of sanding it correctly is crucial for a professional, long-lasting finish. Whether you’re patching a small dent or undertaking a larger restoration project, knowing when and how to sand primer will dramatically impact the final result.
 Sanding Car Primer After Bodywork Repair
The Importance of Primer in Car Bodywork Repair
Primer acts as an intermediary layer between the bare metal (or existing paint) and your topcoat. It provides a uniform surface, filling minor imperfections and promoting adhesion for the paint. For DIY repairs, understanding this is particularly important, as detailed in our guide on car body diy repairs. Without properly sanded primer, the paint might not adhere correctly, leading to peeling, cracking, or an uneven finish.
Types of Primer and When to Sand
Different primers have different sanding requirements. Some high-build primers are designed to be sanded to shape the bodywork, filling deeper imperfections. Others, like etching primers, promote adhesion and might require only a light sanding or none at all. Understanding the specific type of primer you are using is essential.
Why Sanding Primer is Essential
Sanding primer smooths the surface, removing any imperfections and creating a perfectly level base for the paint. It also helps to ensure the paint adheres evenly, preventing issues like orange peel or fish eyes.
How to Sand Primer Correctly
Start with a coarser grit sandpaper (e.g., 320-grit) to level out any major imperfections. Gradually move to finer grits (e.g., 400-grit, then 600-grit) for a smoother finish. Remember to use a sanding block for even pressure and avoid creating low spots. For mobile repairs, services like car body repairs at your home can be invaluable.
Do You Always Need to Sand Primer?
Not always. Some self-etching primers are designed to be painted over directly without sanding. However, even with these primers, a light scuffing with fine-grit sandpaper can improve paint adhesion. Always refer to the manufacturer’s instructions for your specific primer. If you’re filling a hole as part of your repair, check out our guide on car body repair filling a hole for detailed information.
When is Wet Sanding Recommended?
Wet sanding is often preferred for the final stages of primer sanding, especially when working with finer grits. It helps to prevent clogging and creates a smoother, more refined surface.
“Wet sanding is like the secret weapon for achieving a flawless paint job,” says renowned auto body expert, Michael Davis. “It minimizes scratches and creates a glass-like finish.”
Conclusion
Sanding primer is a vital step in car bodywork repair. It ensures a smooth, even surface for paint application, promoting adhesion and preventing imperfections. Understanding the type of primer and the correct sanding techniques are crucial for achieving a professional finish. Do I sand primer? In most cases, yes. The proper preparation will make all the difference in the final result. You can always search for local professionals like Brandon car body repairs and spray or car body repairs cockfosters if you need assistance.
FAQ
- What grit sandpaper should I use for primer? Start with 320-grit and move to finer grits like 400 and 600.
- Can I skip sanding primer? Some self-etching primers don’t require sanding, but a light scuff can improve adhesion.
- What is wet sanding? Sanding with water and fine-grit sandpaper for a smoother finish.
- Why is my primer flaking off? Possible causes include improper surface preparation, incompatible paint, or moisture.
- How long should I wait to paint after sanding primer? Follow the primer manufacturer’s instructions.
Need help with your car repair? Contact us on WhatsApp: +1(641)206-8880, or Email: [email protected]. Our customer service team is available 24/7.


