A car body work repair kit is essential for anyone looking to fix minor dents, scratches, and other cosmetic damage on their vehicle. Whether you’re a seasoned DIYer or a complete beginner, understanding the components of a kit and how to use them effectively can save you time and money. This guide will explore everything you need to know about car body work repair kits, from choosing the right one to mastering the techniques for a professional-looking finish.
Choosing the Right Car Body Work Repair Kit
Selecting the appropriate car body work repair kit depends on the type and extent of the damage you’re dealing with. Kits range from basic sets for minor scratches to comprehensive kits designed for more substantial repairs. Consider the following factors:
- Type of Damage: Is it a small scratch, a deep gouge, or a dent?
- Material of Your Car’s Body: Different kits work better on different materials (e.g., metal, fiberglass, plastic).
- Your Skill Level: Beginner kits often come with simpler tools and instructions.
- Budget: Prices vary significantly, so determine how much you’re willing to spend.
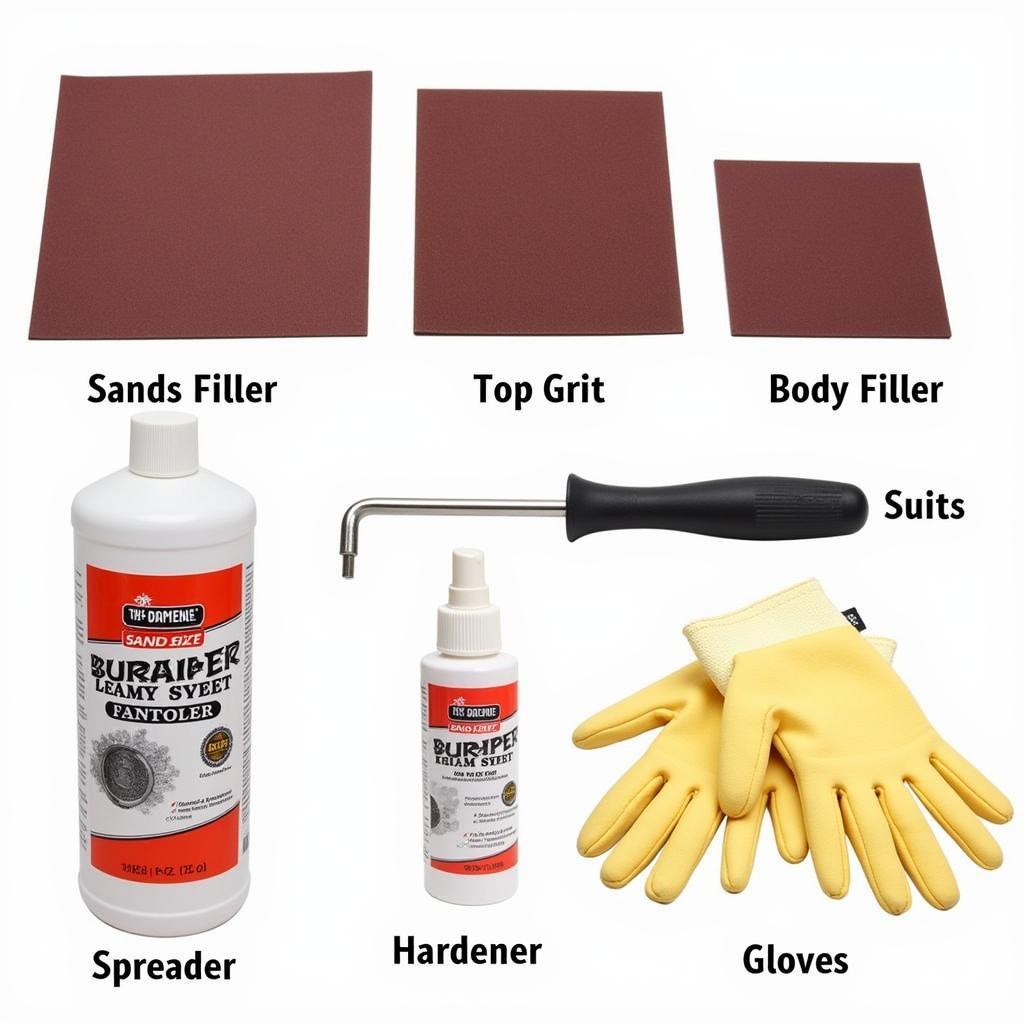
A basic kit typically includes sandpaper, body filler, a spreader, and hardener. More advanced kits might include glazing putty, polishing compounds, and even a mini paint sprayer. Don’t forget safety equipment like gloves and a respirator, especially when working with chemicals.
Understanding Car Body Filler and Its Application
Body filler, often referred to as “Bondo,” is a two-part resin used to fill dents and imperfections. Mixing the filler with the hardener initiates a chemical reaction that causes it to harden quickly. Here’s a step-by-step guide:
- Clean the Damaged Area: Thoroughly clean the area with soap and water, then degrease it with a wax and grease remover.
- Sand the Area: Use coarse sandpaper to roughen the surface around the dent, promoting adhesion of the filler.
- Mix the Filler and Hardener: Follow the manufacturer’s instructions carefully for the correct ratio. Mix thoroughly on a clean surface.
- Apply the Filler: Use a spreader to apply the filler to the dent, working quickly before it hardens. Apply thin coats, building up gradually.
- Sand and Shape: Once the filler has hardened, use sandpaper to smooth and shape the repaired area, blending it seamlessly with the surrounding bodywork.
Painting and Finishing Touches
After the bodywork is complete, it’s time for painting and finishing. For small repairs, you can use touch-up paint. Larger areas may require a spray gun or aerosol can.
- Primer: Applying primer before paint ensures better adhesion and color consistency.
- Paint: Choose the correct paint color and type for your car.
- Clear Coat: A clear coat protects the paint and adds shine.
- Polishing: Polishing removes minor imperfections and brings out the final shine.
Proper surface preparation is key to a professional-looking finish. Make sure the area is clean, dry, and free of dust before applying any paint or clear coat.
What to Look for in a High-Quality Car Body Work Repair Kit
Investing in a high-quality car body work repair kit ensures better results and can save you frustration in the long run. Look for kits with:
- Durable Spreaders: Metal or high-quality plastic spreaders are preferable.
- High-Quality Sandpaper: A variety of grits for different stages of repair.
- Reputable Brand of Filler: A well-known brand often indicates better quality.
- Comprehensive Instructions: Clear and detailed instructions are essential, especially for beginners.
Conclusion
A car body work repair kit can be a valuable tool for addressing minor cosmetic damage on your vehicle. By understanding the different components of a kit and following the proper techniques, you can achieve professional-looking results and save money on costly repairs. Remember to choose the right kit for your needs, follow the manufacturer’s instructions carefully, and prioritize safety throughout the process. Taking these steps will help ensure a successful repair and a beautiful finish.
FAQ
-
How long does car body filler take to dry? Typically, it takes around 15-30 minutes to harden enough for sanding.
-
Can I use car body filler on plastic bumpers? Yes, but you’ll need a special type of filler designed for plastic.
-
Do I need to prime before painting over body filler? Yes, primer is essential for adhesion and color consistency.
-
What grit sandpaper should I use for sanding body filler? Start with coarse grit (80-180) and progress to finer grits (320-400) for a smooth finish.
-
How can I prevent air bubbles in the body filler? Mix the filler and hardener thoroughly and apply thin coats.
-
Can I use a car body work repair kit on rust? Yes, but you need to remove all the rust first and treat the area with a rust converter.
-
What is glazing putty used for? Glazing putty is used to fill very small imperfections and pinholes before painting.
Situations with Frequently Asked Questions
-
Scratched Bumper: A car body repair kit can be used to fix scratches on plastic bumpers, restoring their appearance.
-
Minor Dent: Use the kit to fill the dent and smooth the surface, making it look as good as new.
-
Stone Chip Repair: Repair stone chips effectively with the kit to prevent further damage and maintain your car’s finish.
Further Exploration on CarRepairOnline
-
Check out our article on “Choosing the Right Automotive Paint” for more detailed information on paint selection and application.
-
Learn more about “DIY Car Maintenance Tips” for other cost-effective ways to keep your car in top condition.
Need Help?
For any assistance, contact us via WhatsApp: +1(641)206-8880, or Email: [email protected]. Our customer support team is available 24/7.


