Car body rust is a common problem that can significantly impact your vehicle’s appearance and structural integrity. While seeking professional help is recommended for extensive rust damage, minor rust spots can be tackled with DIY car body rust repair. This guide will equip you with the knowledge and steps to confidently address those pesky rust issues.
Understanding Rust and its Causes
Before diving into the repair process, it’s crucial to understand what causes rust. Rust, scientifically known as iron oxide, forms when iron or its alloys (like steel used in car bodies) are exposed to oxygen and moisture for a prolonged period. This electrochemical reaction eats away at the metal, causing it to weaken and flake off.
Several factors contribute to car rust, including:
- Exposure to elements: Frequent exposure to rain, snow, salty air (especially in coastal areas), and road salt accelerates the rusting process.
- Scratches and paint chips: These expose the bare metal underneath, making it vulnerable to rust.
- Poor drainage: Water accumulation in door jams, rocker panels, and other areas creates a breeding ground for rust.
- High humidity: Regions with high humidity provide ideal conditions for rust formation.
Evaluating the Damage: When is DIY Appropriate?
DIY car body rust repair is suitable for surface rust or rust that hasn’t significantly eaten into the metal. If you see rust that has created holes, significantly weakened the metal, or spread over a large area, it’s best to consult a professional. car body repairs reddish
Gathering Your DIY Car Body Rust Repair Arsenal
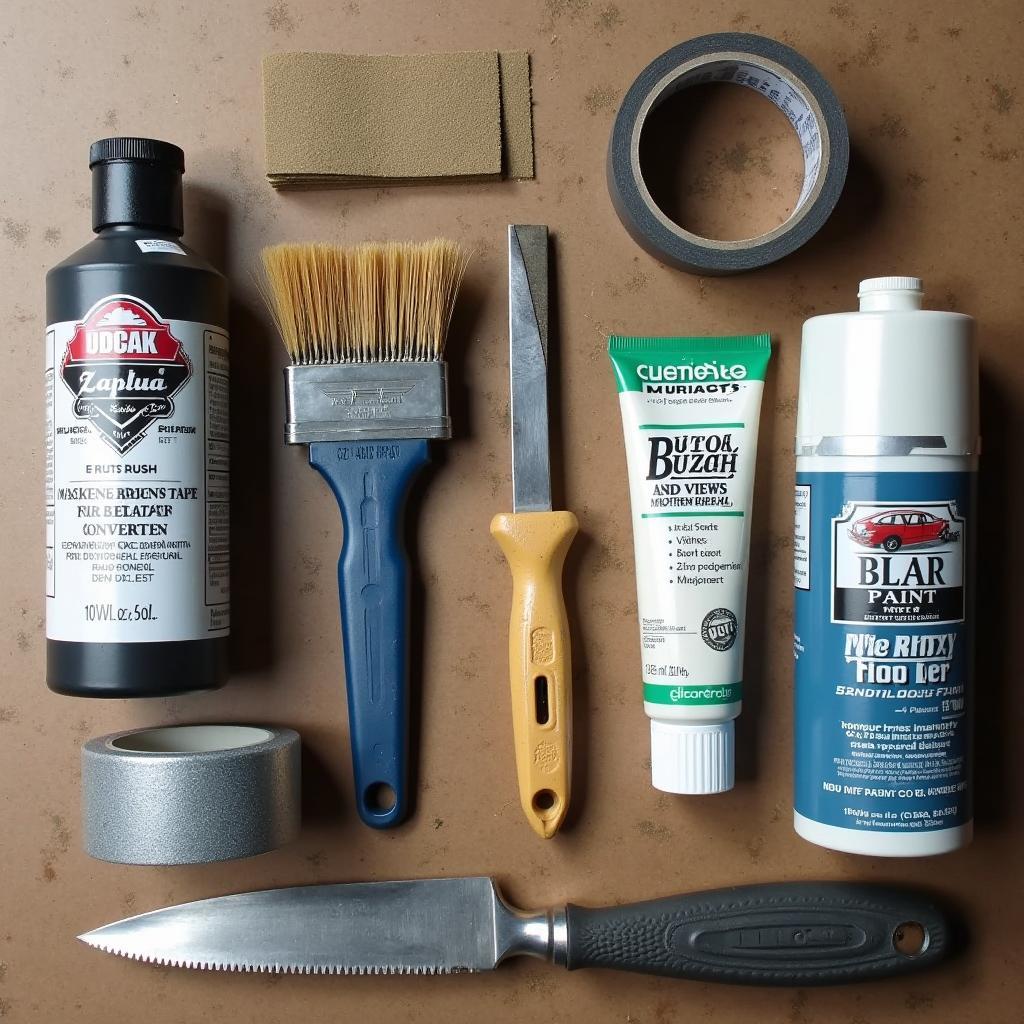
Having the right tools is crucial for effective rust repair. You will need:
- Safety gear: Gloves, safety glasses, and a mask to protect yourself from dust and chemicals.
- Cleaning supplies: Soap and water, wax and grease remover, and a clean cloth.
- Sandpaper: 80-grit, 120-grit, 220-grit, and 400-grit sandpaper for different stages of sanding.
- Wire brush or drill attachment: For removing loose rust and paint.
- Masking tape and paper: To protect surrounding areas from paint and primer overspray.
- Rust converter: To chemically convert rust into a paintable surface.
- Body filler: To fill in small imperfections and create a smooth surface.
- Primer: A specialized primer for bare metal to prevent future rust and ensure paint adhesion.
- Automotive paint: Choose a paint that matches your car’s color.
- Clear coat: To protect the paint and add shine.
Step-by-Step DIY Car Body Rust Repair
-
Preparation is Key: Begin by thoroughly washing the affected area with soap and water. Once dry, use a wax and grease remover to ensure a clean surface for the subsequent steps.
-
Rust Removal: Using your 80-grit sandpaper or a wire brush, remove all loose rust and flaking paint. For stubborn rust, a wire brush attachment for a drill can be helpful. Remember, the goal is to reach bare metal.
-
Sanding for Smoothness: Gradually move to finer grits of sandpaper (120-grit, 220-grit), feathering out the edges of the repaired area to ensure a smooth transition.
-
Rust Converter Application: Apply a rust converter to the bare metal, following the manufacturer’s instructions. This will chemically convert any remaining rust into a stable, paintable surface.
-
Applying Body Filler: If needed, apply body filler to fill in any depressions or imperfections, creating a level surface. Let the filler dry completely and sand it smooth using 220-grit and then 400-grit sandpaper.
-
Priming the Surface: Apply a thin, even coat of primer to the repaired area, extending slightly beyond the repaired area to ensure proper coverage. Allow the primer to dry completely.
-
Painting for Protection: Apply several thin coats of automotive paint that matches your car’s color. Allow each coat to dry before applying the next.
-
Sealing with Clear Coat: Once the paint is dry, apply a clear coat to protect the paint and provide a glossy finish.
-
Buffing for a Professional Finish: After the clear coat has cured, you can use a buffing compound and a polisher to achieve a smooth, professional-looking finish.
Tips for Successful DIY Car Body Rust Repair
- Patience is key: Don’t rush the process. Take your time with each step, especially sanding and painting, to achieve a quality finish.
- Work in a well-ventilated area: Wear a respirator or mask to avoid inhaling dust and fumes from primers, paints, and rust converters.
- Check the weather: Avoid working in direct sunlight or humid conditions as it can affect the drying and curing of primers and paints.
DIY vs. Professional Car Body Rust Repair
While DIY car body rust repair can be a cost-effective solution for minor rust issues, it’s essential to recognize when professional help is necessary. car body repairs mk Consider these factors:
- Extent of the Damage: Extensive rust, particularly rust that has eaten through the metal, requires specialized tools and expertise best handled by professionals.
- Safety Concerns: Working with welding equipment and certain chemicals involved in professional rust repair can be dangerous without proper training and safety measures.
- Time Commitment: DIY rust repair can be time-consuming, especially for larger areas. If you lack the time, professional help might be more efficient.
Conclusion
DIY car body rust repair can be a rewarding experience, allowing you to address minor rust issues and maintain your vehicle’s appearance and value. By understanding the causes of rust, gathering the right tools, and following the step-by-step guide, you can confidently tackle those rust spots. However, remember to assess the damage objectively and don’t hesitate to seek professional help if the rust is extensive or beyond your comfort level. For additional information on car body repairs and a comprehensive list of tools, visit our dedicated page on car body repair supplies. By staying proactive and addressing rust early on, you can keep your car looking its best for years to come.


