Car body repair sanders are essential tools for any auto body professional or DIY enthusiast. A quality sander can make the difference between a flawless finish and a botched job. This article will delve into the world of car body repair sanders, exploring the different types, their uses, and how to choose the right one for your needs. We’ll also cover essential techniques and safety tips to ensure you achieve professional results. Choosing the right car body repair sander is crucial for achieving a smooth, professional finish. Read on to discover everything you need to know.
After a collision, getting your car back to its pre-accident condition requires more than just replacing parts. It involves meticulous bodywork, and a key tool in this process is the car body repair sander. From rough shaping to fine finishing, the right sander can significantly impact the final result. Let’s explore the different types of sanders and their specific applications in car body repair. You might be interested in our guide on car body repair supplies.
Types of Car Body Repair Sanders
There are several types of sanders designed for specific tasks in car body repair. Understanding their differences is key to selecting the right tool for the job.
Electric Sanders
Electric sanders offer power and efficiency for larger areas and more demanding tasks. These include:
- Dual-Action (DA) Sanders: The most versatile type, ideal for both rough sanding and final polishing. Their random orbital motion minimizes swirl marks.
- Orbital Sanders: Similar to DA sanders, but with a slightly more aggressive sanding action. Suitable for removing paint and leveling body filler.
- Belt Sanders: Powerful tools for rapid material removal, best used for shaping and leveling large, flat surfaces. Requires careful control to avoid gouging.
Pneumatic Sanders
Pneumatic sanders offer greater control and precision, especially for detail work. These are powered by compressed air and include:
- Inline Sanders: Compact and lightweight, perfect for sanding tight curves and contours.
- Right Angle Sanders: Designed for reaching awkward spots and working in confined spaces.
Choosing the Right Sander for Your Needs
Selecting the right sander depends on the specific task and your skill level. Consider the following factors:
- Power: Higher wattage or air pressure indicates greater sanding power.
- Speed: Variable speed control allows for greater flexibility and precision.
- Orbit Size: Larger orbits are better for rapid material removal, while smaller orbits provide a finer finish.
- Ergonomics: A comfortable grip and balanced design reduce fatigue during extended use.
Need help choosing the right filler? Check out our guide on car body repair filler how to choose.
Techniques for Effective Car Body Repair Sanding
Proper sanding technique is essential for achieving a flawless finish. Here are some tips:
- Use the Right Grit: Start with coarser grits for shaping and gradually move to finer grits for polishing.
- Keep the Sander Moving: Avoid staying in one spot to prevent uneven sanding and swirl marks.
- Apply Even Pressure: Consistent pressure ensures a smooth and uniform surface.
- Use a Backing Pad: A backing pad provides even pressure distribution and helps prevent flat spots.
Safety Precautions
Safety should always be a priority when using car body repair sanders.
- Wear Eye Protection: Sanding generates dust and debris that can damage your eyes.
- Use a Dust Mask or Respirator: Protect your lungs from harmful dust particles.
- Wear Hearing Protection: Sanders can be noisy, especially when used for extended periods.
- Work in a Well-Ventilated Area: Ensure proper ventilation to minimize exposure to dust and fumes.
Thinking about hiring tools? Explore our car body repair tool hire options.
Conclusion
Car body repair sanders are indispensable tools for achieving a professional finish. By understanding the different types of sanders, their applications, and proper sanding techniques, you can achieve outstanding results. Remember to prioritize safety and choose the right sander for your specific needs to restore your car to its former glory. Consider checking out our resources for car body repair accessories in Yeovil Somerset.
FAQ
- What type of sander is best for removing rust from a car body?
- Can I use a car body repair sander on fiberglass?
- How often should I replace the sanding discs?
- What is the difference between wet and dry sanding?
- What grit sandpaper should I use for final polishing?
- How do I prevent swirl marks when sanding?
- What are the safety precautions for using a car body repair sander?
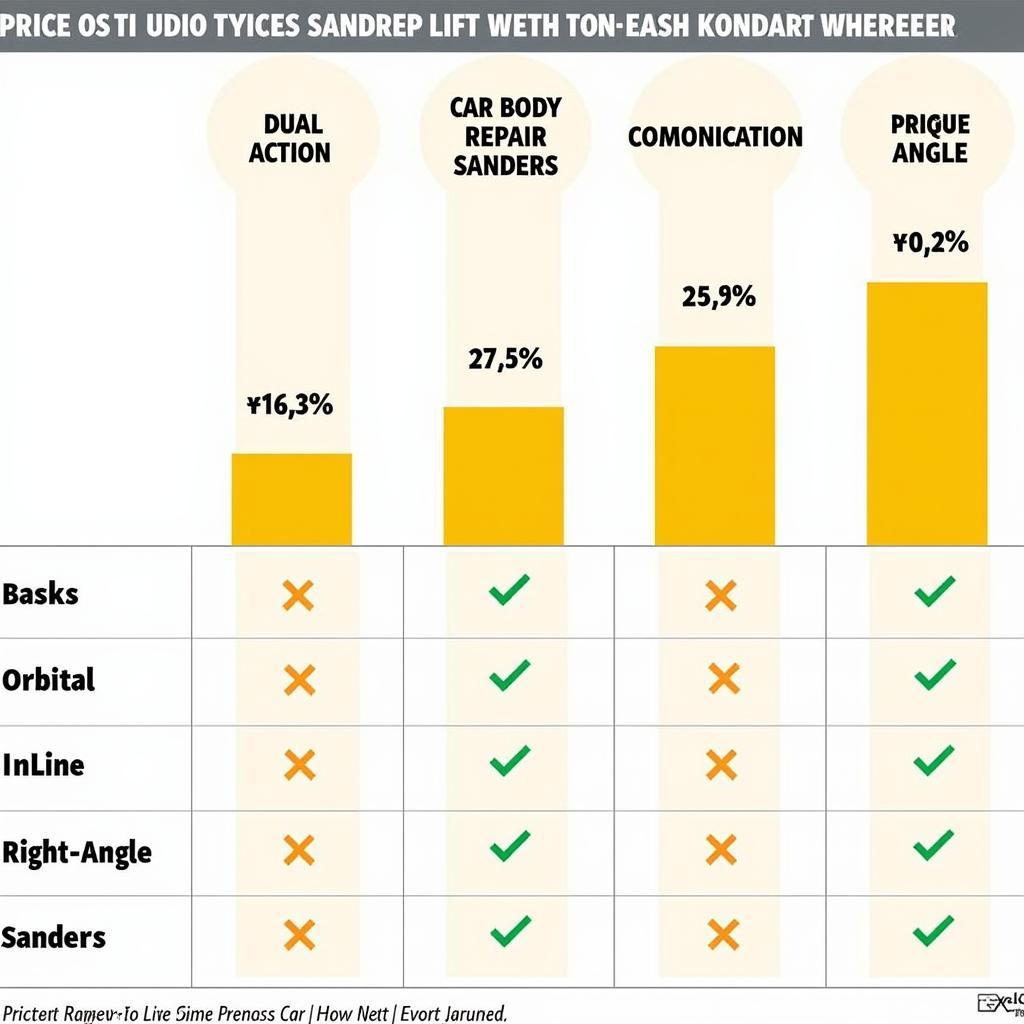
Car Body Repair Sander Price Guide
| Sander Type | Price Range |
|---|---|
| Dual-Action Sander | $50 – $200 |
| Orbital Sander | $40 – $150 |
| Belt Sander | $60 – $250 |
| Inline Sander | $70 – $180 |
| Right Angle Sander | $50 – $150 |
 Car Body Repair Sander Price Comparison
Common Car Body Repair Sander Scenarios
- Scenario 1: Removing old paint – An orbital sander is ideal for this task.
- Scenario 2: Smoothing body filler – A dual-action sander is the best choice.
- Scenario 3: Sanding in tight spaces – An inline or right-angle sander is recommended.
Further Resources
For additional information on car body repair tools, check out our article on car body repair tools on eBay.
Need help with car body repair? Contact us via WhatsApp: +1(641)206-8880 or Email: [email protected]. Our 24/7 customer service team is ready to assist you.


