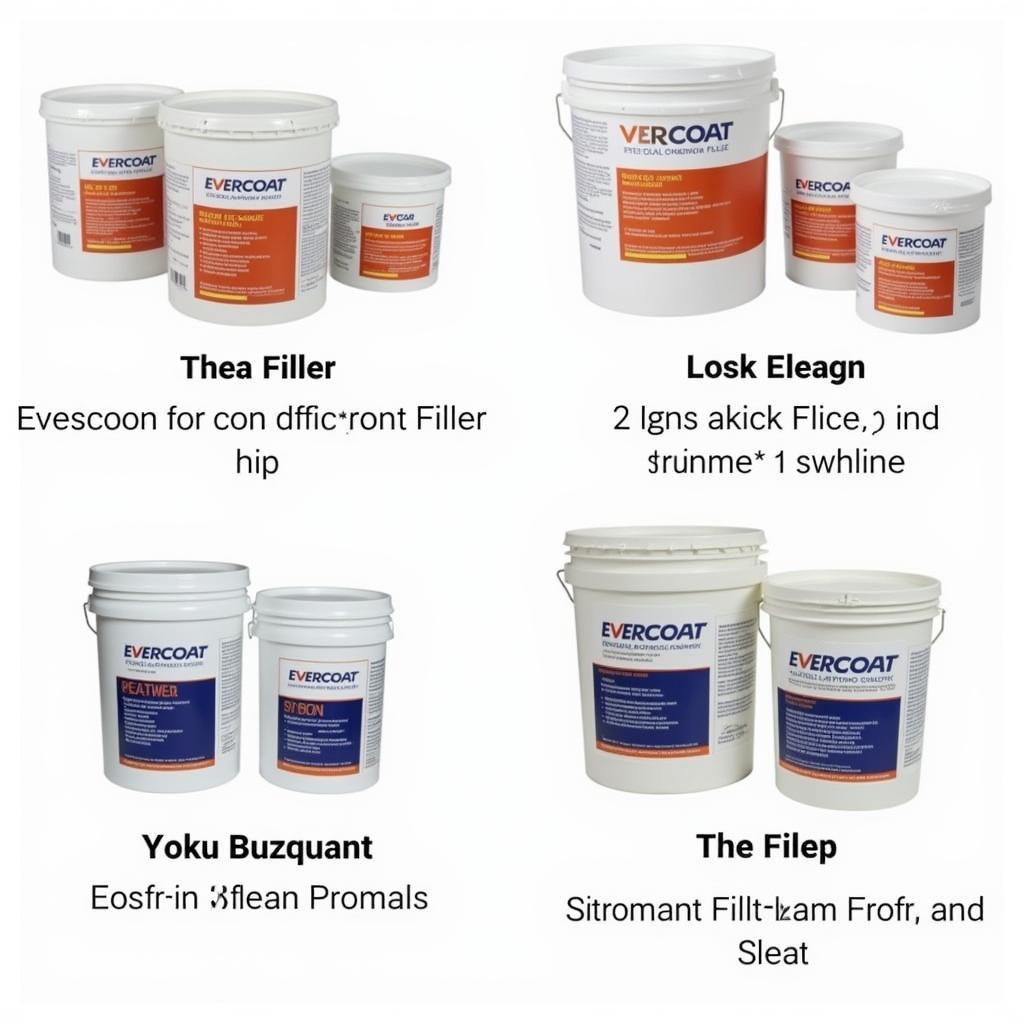
Car body repair filler Evercoat is a staple in auto body shops worldwide. It’s known for its quality and ease of use, making it a go-to choice for professionals and DIY enthusiasts alike. This guide will dive deep into the world of Evercoat fillers, covering everything from choosing the right product to achieving a flawless finish.
Understanding Car Body Repair Fillers and Evercoat
Car body fillers are used to repair dents, scratches, and other imperfections on a vehicle’s body. They provide a smooth, even surface for priming and painting, restoring the vehicle’s original appearance. Evercoat has established itself as a leading brand, offering a wide range of fillers designed for different applications and skill levels. Choosing the right filler depends on the type and extent of the damage, as well as the material of the car body.
Choosing the Right Evercoat Filler for Your Needs
Evercoat offers a variety of fillers, each with its unique properties. Some popular choices include:
- Rage Gold: A premium lightweight filler known for its easy sanding and excellent adhesion.
- Rage Ultra: A high-performance filler formulated for faster curing and superior feather-edging.
- Metal Glaze: A versatile filler ideal for smaller repairs and smoothing imperfections.
- Quantum1: A lightweight, fast-drying filler designed for quick repairs and minimal shrinkage.
Choosing the correct filler depends on factors like the size of the repair area, the type of metal, and the desired finish.
 Evercoat Filler Types: Rage Gold, Rage Ultra, Metal Glaze, Quantum1
Applying Evercoat Filler Like a Pro
Proper application is crucial for achieving a seamless repair. Here’s a step-by-step guide:
- Prepare the surface: Clean the damaged area thoroughly, removing any rust, dirt, or loose paint. Sand the area with coarse sandpaper to create a rough surface for the filler to adhere to.
- Mix the filler: Combine the filler and hardener according to the manufacturer’s instructions. Mix thoroughly until a uniform color is achieved.
- Apply the filler: Using a spreader, apply the filler to the damaged area, working in thin, even coats. Overlap each stroke to ensure complete coverage.
- Allow to cure: Let the filler cure completely according to the manufacturer’s recommendations.
- Sand and shape: Once cured, sand the filler smooth using progressively finer grits of sandpaper. Feather the edges to blend seamlessly with the surrounding surface.
Common Mistakes to Avoid When Using Evercoat Filler
Even with a high-quality filler like Evercoat, mistakes can happen. Here are some common pitfalls to avoid:
- Improper mixing: Incorrect ratios of filler and hardener can lead to slow curing, poor adhesion, or a weak repair.
- Applying too thick: Thick coats of filler can crack or shrink during curing.
- Insufficient sanding: Inadequate sanding can leave a rough, uneven surface that will show through the paint.
- Contaminated surface: Dirt, grease, or rust can prevent the filler from adhering properly.
Tips for Achieving a Flawless Finish with Evercoat
- Use a flexible spreader for curved surfaces.
- Apply multiple thin coats instead of one thick coat.
- Sand in a circular motion to avoid scratch marks.
- Use a guide coat to ensure even sanding.
“Using the right tools and techniques can make all the difference in achieving a professional-looking repair,” says John Smith, a veteran auto body technician with 25 years of experience.
Conclusion
Car body repair filler Evercoat offers a range of high-quality products that can help you achieve professional-looking repairs. By following the proper application techniques and avoiding common mistakes, you can restore your vehicle’s appearance to its former glory. Remember to choose the right Evercoat filler for your specific needs and follow the manufacturer’s instructions carefully.
FAQ
- How long does Evercoat filler take to cure? Curing times vary depending on the specific product and temperature, but generally range from 15-30 minutes.
- Can Evercoat filler be used on plastic? Some Evercoat fillers are specifically designed for plastic repairs.
- How thick should I apply Evercoat filler? Apply thin coats, building up the filler gradually.
- Can I sand Evercoat filler by hand? Yes, but using a power sander will make the process faster and more efficient.
- What grit sandpaper should I use to sand Evercoat filler? Start with a coarser grit (80-180) and gradually move to finer grits (320-400) for a smooth finish.
- How much Evercoat filler do I need? The amount of filler needed depends on the size and depth of the repair.
- Can I paint directly over Evercoat filler? Primer should be applied before painting over Evercoat filler.
For further assistance, you can explore other related articles on our website such as “Choosing the Right Sandpaper for Auto Body Repair” and “Understanding Different Types of Car Body Fillers”.
Need help with your car repair? Contact us via WhatsApp: +1(641)206-8880, Email: [email protected]. Our customer service team is available 24/7.

