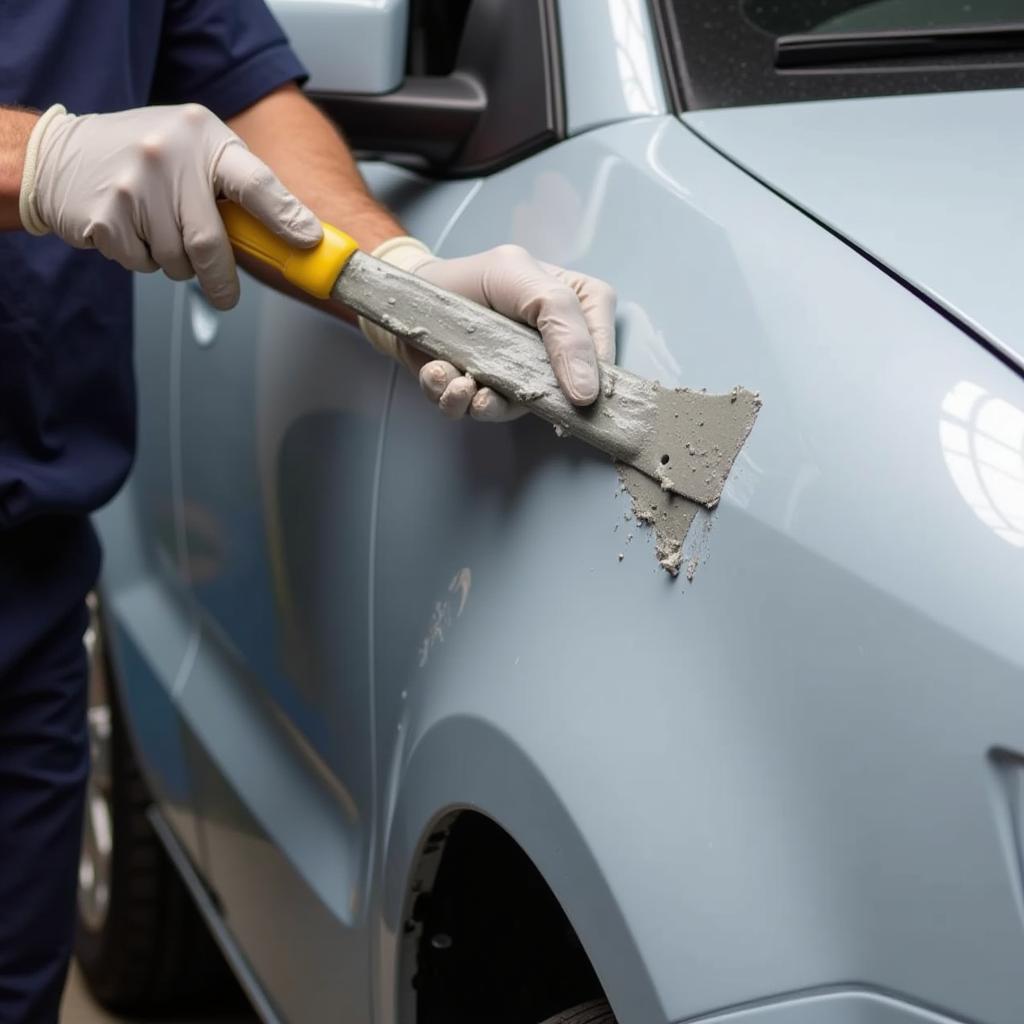
Car body repair filler is essential for achieving a smooth, professional finish when repairing dents, dings, and other imperfections on your car’s bodywork. Choosing the right filler and applying it correctly can make all the difference between a seamless repair and a noticeable blemish. This comprehensive guide will delve into the world of car body repair fillers, covering everything from types and selection to application and finishing techniques.
Understanding Car Body Repair Filler
Car body repair filler, also known as body filler or putty, is a two-component product consisting of a resin and a hardener. When mixed, these components create a chemical reaction that causes the filler to harden, allowing it to fill dents and imperfections, creating a smooth surface for painting. Choosing the correct type of filler is crucial, as different fillers are designed for specific applications and substrates.
You’ll find various types of car body repair filler on the market, each with unique properties. For example, lightweight fillers are ideal for minor imperfections, while fiberglass-reinforced fillers are better suited for larger repairs and offer greater strength. Understanding these differences is essential for selecting the right filler for your specific needs. car body repair filler how to choose provides further information on choosing the appropriate filler.
Choosing the Right Car Body Repair Filler
Selecting the right car body repair filler depends on several factors, including the size and depth of the damage, the type of substrate, and the desired finish.
- Size and Depth of Damage: For small scratches and minor imperfections, a lightweight filler is often sufficient. Deeper dents and larger areas of damage may require a heavier, more robust filler.
- Substrate Material: Different fillers are designed for different substrate materials, such as steel, aluminum, and fiberglass. Using the wrong filler can lead to adhesion problems and ultimately a failed repair.
- Desired Finish: Some fillers are designed for a smoother finish, while others are formulated for greater durability. Consider the final finish you want to achieve when choosing your filler.
For a comprehensive review of different car body repair fillers available, be sure to check car body repair filler review. Knowing your options empowers you to make the best decision for your repair project.
Applying Car Body Repair Filler Like a Pro
Proper application is key to achieving a flawless finish with car body repair filler. Here’s a step-by-step guide to ensure a successful repair:
- Prepare the Surface: Clean the damaged area thoroughly with a degreaser and sanding down to bare metal around the damaged area. This ensures proper adhesion of the filler.
- Mix the Filler: Follow the manufacturer’s instructions carefully when mixing the filler and hardener. Use the correct ratio to ensure proper curing and avoid problems like shrinkage or cracking.
- Apply the Filler: Apply the filler using a putty knife or spreader, working in thin, even layers. Overlapping each layer slightly ensures complete coverage and prevents air pockets.
- Allow to Cure: Give the filler ample time to cure completely before sanding. This ensures a hard, durable surface for the next steps.
- Sand and Shape: Once cured, sand the filler using progressively finer grits of sandpaper until you achieve a smooth, even surface that blends seamlessly with the surrounding area.
“Preparation is paramount when working with car body repair filler,” says automotive expert, Michael Peterson. “A clean, properly prepped surface is essential for achieving a strong bond and a flawless finish.”
Troubleshooting Common Car Body Repair Filler Issues
Even experienced professionals encounter issues with car body repair filler from time to time. Here are some common problems and how to address them:
- Cracking: Cracking can occur if the filler is applied too thickly or if the surface wasn’t properly prepared. Sand down the cracked area and reapply the filler in thin layers.
- Shrinkage: Shrinkage can be caused by using the incorrect mixing ratio or applying the filler in excessively thick layers. Remove the shrunken filler and reapply, ensuring proper mixing and thin layers.
- Poor Adhesion: Poor adhesion can result from using the wrong type of filler for the substrate or inadequate surface preparation. Remove the poorly adhered filler, clean the surface thoroughly, and reapply with the correct filler.
“Don’t be afraid to seek advice if you encounter problems,” adds Peterson. “A reputable supplier can provide valuable guidance on product selection and application techniques.” You can find reputable suppliers listed on car body repair filler suppliers.
Conclusion
Car body repair filler is an invaluable tool for achieving professional-quality repairs. By understanding the different types of fillers, choosing the right product for the job, and following proper application techniques, you can achieve a smooth, seamless finish that restores your car’s appearance. For further information on paints and fillers, check out car body repair paints fillers. car bodywork repairs with upol fibreglass filler provides more specific guidance on using UPOL fiberglass filler.
FAQ
- What is the difference between lightweight and heavy-duty car body repair filler?
- How do I know which type of filler is right for my car?
- Can I apply car body repair filler over rust?
- How long does car body repair filler take to cure?
- What grit sandpaper should I use to sand car body repair filler?
- Can I paint directly over car body repair filler?
- How do I prevent car body repair filler from cracking?
Further Assistance
If you need expert help, contact us via WhatsApp: +1(641)206-8880, or Email: [email protected]. We offer 24/7 customer support.


