Is your Wii sensor bar cable looking a little worse for wear? Perhaps your pet decided it was a tasty snack, or maybe it just got damaged through general wear and tear. Before you rush out to buy a replacement, you might be wondering: can I repair the Wii car cable myself? The answer is yes! Repairing your Wii sensor bar cable is surprisingly straightforward and can save you money. This simple guide will walk you through the process step-by-step, proving that you can easily fix it at home with just a few basic tools and a little bit of patience. Let’s get started and get you back to gaming!
Step-by-Step Guide to Repairing Your Wii Sensor Bar Cable
Step 1: Unscrewing the Sensor Bar
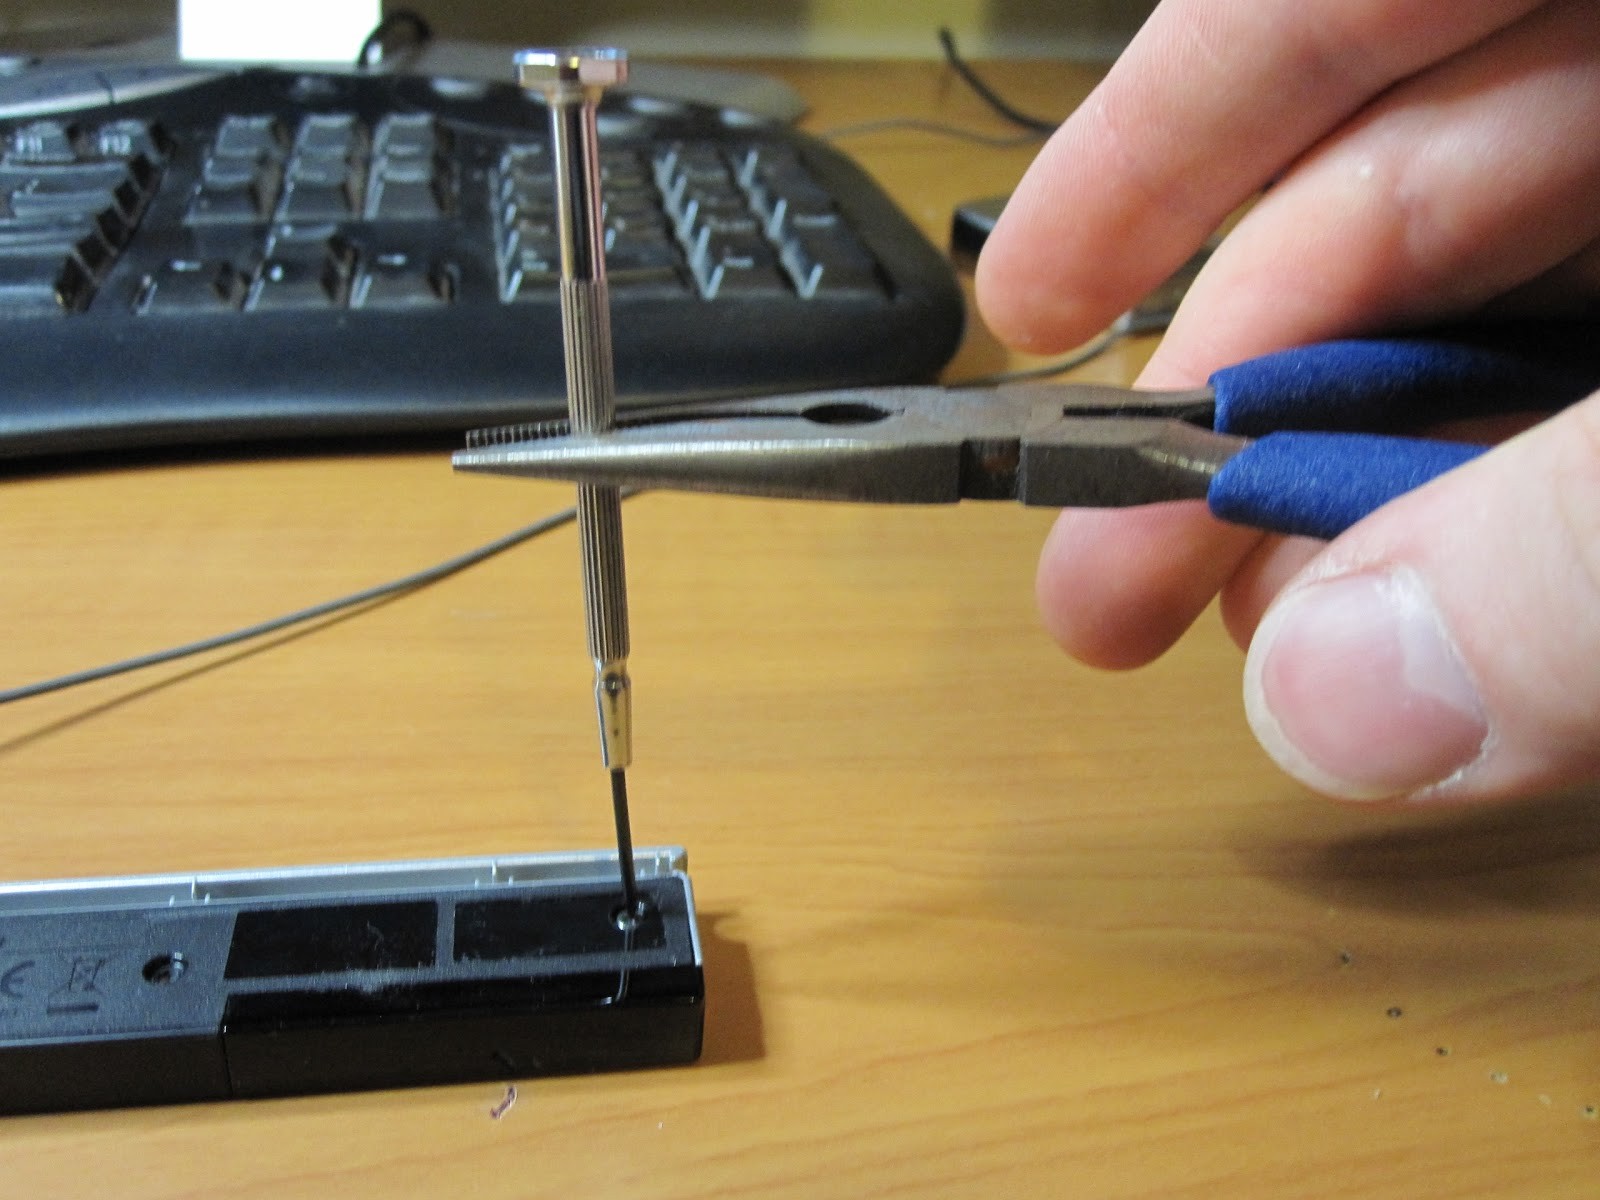
First, we need to open up the sensor bar. Locate the six small screws on the bottom of the sensor bar. These screws can be quite tight, so you might need a little extra grip. As shown in the image, use a screwdriver to remove all six screws. If they’re stubborn, pliers can give you that extra torque needed to loosen them. Keep these screws safe as you’ll need them later to reassemble the sensor bar.
Step 2: Opening the Case
With the screws removed, carefully separate the bottom plastic piece from the rest of the sensor bar. It should lift off easily without any force. There are no hidden clips or glue holding it together, so it should be a simple separation. Gently lift the bottom piece to reveal the internal components.
Step 3: Noting Wire Colors
This step is crucial! Before you disconnect anything, take a close look at the wires and their colors connected to the circuit board. It’s vital to note which color wire goes to which point. If you don’t, you risk reconnecting them incorrectly, and there’s a 50% chance of getting it wrong if you guess! Make a mental note or even take a quick picture to ensure you remember the correct order for reassembly.
Step 4: Cutting and Stripping the Damaged Cable
Now, cut the sensor bar wire beyond the chewed or damaged section. Wii sensor bar cables are generously long, so you should have plenty of wire to work with unless the damage is very close to the connector plug. Once you’ve cut the cable, carefully strip the outer layer of insulation to expose the inner wires. A razor blade can be used for this, but be cautious not to cut through the inner wires themselves.
Step 5: Soldering the New Cable
The final step involves a little soldering. De-solder the old, damaged wire from the circuit board. Then, carefully solder the newly stripped end of your cable to the same points on the sensor bar circuit board. This is where those color notes from Step 3 are essential! Ensure you solder each wire to the correct pad. Once soldered, carefully reassemble the sensor bar, putting the plastic pieces back together and tightening the screws. Plug it back into your Wii, and you should be good to go!
Conclusion: Wii Sensor Bar Cable Repair is Easier Than You Think
Repairing your Wii sensor bar cable is a very manageable DIY task, even if you have minimal experience with electronics. It mainly involves basic disassembly and soldering. The Wii sensor bar is essentially a set of infrared LEDs, making the repair quite simple. So, before you consider buying a new sensor bar, give this repair a try. You’ll save money and gain a little satisfaction from fixing it yourself!

