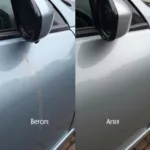
Discovering a paint chip on your car can be disheartening, especially if you take pride in its appearance. But before you rush to the auto shop, consider this: repairing minor paint chips can often be a DIY project, saving you time and money. This comprehensive guide will walk you through the best way to repair paint chips on your car, helping you restore its shine without breaking the bank.
Understanding Paint Chips and Their Impact
Paint chips, those tiny specks of missing paint, are more than just cosmetic blemishes. They expose the underlying metal to the elements, making your car vulnerable to rust and corrosion. Addressing paint chips promptly can prevent further damage and maintain your car’s value.
Assessing the Damage: DIY or Professional Help?
While DIY paint chip repair is feasible for minor chips, some situations warrant professional intervention:
- Large or Deep Chips: Chips larger than a pencil eraser or those exposing multiple layers of paint often require professional expertise.
- Rust Formation: If you notice rust around the chip, it’s crucial to consult a professional to assess the extent of the damage and prevent further corrosion.
- Cracked or Peeling Paint: Cracks or peeling paint around the chip indicate a more significant issue that needs professional attention.
For minor chips that haven’t penetrated the primer, a DIY approach is often sufficient.
Gathering Your Paint Chip Repair Arsenal
Before you begin, assemble the following tools and materials:
- Car Washing Supplies: Thoroughly cleaning the area around the chip is essential for proper adhesion of the repair products.
- Rubbing Alcohol: This helps remove any remaining dirt, grease, or wax residue.
- Automotive Touch-Up Paint: Choose a touch-up paint that matches your car’s exact color code, which can usually be found on the driver’s side door jamb or in the owner’s manual.
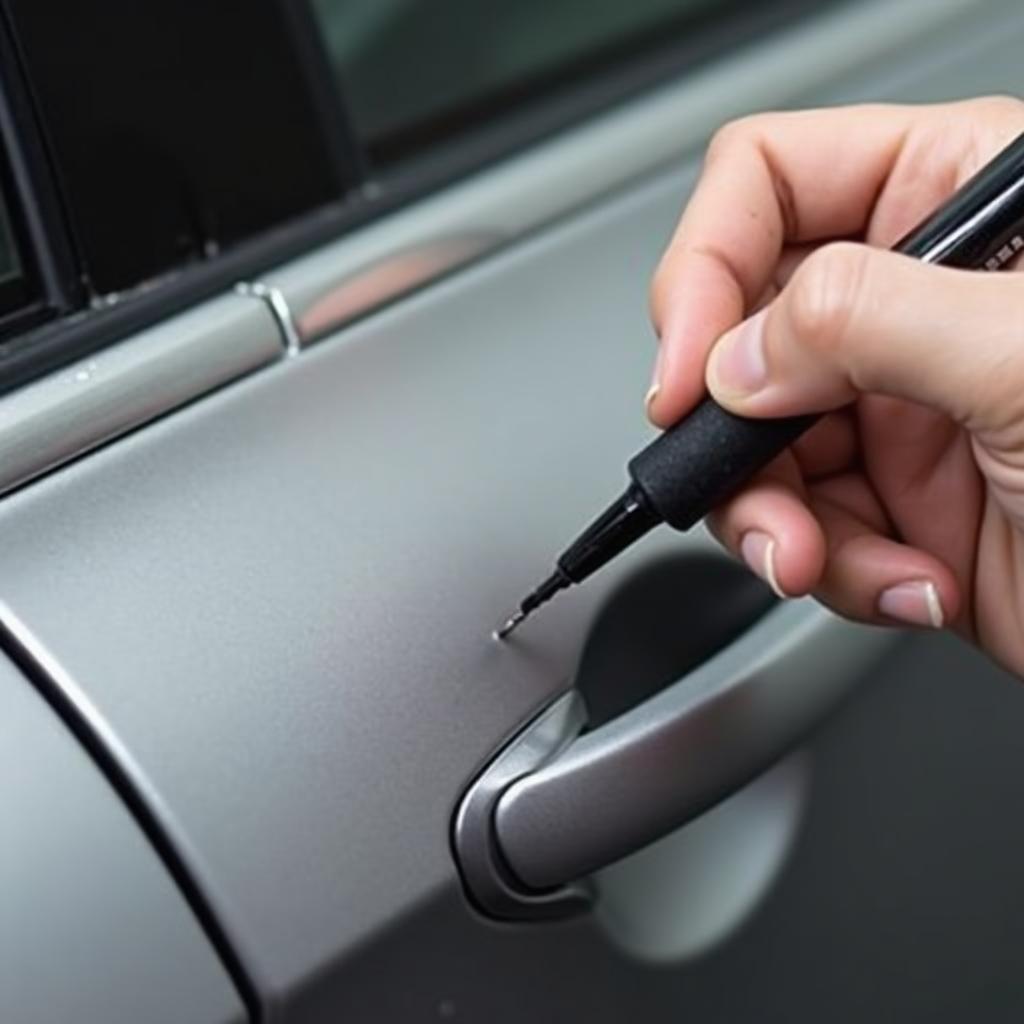
- Paint Applicator: Depending on the size and type of chip, you can use a touch-up pen, a fine-tip brush, or even a toothpick for precise application.
- Clear Coat: Applying a clear coat after the touch-up paint dries helps protect the repair and blend it with the surrounding paint.
- Sandpaper (2000-grit): This ultra-fine sandpaper is used for smoothing out any imperfections after the clear coat dries.
- Polishing Compound: This helps restore the shine and gloss to the repaired area.
- Microfiber Cloths: These are essential for applying and buffing various products.
Repairing Paint Chips Like a Pro: A Step-by-Step Guide
Follow these steps for a successful DIY paint chip repair:
- Clean the Area: Wash your car and thoroughly clean the area around the chip with soap and water. Rinse and dry completely.
- Degrease the Surface: Apply rubbing alcohol to a clean microfiber cloth and gently wipe the chipped area to remove any remaining residue.
- Prepare the Touch-Up Paint: Shake the touch-up paint bottle thoroughly according to the manufacturer’s instructions. If using a touch-up pen, prime the tip by pressing it down on a piece of cardboard until the paint flows.
- Apply the Touch-Up Paint: Using a steady hand, carefully apply a thin coat of touch-up paint to the chip. Avoid applying too much paint, as this can lead to drips and unevenness.
- Allow to Dry: Let the touch-up paint dry completely according to the manufacturer’s instructions. This may take anywhere from a few hours to overnight.
- Apply Clear Coat (Optional): If desired, apply a thin layer of clear coat over the dried touch-up paint to enhance protection and shine.
- Sand and Polish: Once the clear coat has dried (if applicable), use the 2000-grit sandpaper to gently smooth out any imperfections. Follow up with a polishing compound and a clean microfiber cloth to restore the gloss to the repaired area.
Preventing Future Paint Chips
While you can’t always prevent paint chips, here are some tips to minimize their occurrence:
- Regular Washing: Regularly washing your car removes dirt, debris, and road salt that can chip the paint over time.
- Waxing: Applying a coat of wax every few months provides a protective barrier against minor scratches and chips.
- Parking Strategically: Whenever possible, park your car in a garage or carport. If parking outdoors is unavoidable, choose shaded areas or park away from high-traffic zones.
Conclusion
Repairing paint chips on your car doesn’t have to be a daunting task. By following the steps outlined in this guide, you can effectively address minor chips and restore your car’s appearance with confidence. Remember to assess the damage carefully and determine if a DIY approach is appropriate. For larger or more complex chips, seeking professional help ensures a seamless and long-lasting repair. For more helpful car repair tips and advice, explore other informative articles on our website, like repair paint scrape on car, how to repair paint peeling on car, or small car paint chip repair. Take proactive steps to protect your car’s paint and enjoy its pristine look for miles to come!


