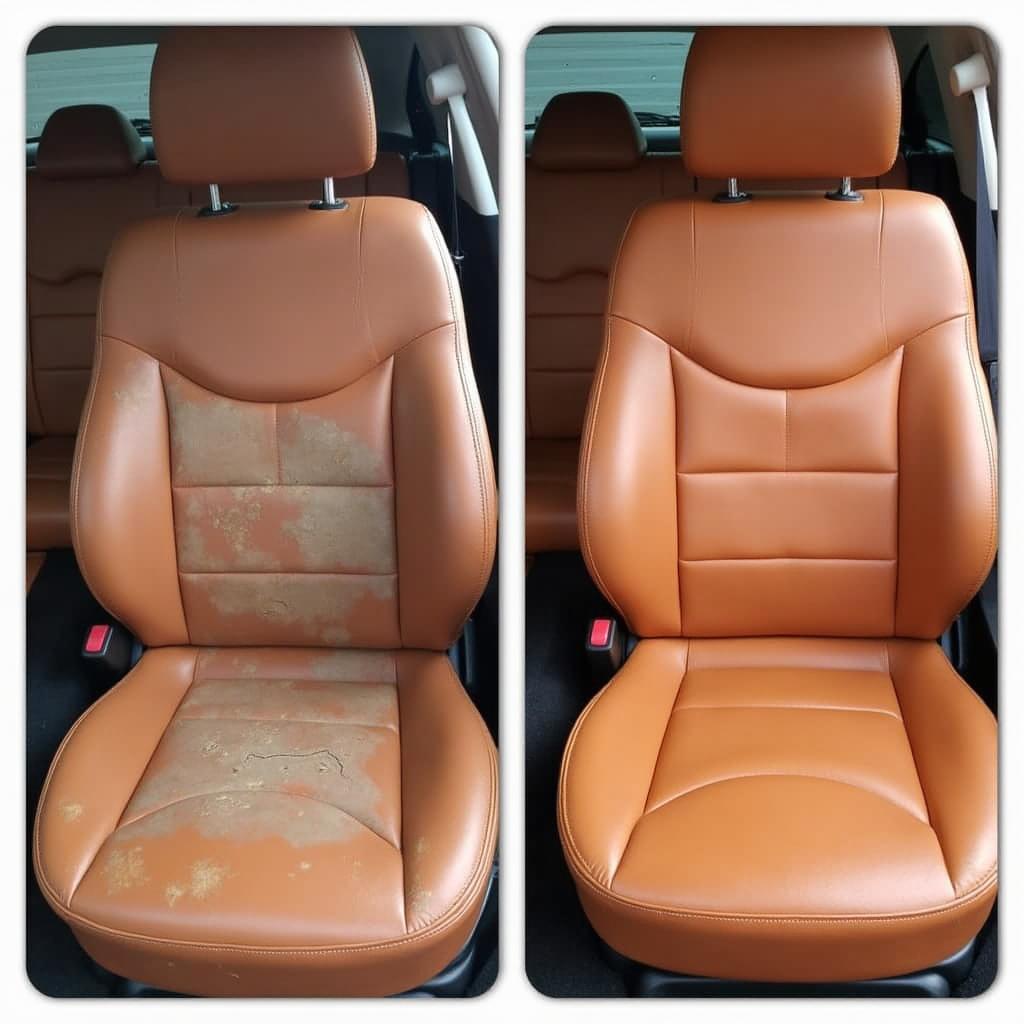
Leather car seats instantly elevate a vehicle’s interior, exuding luxury and class. But over time, wear and tear can take their toll, leaving your once-pristine leather looking cracked, faded, or even torn. This is where knowing the best leather repair for car seats comes in handy.
Thankfully, you don’t have to live with damaged leather or shell out a fortune for professional repairs. With the right knowledge and tools, you can restore your car seats to their former glory. This comprehensive guide will delve into everything you need to know about the best leather repair for car seats, empowering you to tackle those imperfections and bring back that luxurious feel.
Understanding Leather Damage
Before diving into the best leather repair for car seats, it’s essential to understand the common types of damage you might encounter. Each type may require a slightly different approach and specific repair products. Here are some common culprits:
- Cracks: These are often caused by prolonged exposure to sunlight and heat, which dries out the leather and causes it to lose its flexibility.
- Scratches: From sharp objects to keys accidentally grazing the surface, scratches are unfortunately easy to obtain but thankfully not impossible to fix.
- Fading and Discoloration: Constant exposure to the sun’s UV rays can lead to fading and discoloration, making the leather look dull and worn.
- Tears and Rips: These can occur from accidents or general wear and tear over time. While more challenging to fix, there are still solutions available.
DIY vs. Professional Leather Repair
The first question many car owners have is whether to attempt a DIY leather repair or hire a professional. The answer often depends on the severity of the damage and your budget.
DIY Leather Repair:
- Ideal for: Minor cracks, scratches, fading, and surface imperfections.
- Pros: Cost-effective, convenient, and offers a sense of accomplishment.
- Cons: Might not provide a perfect finish for severe damage, requires time and effort, and choosing the wrong products can worsen the problem.
Professional Leather Repair:
- Ideal for: Deep tears, rips, extensive damage, or when you want a flawless, professional finish.
- Pros: Expertise in handling all types of leather damage, access to specialized tools and products, and often provide guarantees on their work.
- Cons: Can be expensive, requires scheduling and waiting time, and finding a reputable professional is crucial.
Choosing the Best Leather Repair Kit for Car Seats
If you decide to embark on the DIY route, selecting the best leather repair kit for car seats is essential for achieving satisfactory results. Here’s what to look for:
- Complete Kit: Ensure the kit includes everything you need – leather cleaner, filler for cracks or tears, a color-matching solution, applicator tools, and a finishing cream or sealant.
- Quality Ingredients: Opt for kits with high-quality, durable ingredients that are specifically designed for automotive leather.
- Color Matching: Finding the right color match is crucial. Some kits offer a range of colors or allow for custom mixing to match your car’s interior perfectly.
- User-friendliness: Look for kits with clear instructions, preferably with illustrations or video tutorials, especially if you’re a beginner.
- Reviews and Reputation: Check online reviews and forums for recommendations and insights into a specific kit’s effectiveness and ease of use.
Steps for Repairing Leather Car Seats
Once you’ve chosen your kit, it’s time to roll up your sleeves and begin the repair process. While specific instructions will vary depending on the kit and the type of damage, here’s a general overview of the best way to repair leather car seats:
- Clean and Prep: Thoroughly clean the affected area with a leather cleaner to remove dirt, grime, and any conditioning products.
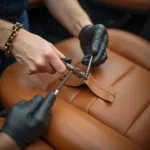
- Repair Damage: For cracks and tears, use the provided filler or repair compound, following the instructions carefully.
- Color Matching: If the damage is significant or the leather is faded, apply the colorant provided in your kit. Be sure to test it on a hidden area first to ensure a perfect match.
- Apply Finishing Touches: Use the finishing cream or sealant to protect the repaired area, restore the leather’s natural sheen, and prevent future damage.
Expert Tips for Flawless Results
- Practice Patience: Leather repair requires patience and attention to detail. Don’t rush the process.
- Work in a Well-Ventilated Area: Many leather repair products have a strong odor, so work in a well-ventilated area or outdoors.
- Less is More: When applying fillers or colorants, start with a small amount and gradually add more as needed.
- Heat for Better Adhesion: A hairdryer, used carefully, can help certain products adhere better to the leather and speed up drying time.
“When it comes to DIY leather repair, remember that preparation is key,” advises John Miller, an auto detailing specialist with over 20 years of experience. “Taking the time to thoroughly clean and prep the leather surface ensures better product adhesion and ultimately leads to a more professional-looking result.”
Preventing Future Leather Damage
Once you’ve restored your leather car seats, you’ll want to keep them looking their best for as long as possible. Here’s how:
- Regular Cleaning: Use a leather cleaner every few weeks to remove dirt and grime that can lead to premature wear.
- Conditioning is Key: Apply a high-quality leather conditioner every few months to keep the leather moisturized and prevent cracking.
- Sun Protection: Use a sunshade or park your car in the shade to minimize UV damage and fading.
- Avoid Harsh Chemicals: Never use household cleaners or harsh chemicals on your leather seats, as they can dry out and damage the material.
FAQs About Leather Repair for Car Seats
Can I repair deep scratches on my leather car seats myself?
While DIY kits can address minor scratches, deep scratches might require professional attention for optimal results.
How long does it take for leather repair products to dry?
Drying times vary depending on the product used. Always refer to the manufacturer’s instructions for specific drying times.
Can I use leather repair products on all types of leather?
No, not all leather is created equal. Ensure the products you choose are compatible with the type of leather in your car.
Is it possible to completely remove a tear in my leather car seat?
While DIY kits can make tears less noticeable, complete removal often requires professional intervention.
How can I find a reputable leather repair professional in my area?
Seek recommendations from friends, family, or online automotive forums. Reading reviews and checking portfolios can also help you make an informed decision.
Conclusion
Maintaining the pristine condition of your leather car seats doesn’t have to be a daunting task. Armed with the right information and tools, you can tackle minor damage and keep your car’s interior looking its best. Remember to choose the best leather repair for car seats that suits your needs, follow the instructions carefully, and prioritize preventative measures to prolong the lifespan of your luxurious leather.
If you need assistance with car diagnostics or repair, don’t hesitate to reach out to us. Contact our team through WhatsApp: +1(641)206-8880 or email us at [email protected]. Our customer support team is available 24/7 to assist you.


