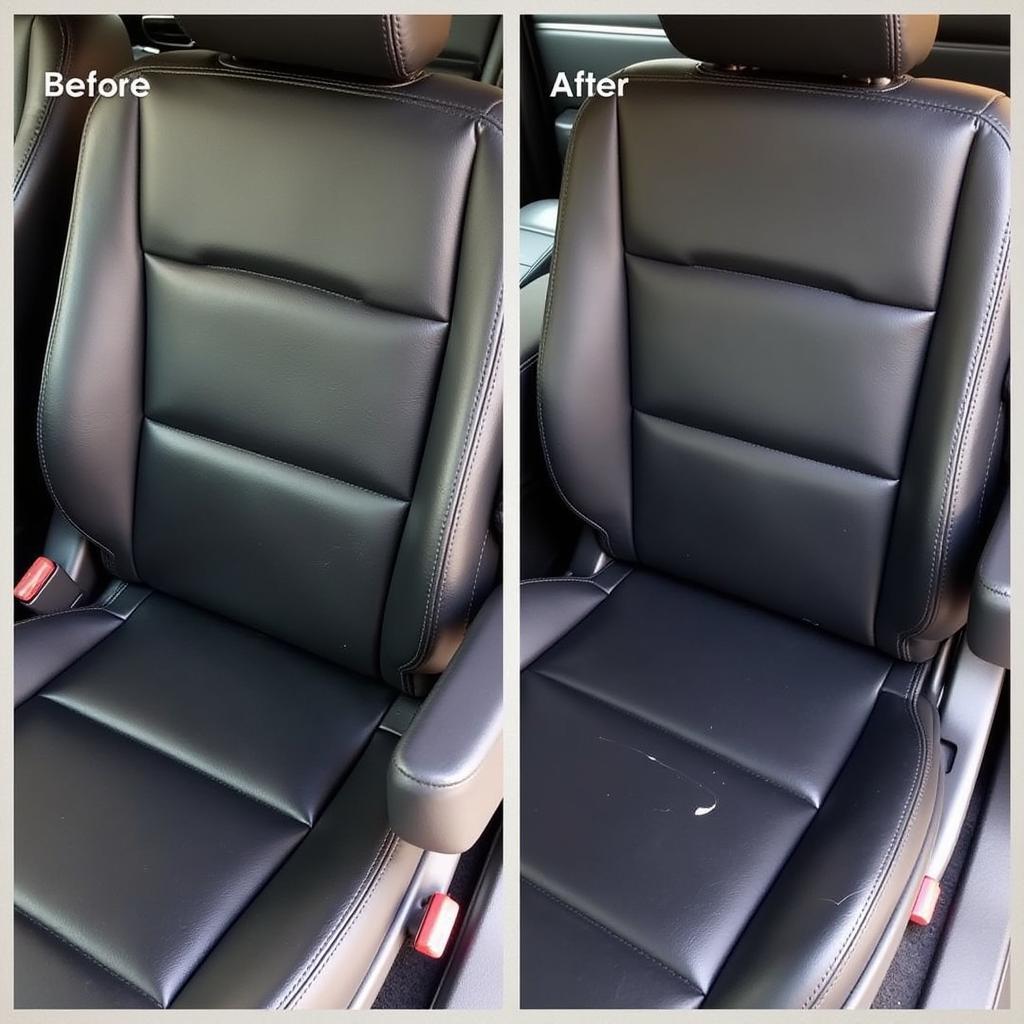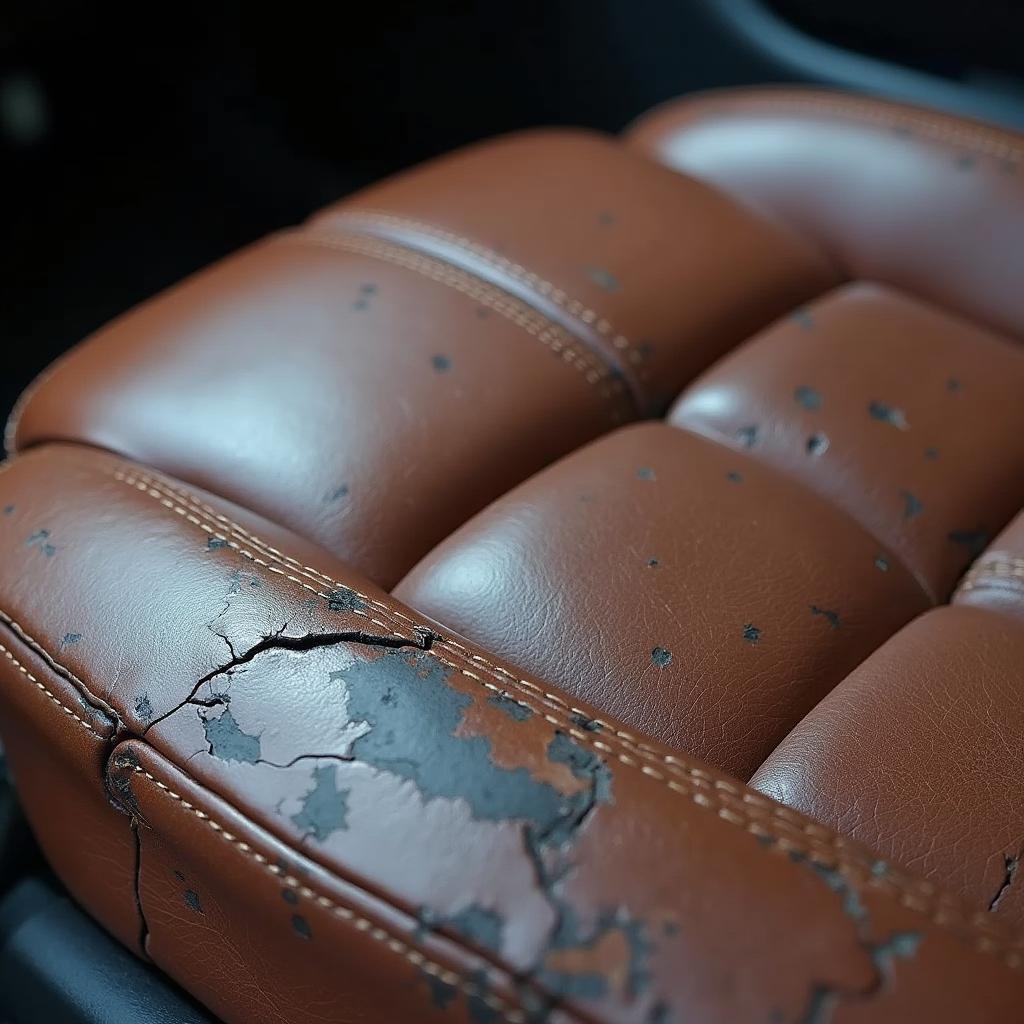
Cracked Leather Car Seat
Cracking leather car seats are an unsightly problem that can plague even the most well-maintained vehicles. Over time, exposure to heat, sunlight, and daily wear and tear can cause the leather to dry out, become brittle, and eventually crack. While this might seem like a major issue, the good news is that repairing cracking leather car seats is often possible with the right approach.
This comprehensive guide will walk you through the steps to effectively repair those cracks and restore your car’s interior to its former glory.
Understanding Why Leather Car Seats Crack
Before diving into the repair process, it’s important to understand the common culprits behind cracking leather car seats.
-
Sunlight Exposure: UV rays from the sun are a leather seat’s worst enemy. Prolonged exposure fades the color and dries out the natural oils, making it prone to cracks.
-
Heat: Similar to sunlight, excessive heat, like that inside a parked car on a hot day, can accelerate the drying process, leading to premature aging and cracking.
-
Lack of Maintenance: Leather is skin, and like our skin, it needs moisture to stay supple. Neglecting regular cleaning and conditioning makes the leather vulnerable to drying and cracking.
-
Low-Quality Leather: Not all leather is created equal. Lower-grade leather, often found in less expensive vehicles, is thinner and more susceptible to damage.
 Cracked Leather Car Seat
Assessing the Damage: DIY or Professional Help?
The extent of the damage will determine if you can tackle the repair yourself or if professional intervention is necessary.
-
Minor Cracks and Scratches: Surface-level cracks and minor scratches can often be addressed with DIY repair kits and techniques.
-
Deep Cracks and Tears: Deep cracks that expose the underlying padding or tears in the leather often require the expertise of a professional upholsterer.
DIY Repair: A Step-by-Step Guide
For minor cracking, a do-it-yourself approach can be a cost-effective solution. Here’s what you’ll need and how to proceed:
Materials:
- Leather cleaner
- Leather conditioner
- Leather repair kit (color-matched to your seats)
- Soft cloths
- Rubbing alcohol
- Masking tape
- Hairdryer
Steps:
-
Clean the Area: Thoroughly clean the affected area with a dedicated leather cleaner to remove dirt, dust, and grime. Allow it to dry completely.
-
Prepare the Cracks: Gently use a piece of fine-grit sandpaper (included in most repair kits) to smooth the edges of the cracks. Be careful not to sand down too much, as this can worsen the damage.
-
Apply the Leather Filler: If your repair kit includes a leather filler, carefully apply it to the cracks, pressing it in gently. Allow it to dry completely as per the manufacturer’s instructions.
-
Apply the Colorant: Using a sponge or brush provided in the kit, apply thin coats of the colorant to the repaired area. Ensure the color matches your seat leather. Let each coat dry completely before applying the next.
-
Heat Treat (Optional): Some repair kits suggest using a hairdryer on a low setting to help the colorant set. Check the instructions for your specific kit.
-
Condition the Leather: Once the repair is complete, apply a high-quality leather conditioner to the entire seat to restore moisture and prevent future cracking.
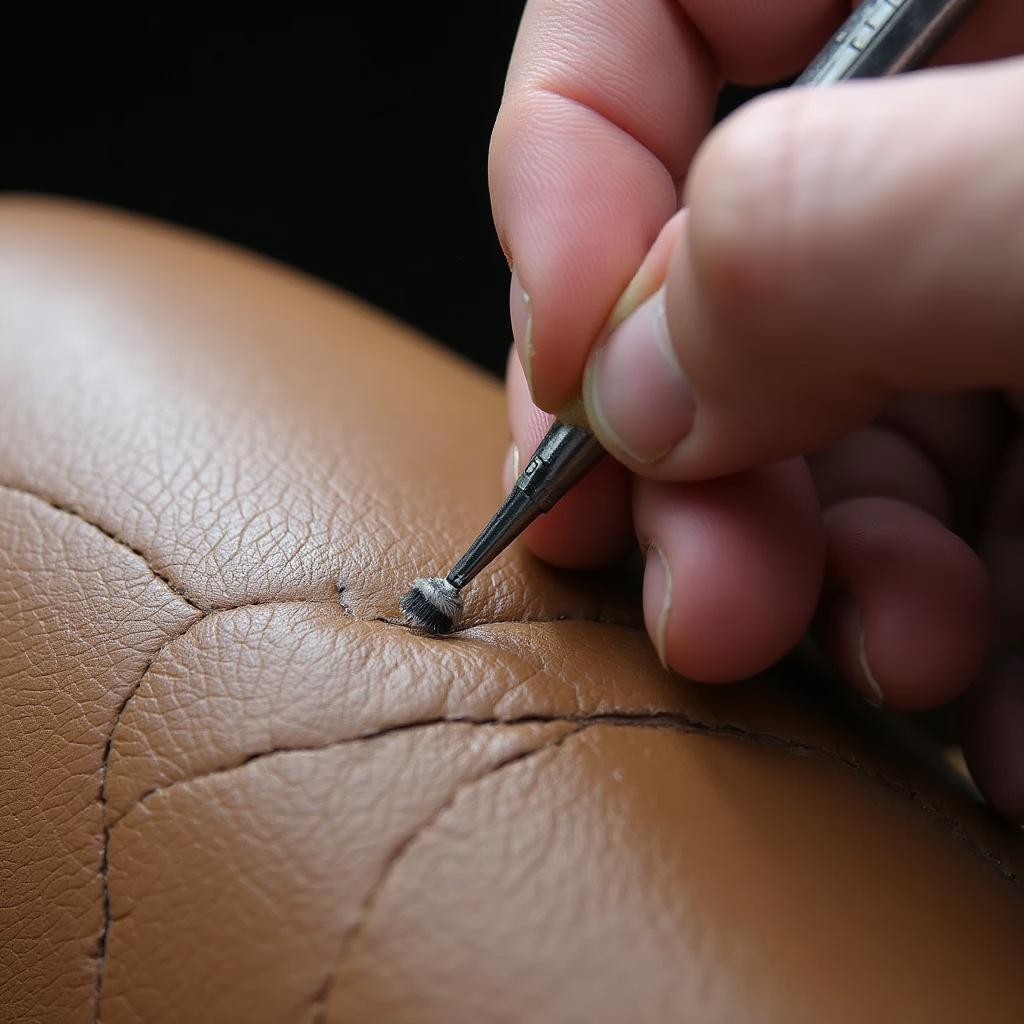 Applying Leather Filler
When to Call a Professional
While DIY repair kits can be effective for minor damage, more severe cracking or tears often warrant the expertise of a professional upholsterer.
Signs you need professional help:
- The cracks are deep and expose the padding beneath the leather.
- There are tears in the leather.
- The leather is severely discolored or faded.
- You are not comfortable attempting a DIY repair.
Preventing Future Cracking: Proactive Care
Prevention is key to maintaining the pristine look of your leather car seats. Here’s how to keep those cracks at bay:
-
Regular Cleaning and Conditioning: Clean your leather seats regularly with a dedicated leather cleaner and follow up with a high-quality conditioner to keep the leather hydrated and supple.
-
UV Protection: Park your car in the shade or use a windshield sunshade to minimize direct sunlight exposure.
-
Seat Covers: Consider using breathable seat covers to protect your leather seats from daily wear and tear, especially if you frequently transport children or pets.
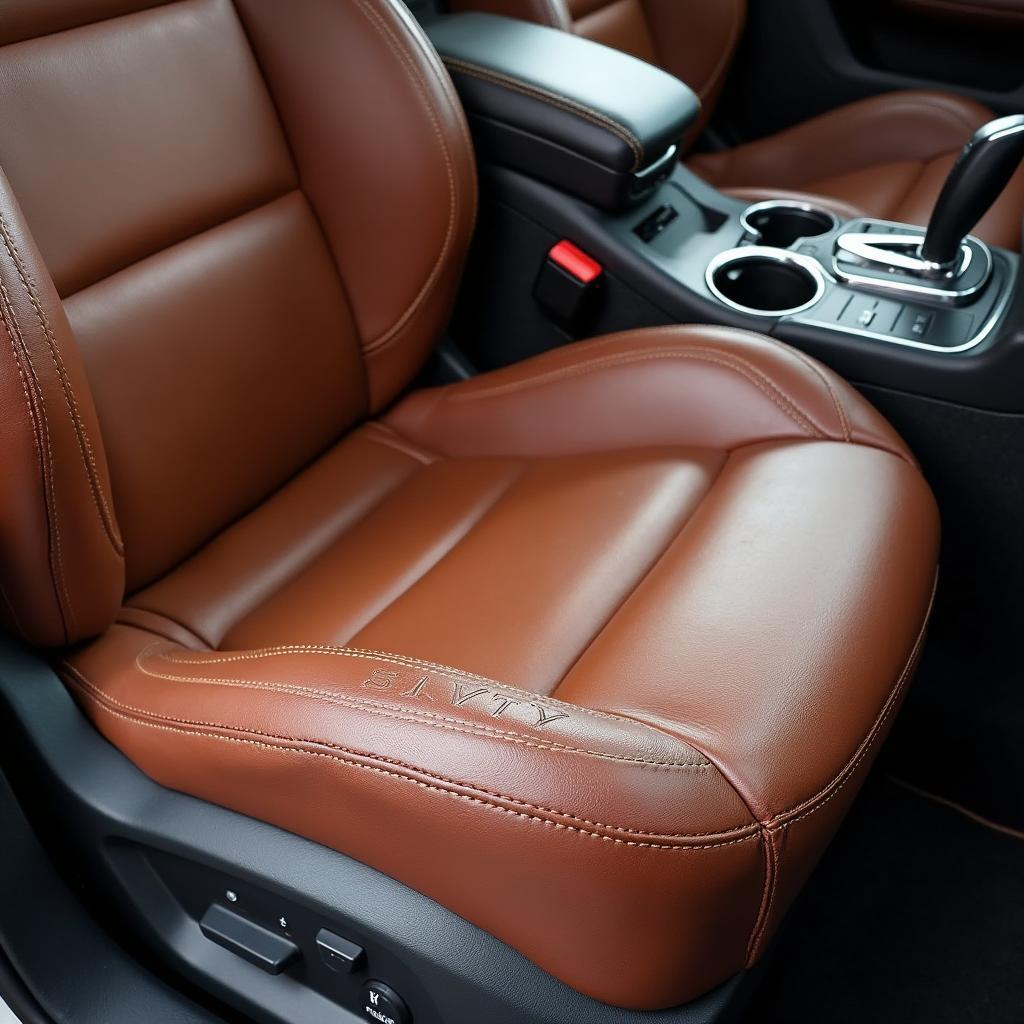 Conditioned Leather Car Seat
Conclusion
Cracking leather car seats might seem like a daunting problem, but with the right approach, you can often restore their appearance and prolong their lifespan. Whether you opt for a DIY repair kit or seek professional assistance, addressing the issue promptly and adopting preventative measures will go a long way in keeping your car’s interior looking its best for years to come.
FAQ
Q: Can I use regular household cleaners on my leather car seats?
A: No. Household cleaners can strip the leather of its natural oils, leading to dryness and potential damage.
Q: How often should I condition my leather car seats?
A: It’s recommended to condition your leather seats every three months or more frequently if you live in a hot, dry climate.
Q: Can I prevent cracking leather seats completely?
A: While some cracking is inevitable with age and use, proper care and maintenance can significantly slow down the process and keep your seats looking good for longer.
If you’re looking for more detailed guidance on specific leather car seat repair issues, check out our other resources:
Need further assistance with your car repairs? Contact our team of experts via WhatsApp: +1(641)206-8880, or Email: [email protected]. We’re available 24/7 to address your concerns!

