Leather car seats add a touch of luxury and sophistication to any vehicle’s interior. However, over time, the leather can start to peel, crack, and fade due to wear and tear, exposure to sunlight, and lack of proper care. Peeling leather car seats can be an eyesore and negatively impact the overall aesthetic appeal of your car. Fortunately, you can take several measures to repair peeling leather and restore your car seats to their former glory. This comprehensive guide will walk you through the steps on how to repair peeling leather car seats, providing you with the knowledge and techniques to tackle this common problem.
Before diving into the repair process, it’s essential to understand the underlying causes of peeling leather car seats.
Understanding the Causes of Peeling Leather Car Seats
There are several reasons why your car seats might be peeling. Identifying the root cause can help you determine the best repair approach and prevent future occurrences:
- Wear and Tear: Frequent use, friction from getting in and out of the car, and sharp objects can gradually wear down the leather’s protective coating, leading to peeling.
- Sunlight Exposure: Prolonged exposure to UV rays can dry out the leather, causing it to become brittle and prone to cracking and peeling.
- Heat: Excessive heat, like that from leaving your car parked in direct sunlight, can accelerate the leather’s aging process, making it more susceptible to damage.
- Lack of Maintenance: Failing to regularly clean and condition your leather seats can strip away their natural oils, leading to dryness, cracking, and eventually, peeling.
- Low-Quality Leather: Some car manufacturers use lower-grade leather that is thinner and more susceptible to damage from everyday use.
Gathering the Necessary Tools and Materials
Before you begin the repair process, gather the following tools and materials:
- Leather Cleaner and Conditioner: Choose a high-quality cleaner specifically designed for automotive leather to remove dirt, grime, and oils without causing further damage.
- Leather Repair Kit: A leather repair kit typically includes a color-matched filler compound, a backing fabric, an applicator tool, and a heat transfer tool.
- Rubbing Alcohol: Isopropyl alcohol helps clean the damaged area and ensures proper adhesion of the repair compound.
- Microfiber Cloths: Use soft, lint-free microfiber cloths for cleaning and applying products to the leather.
- Scissors: Sharp scissors are necessary for cutting the backing fabric and trimming any excess repair compound.
- Masking Tape: Masking tape can help you protect the surrounding areas while you work on the peeling leather.
- Hair Dryer or Heat Gun: A heat gun or hairdryer aids in the drying and setting of the repair compound.
- Gloves: Wear protective gloves to keep your hands clean and prevent any reactions to the chemicals in the repair products.
Step-by-Step Guide to Repairing Peeling Leather Car Seats
Now that you have your tools and materials ready, follow these steps to repair your peeling leather car seats:
1. Clean the Affected Area Thoroughly
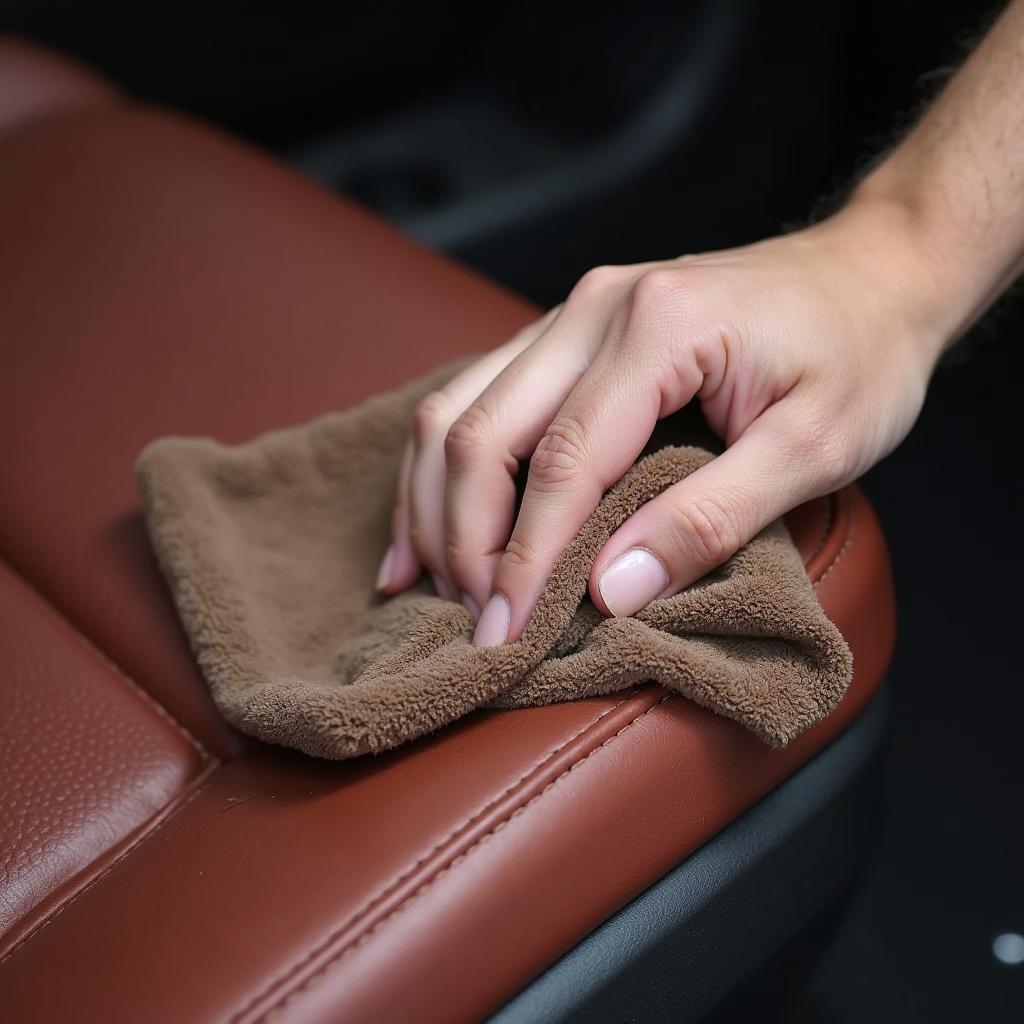
Begin by thoroughly cleaning the affected area with a leather cleaner. Spray the cleaner onto a microfiber cloth and gently wipe the surface of the peeling leather. Use a soft-bristled brush to reach crevices and remove any stubborn dirt or grime.
2. Prepare the Peeling Leather
Once the area is clean and dry, gently sand down the peeling edges using fine-grit sandpaper. This will create a smooth surface for the repair compound to adhere to. Be careful not to sand too aggressively, as this can damage the underlying leather.
3. Apply the Leather Filler Compound
If the peeling is severe and there are gaps or holes in the leather, you’ll need to apply a leather filler compound. Using the applicator tool provided in your repair kit, carefully fill in the damaged areas with the compound. Ensure the filler is evenly distributed and level with the surrounding leather surface.
4. Apply the Backing Fabric (if necessary)
For larger areas of damage, you might need to use a backing fabric to provide additional support for the repair compound. Cut a piece of backing fabric slightly larger than the damaged area and place it over the filler compound. Use the heat transfer tool or a hairdryer to heat the fabric and melt the adhesive on the back, bonding it to the leather.
5. Apply the Colorant
Once the filler compound and backing fabric are dry, it’s time to apply the colorant. Choose a colorant that matches the original color of your leather seats. Shake the colorant bottle thoroughly and apply thin, even coats to the repaired area using a sponge or spray gun. Allow each coat to dry completely before applying the next.
“When choosing a colorant, it’s always best to test it on a hidden area of the seat first to ensure a perfect color match,” advises John Smith, an experienced automotive leather repair specialist.
6. Apply a Leather Conditioner
After the final coat of colorant has dried, apply a high-quality leather conditioner to the entire seat. This will help moisturize the leather, prevent future cracking, and restore its natural shine.
Preventing Future Peeling
While repairing peeling leather can significantly improve the appearance of your car seats, prevention is always better than cure. Here are some tips to keep your leather seats looking their best and prevent future peeling:
- Regular Cleaning: Clean your leather seats regularly with a pH-neutral leather cleaner to remove dirt and grime that can damage the leather over time.
- Conditioning is Key: Leather conditioners replenish the natural oils that keep the leather supple and prevent drying and cracking. Aim to condition your seats every three to six months, or more often if they are exposed to extreme temperatures or sunlight.
- Use UV Protection: Park your car in the shade or use a windshield sunshade to minimize UV exposure and prevent the leather from drying out and fading.
- Avoid Harsh Chemicals: Be cautious about using harsh chemicals or cleaners on your leather seats, as these can strip away the leather’s natural oils and accelerate wear.
Conclusion
Repairing peeling leather car seats is a manageable task that can restore the aesthetic appeal of your vehicle’s interior. By following the steps outlined in this guide and taking preventative measures to protect your leather seats, you can enjoy the luxurious look and feel of leather for years to come.
If the damage to your leather seats is extensive or you are uncomfortable attempting the repair yourself, it is always advisable to seek professional assistance.
FAQs
1. Can I use regular super glue to fix peeling leather car seats?
Using super glue is not recommended for repairing leather car seats as it can damage the leather further. Super glue creates a rigid bond that doesn’t flex with the leather, leading to more cracking and peeling over time.
2. How often should I condition my leather car seats?
Ideally, you should condition your leather car seats every three to six months. However, if your vehicle is frequently exposed to extreme temperatures or sunlight, more frequent conditioning might be necessary.
3. Can I use household cleaners on my leather car seats?
Household cleaners often contain harsh chemicals that can damage leather. It’s crucial to use cleaners specifically designed for automotive leather.
Leather Seat Repair Help
If you need further assistance with your car leather seat repairs, don’t hesitate to reach out. We’re here to help.
- For leather seat repairs in Dundee: car leather seat repairs dundee
- Need a grey vinyl car seat repair kit?: who sells grey viny car seat repair kit
- Have a rip in your leather car seat?: how to repair leather car seat rip
Need more help? Contact us via:
- WhatsApp: +1(641)206-8880
- Email: [email protected]
Our dedicated customer support team is available 24/7 to answer your questions and provide guidance.


