Essential Tools for Leather Car Seat Repair
Leather car seats elevate the look and feel of a vehicle’s interior. However, over time, they can develop cracks due to wear and tear, sun exposure, and temperature fluctuations. Dealing with cracks in your colored leather car seats can be frustrating, but it doesn’t necessarily require professional intervention. This comprehensive guide will equip you with the knowledge and steps to repair those cracks effectively, restoring your car’s interior to its former glory.
Understanding the Enemy: Why Leather Seats Crack
Before diving into the repair process, it’s crucial to understand the common culprits behind those unsightly cracks:
- Sun Damage: Prolonged exposure to the sun’s harmful UV rays can dry out the leather, leading to fading, discoloration, and eventually, cracks.
- Heat: Excessive heat, like that trapped inside a parked car on a hot day, can accelerate the drying process and cause the leather to become brittle and prone to cracking.
- Cold: Extreme cold can also make leather stiff and susceptible to cracking, especially when combined with dryness.
- Wear and Tear: Regular use, friction from getting in and out of the car, and even the weight of passengers can gradually weaken the leather, leading to cracks over time.
- Lack of Maintenance: Leather requires regular cleaning and conditioning to maintain its suppleness and strength. Neglecting these essential steps can result in dry, brittle leather that’s more likely to crack.
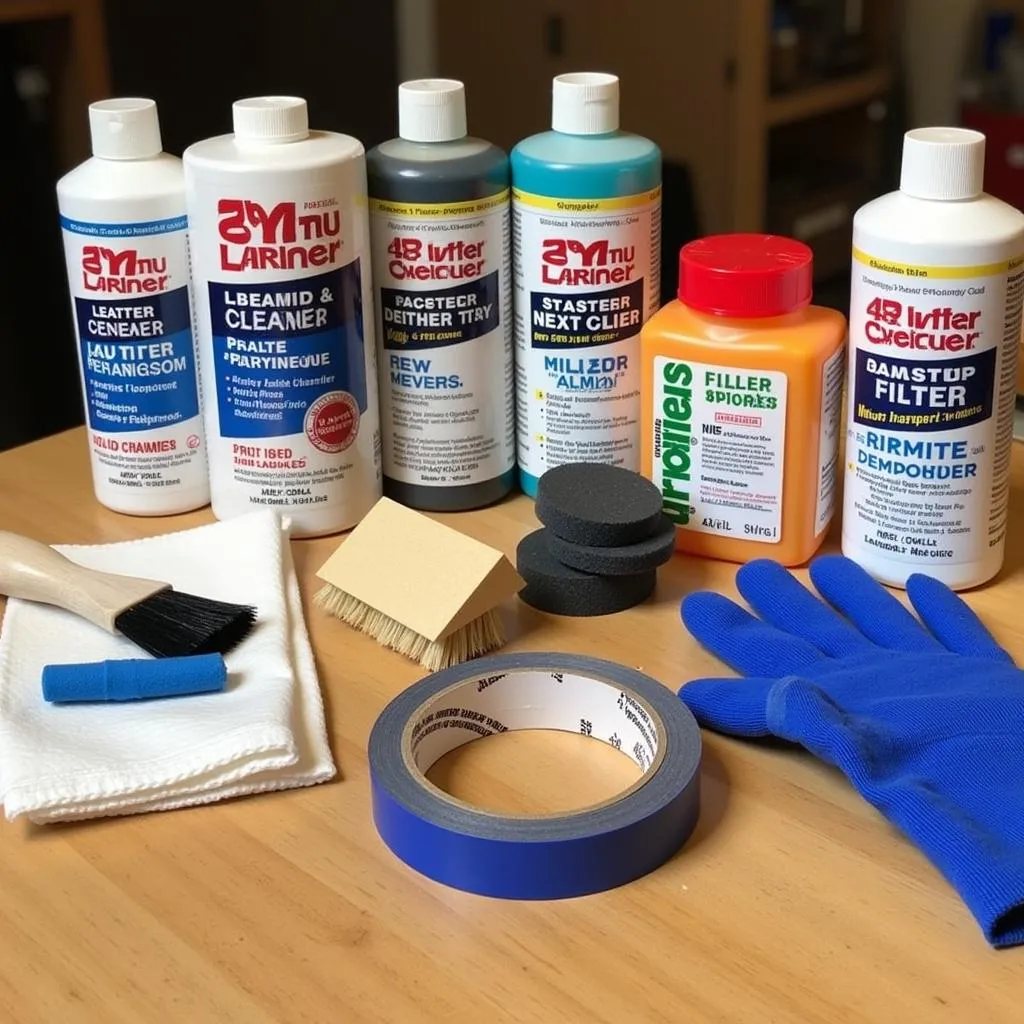
Gathering Your Arsenal: Tools and Materials
To embark on this DIY repair mission, gather the following tools and materials:
- Leather Cleaner: Choose a pH-neutral cleaner specifically designed for automotive leather. Avoid harsh household cleaners, which can further damage the leather.
- Leather Conditioner: Opt for a high-quality leather conditioner that contains UV protectants to shield your seats from future sun damage.
- Leather Filler: Select a flexible leather filler that matches the color of your car seats. This will fill in the cracks and create a smooth surface for the repair.
- Colorant/Dye (if needed): If the cracks are deep or the color has faded significantly, you’ll need a leather dye that matches your seats’ original color.
- Applicator Sponges and Brushes: Use soft-bristled brushes and clean sponges for applying the cleaner, conditioner, filler, and dye.
- Microfiber Cloths: Keep a stack of microfiber cloths handy for wiping away excess product and buffing the leather to a shine.
- Masking Tape: This will help you protect surrounding areas when applying the filler and dye.
- Gloves: Protect your hands from the products and dyes.
- Hair Dryer (optional): A hairdryer on a low heat setting can be used to speed up the drying time of the filler and dye.
 Essential Tools for Leather Car Seat Repair
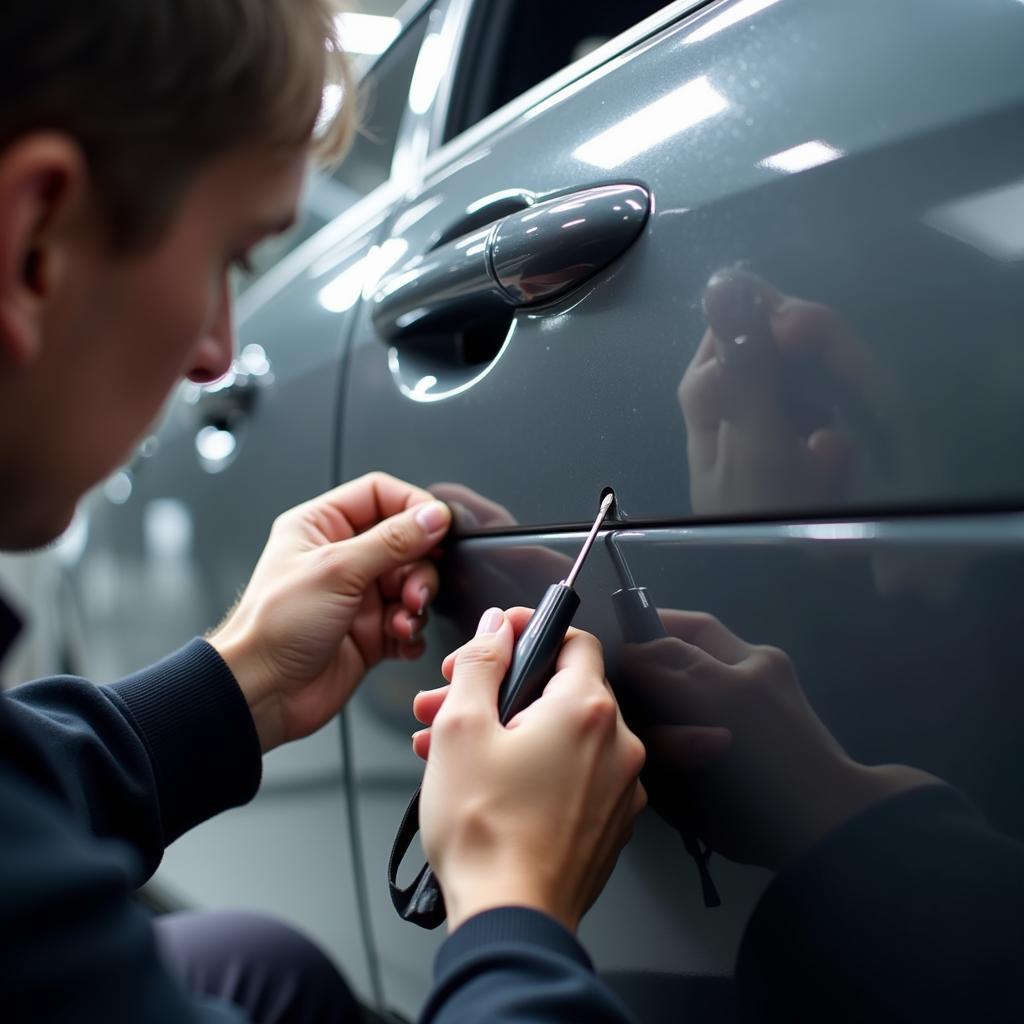
Repairing the Cracks: A Step-by-Step Guide
Now, let’s dive into the heart of the matter – the repair process:
- Cleanse and Prepare: Begin by thoroughly cleaning the affected areas with your leather cleaner and a soft-bristled brush. This will remove dirt, grime, and any residue that could interfere with the repair. Rinse the cleaner with a damp cloth and allow the seats to dry completely.
- Assess the Damage: Once clean, examine the cracks closely to determine their severity. Small, superficial cracks may only require filler, while deeper cracks or areas with significant color loss will need both filler and dye.
- Apply the Leather Filler: If necessary, apply the leather filler to the cracks using a small spatula or palette knife. Push the filler into the cracks, ensuring they are completely filled and level with the surrounding surface. Allow the filler to dry completely according to the manufacturer’s instructions.
- Sand and Smooth: Once the filler is dry, gently sand the area with fine-grit sandpaper (around 600-grit) to create a smooth and even surface. Be careful not to sand down to the original leather. Wipe away any dust with a clean cloth.
- Apply the Colorant (if needed): If the original color has faded or the cracks were deep, apply the leather dye according to the product instructions. Use a clean sponge or brush and apply thin, even coats, allowing each coat to dry completely before applying the next.
- Condition and Protect: After the filler and/or dye have dried and cured completely (usually 24-48 hours), apply a high-quality leather conditioner to the entire seat surface. This will help moisturize the leather, prevent further cracking, and restore its natural suppleness. Use a clean sponge or microfiber cloth to apply the conditioner, working it into the leather in circular motions.
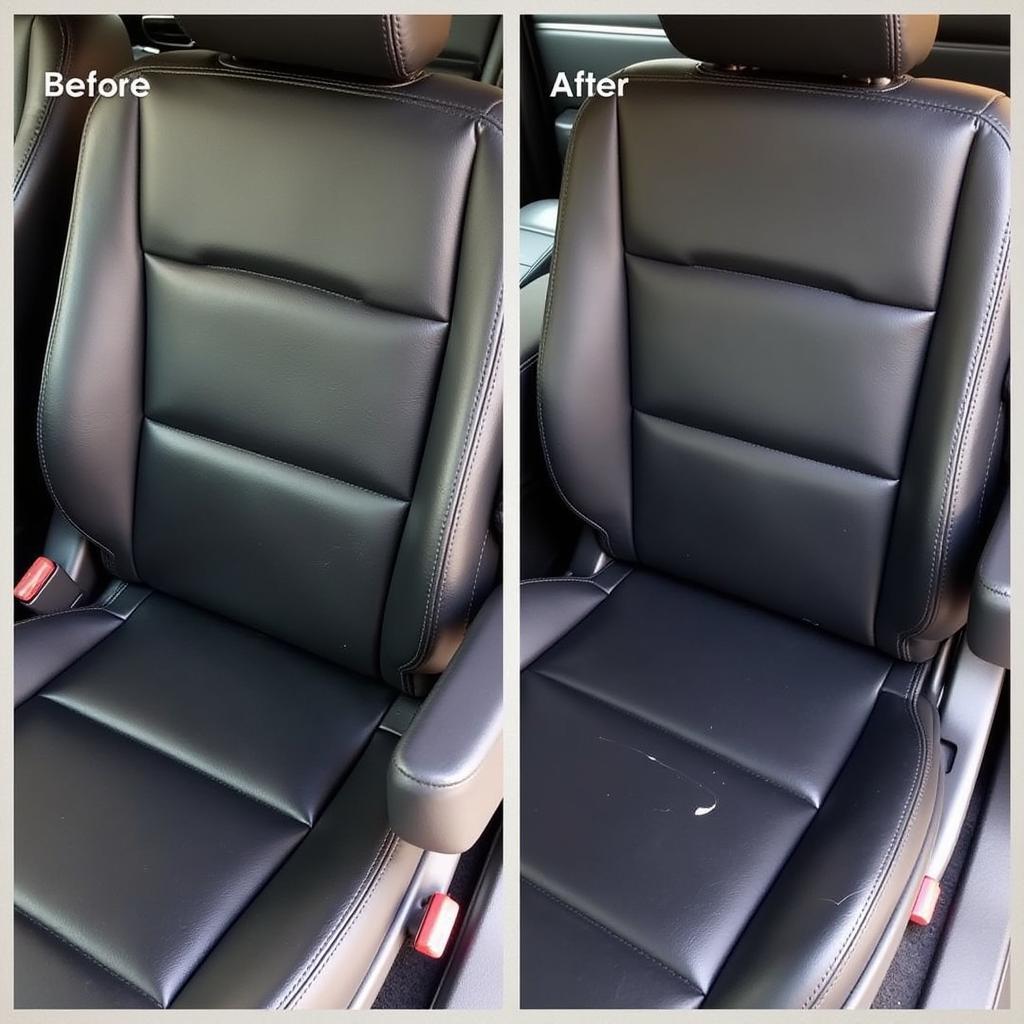
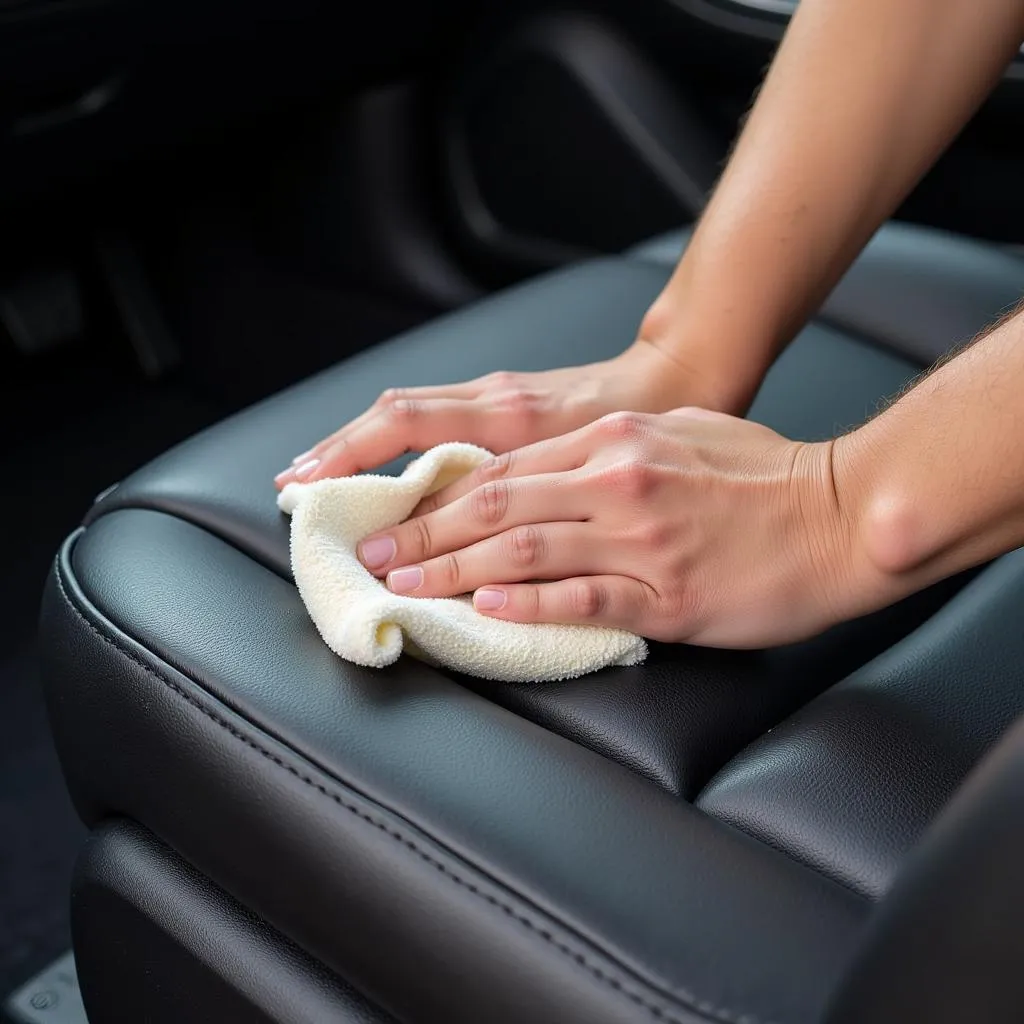 Conditioning Repaired Leather Seats for Long-Lasting Protection
Preventing Future Cracks: Proactive Care Tips
Repairing cracks is just one part of the equation. To keep your leather car seats looking their best and prevent future cracks, follow these proactive care tips:
- Regular Cleaning: Make it a habit to clean your leather seats regularly, at least once a month, using a pH-neutral leather cleaner.
- Condition Regularly: Conditioning is crucial to keep the leather hydrated and supple. Apply a high-quality leather conditioner every 2-3 months, or more frequently if your vehicle is exposed to harsh weather conditions.
- Avoid Prolonged Sun Exposure: Park your car in the shade whenever possible, or use a sunshade to protect the interior from the sun’s damaging UV rays.
- Control Temperature Extremes: Avoid parking your car in extremely hot or cold environments for extended periods. If you live in a climate with extreme temperatures, consider using seat covers for added protection.
- Address Spills Immediately: Leather is porous, so it’s essential to address spills immediately to prevent them from staining or damaging the material. Blot spills with a clean, absorbent cloth and use a leather cleaner for tougher stains.
Expert Insights: Words from the Wise
“Prevention is key when it comes to leather car seats,” says John Peterson, an experienced automotive upholstery specialist. “Regular cleaning and conditioning, along with taking steps to minimize sun exposure and temperature fluctuations, can significantly prolong the life of your leather seats and prevent costly repairs down the road.”
 Maintain Your Leather Seats for a Luxurious Interior
Conclusion: Embrace the DIY Spirit
Repairing cracks in colored leather car seats is a manageable DIY project that can save you time and money while restoring the beauty of your vehicle’s interior. By following the step-by-step guide, using the right tools and materials, and adopting a proactive maintenance routine, you can enjoy beautiful, crack-free leather seats for years to come.
FAQs
Q: Can I use superglue or other adhesives to repair cracks in my leather car seats?
A: It’s not recommended to use superglue or other general-purpose adhesives on leather car seats. These adhesives can harden and crack over time, exacerbating the problem and potentially causing further damage to the leather.
Q: What if I can’t find a leather filler that perfectly matches the color of my car seats?
A: If you’re unable to find an exact color match, it’s best to choose a filler that’s slightly lighter than your seat color. This will make it easier to blend in the repair with leather dye later on.
Q: How can I prevent my leather seats from becoming sticky after conditioning?
A: Using excessive conditioner can lead to a sticky residue. Always apply conditioner sparingly and buff away any excess with a clean microfiber cloth. Opt for a water-based conditioner, as it’s less likely to leave a sticky residue compared to oil-based products.
Q: Can I use home remedies like olive oil or coconut oil to condition my leather car seats?
A: While these oils contain moisturizing properties, they’re not ideal for leather car seats. They can penetrate the leather too deeply, potentially darkening the color and leaving a greasy residue that attracts dirt and dust.
Looking for More Car Repair Tips?
- How to Repair Car Leather Seat Tear: Explore step-by-step instructions on fixing tears in your leather car seats effectively.
- Is It Possible to Repair Leather Car Seats?: Discover the possibilities and limitations of repairing leather car seats, empowering you to make informed decisions about your car’s interior.
- How to Repair Cracks in Vinyl Car Seats: Learn effective techniques for addressing cracks in vinyl car seats, a common alternative to leather.
- How to Repair Hole in Leather Car Seats: Find detailed guidance on repairing holes in your leather car seats, restoring their integrity and appearance.
- Auto Car Seat Repair: Dive deeper into the world of auto car seat repair, covering various issues and providing comprehensive solutions for maintaining your car’s interior.
Need Expert Assistance?
For personalized guidance and professional support, reach out to our dedicated team via WhatsApp at +1(641)206-8880 or email us at [email protected]. Our 24/7 customer support team is ready to assist you with all your car repair needs.

