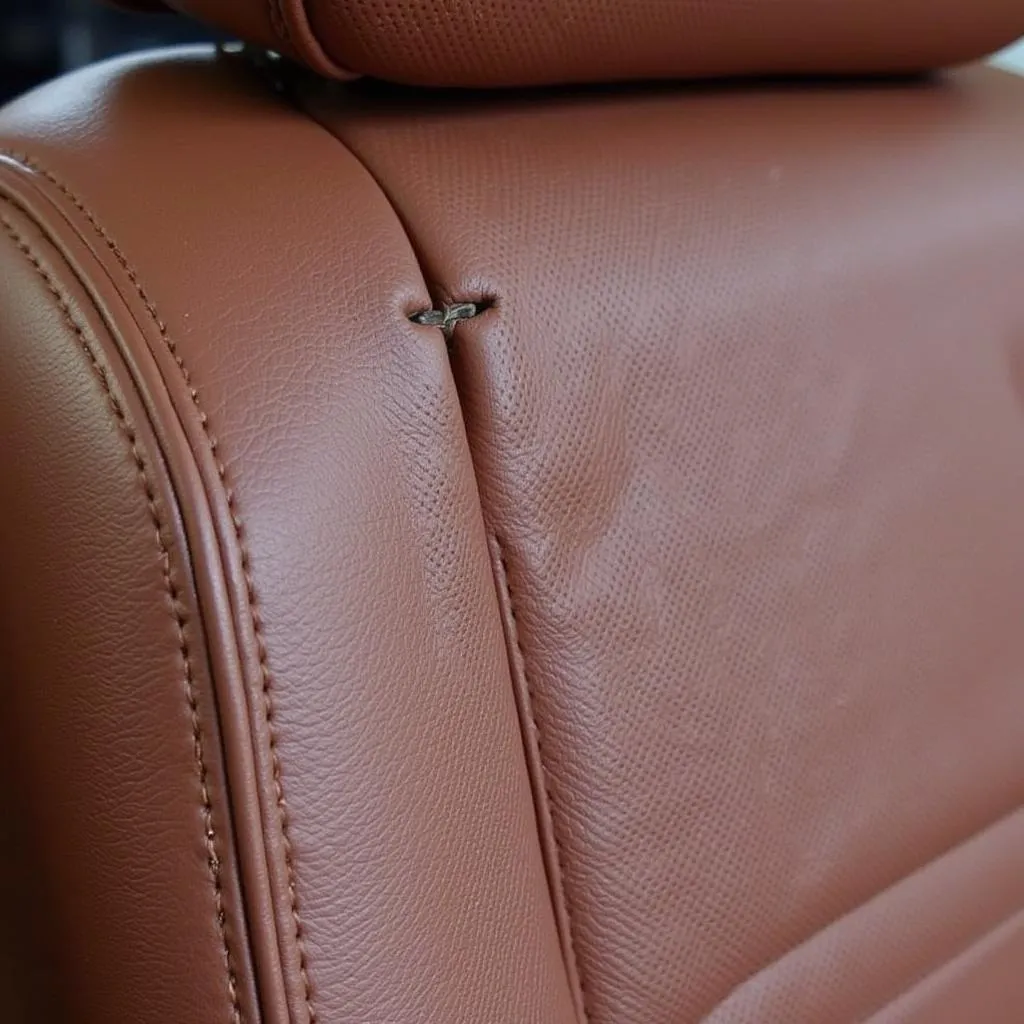
Close-up view of a small rip in a leather car seat
Discovering a rip or tear in your leather car seat can be disheartening. But before you panic or resign yourself to an expensive trip to the auto upholsterer, there are DIY solutions you can explore. For minor rips and tears, a few simple techniques and readily available materials can help you restore your leather seats to their former glory. This guide will walk you through the steps of how to repair a small rip in your leather car seat and offer valuable insights to prevent further damage.
Understanding Leather Damage
Before diving into the repair process, it’s essential to assess the severity of the damage. A small rip, typically less than an inch long and not too wide, can often be repaired at home. However, larger tears, deep cuts, or rips affecting the structural integrity of the seat might require professional intervention.
 Close-up view of a small rip in a leather car seat
Gathering Your Repair Kit
Before you begin the repair, gather the following materials:
- Leather Cleaner and Conditioner: To prepare the area for repair and maintain the leather’s suppleness.
- Leather Repair Kit: These kits are widely available online and at auto parts stores, usually containing a color-matched filler compound, adhesive, a spatula, and various graining papers.
- Scissors: For trimming any loose threads or frayed edges.
- Rubbing Alcohol: To clean the area around the rip.
- Clean Cloth: For applying solutions and wiping away excess.
- Hair Dryer: To speed up the drying process of the leather filler.
Step-by-Step Guide to Repair a Small Rip in Leather Car Seat
-
Clean the Area: Begin by cleaning the damaged area with a leather cleaner to remove dirt, dust, or debris. Use a soft-bristled brush to gently scrub the area, then wipe it clean with a damp cloth. Allow the area to dry completely.
-
Trim Loose Edges (If Necessary): If there are any loose threads or frayed edges around the rip, carefully trim them using sharp scissors. Avoid cutting into the intact leather.
-
Apply Leather Filler: If the rip has created a gap or cavity, apply a small amount of leather filler compound from your repair kit. Use the provided spatula to push the filler into the rip, ensuring it fills the gap evenly.
-
Dry and Sand (If Necessary): Allow the leather filler to dry completely. If needed, use fine-grit sandpaper to smooth out the surface, ensuring it blends seamlessly with the surrounding leather.
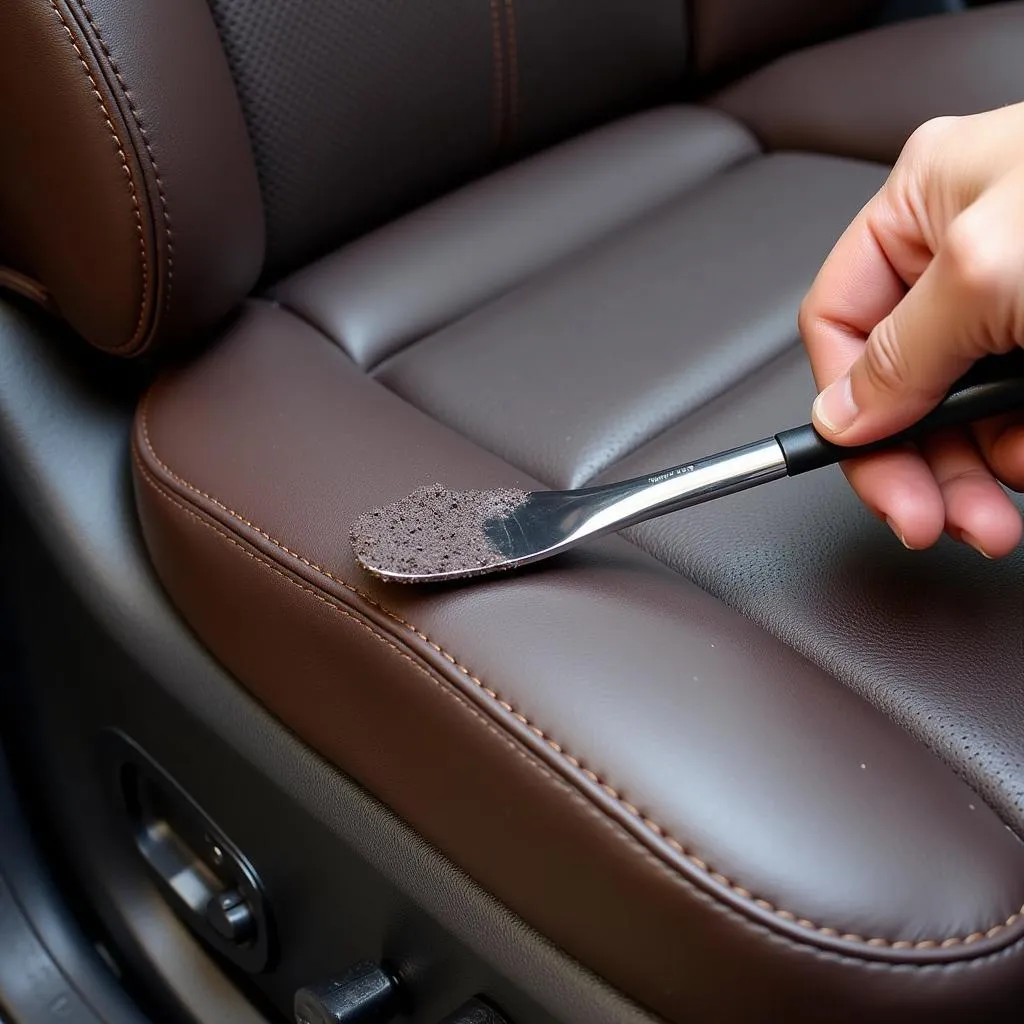 Applying leather filler compound to a small rip in a car seat
-
Apply Leather Adhesive (If Necessary): If the rip’s edges can be brought together, apply a thin layer of leather adhesive to both sides of the tear. Carefully align the edges and press them together firmly for the recommended time, as indicated on the adhesive’s instructions.
-
Apply Colorant (If Necessary): If the repair kit includes a colorant that matches your leather, use a sponge or brush to apply it to the repaired area. Follow the manufacturer’s instructions for application and drying time.
-
Apply Leather Conditioner: Once the repair has dried completely, apply a leather conditioner to the entire seat. This will help keep the leather soft, supple, and prevent future cracking or tearing.
Preventing Future Damage
- Regular Cleaning and Conditioning: Routine cleaning and conditioning are crucial for maintaining the health and longevity of your leather car seats.
- Avoid Sharp Objects: Be mindful of sharp objects that can scratch or puncture the leather.
- Protect from Sunlight: Prolonged exposure to direct sunlight can fade and dry out leather.
- Address Spills Immediately: Spills, especially acidic liquids, can stain and damage leather if not cleaned up promptly.
FAQs
Q: Can I use superglue to fix a rip in my leather car seat?
A: While superglue might seem like a quick fix, it’s not recommended for leather repair. Superglue can create a stiff, inflexible bond that can crack or break with the natural movement of the seat.
Q: How long does it take for leather filler to dry?
A: Drying time for leather filler varies depending on the product and ambient temperature. However, it typically takes between 24 to 48 hours for the filler to dry completely.
Q: Can I repair a tear in a leather car seat seam at home?
A: Repairs involving seams or stitching are best left to professionals. These areas require specialized knowledge and tools to ensure a durable and aesthetically pleasing repair.
Seeking Professional Help
While DIY repairs are suitable for minor rips, it’s essential to recognize when professional help is needed.
For tears larger than an inch, deep cuts, rips on seams or stitching, or if you’re uncomfortable with the repair process, it’s best to consult a professional auto upholsterer.
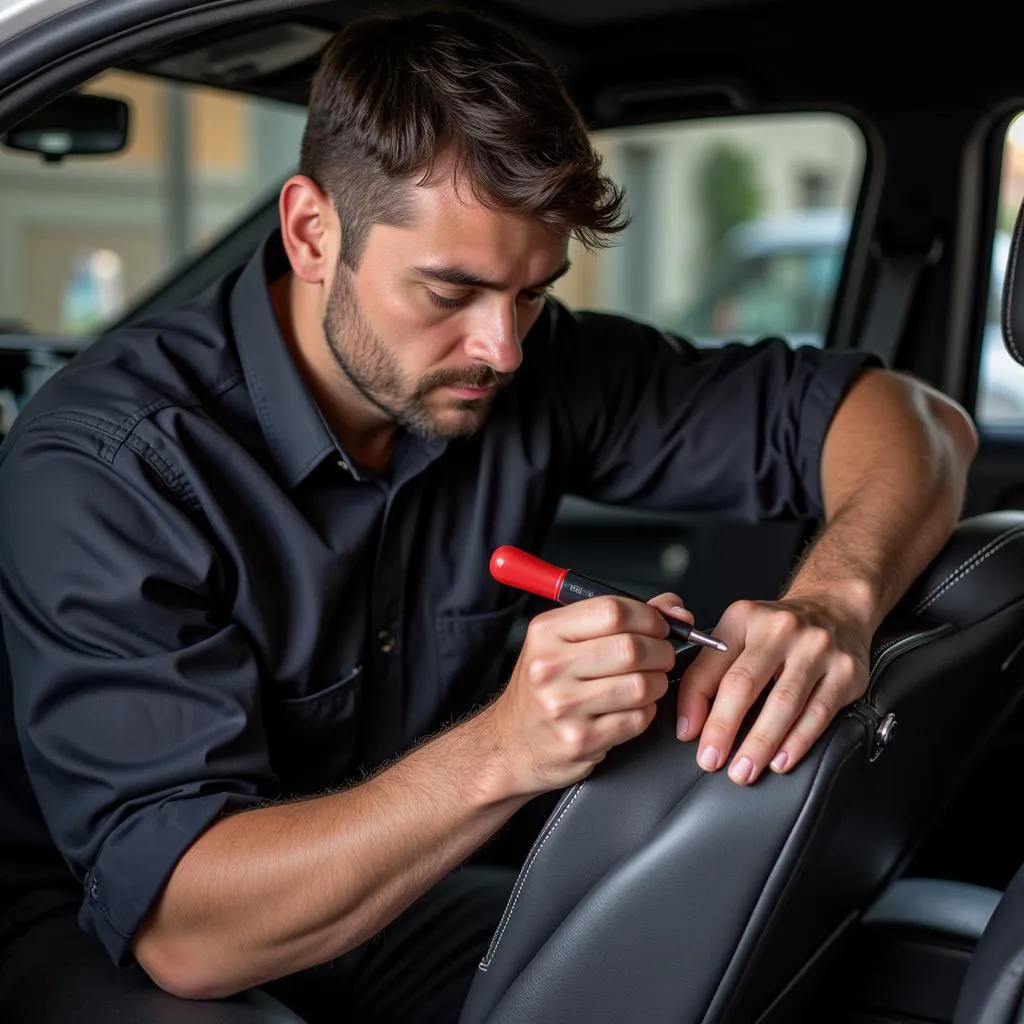 Professional auto upholsterer repairing a leather car seat
Conclusion
Repairing a small rip in your leather car seat is a manageable DIY project that can save you money and maintain your car’s interior aesthetics. By following the steps outlined in this guide and investing in the right materials, you can effectively address minor rips and restore your leather seats to their former glory.

