Car window trim, also known as window weather stripping, is essential for keeping your car’s interior dry and noise-free. Over time, this rubber seal can become damaged, leading to leaks, wind noise, and even mold growth. While replacing the trim is always an option, many cases can be repaired at home with some basic tools and materials. This guide will walk you through the steps on how to repair car window trim and restore your car’s seal.
Assessing the Damage and Gathering Your Supplies
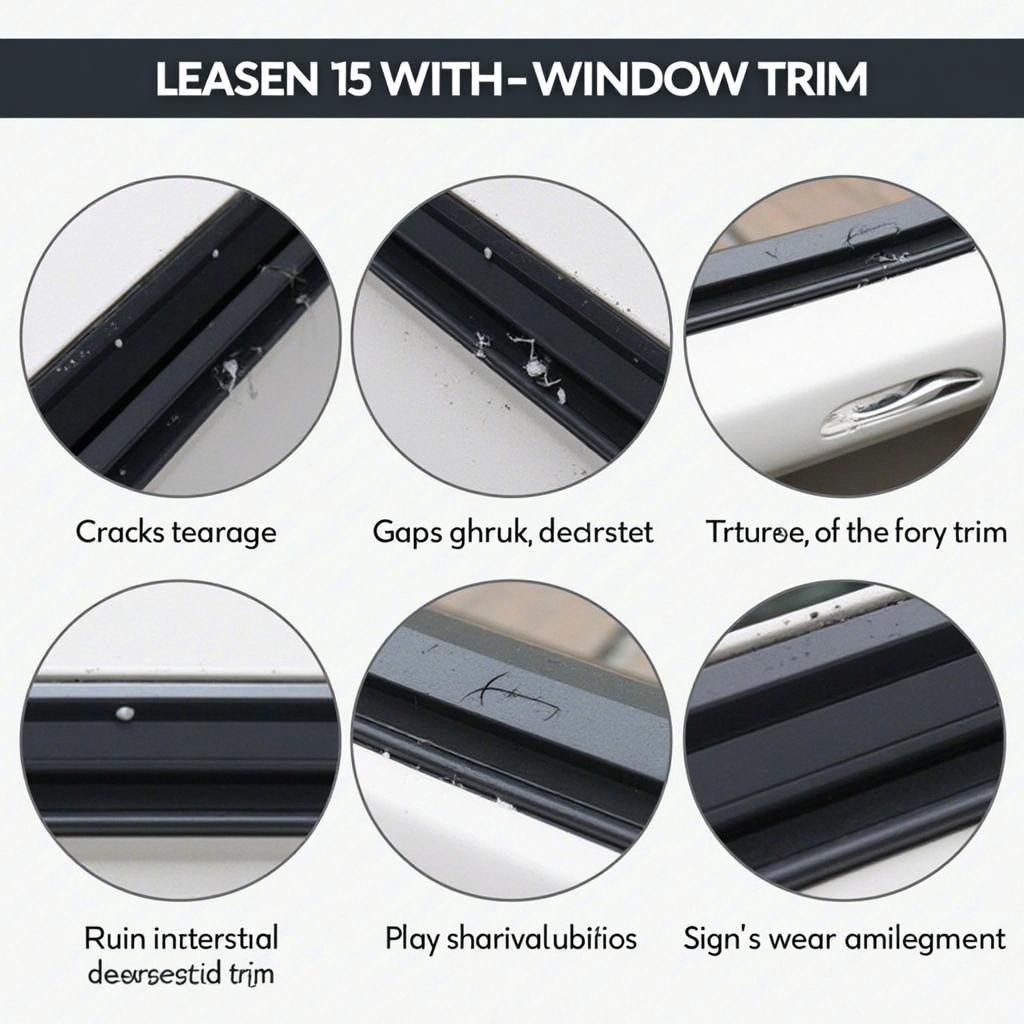
Before you begin, you’ll need to identify the type and extent of the damage to your car window trim. Common issues include cracks, tears, shrinkage, and detachment from the car frame.
Once you’ve assessed the damage, gather the following materials:
- Cleaning Supplies: A microfiber cloth, rubbing alcohol or a dedicated rubber cleaner.
- Adhesive: Choose an adhesive specifically designed for automotive rubber or weatherstripping.
- Rubber sealant: Opt for a high-quality silicone or rubber sealant that remains flexible after drying.
- Trim tools (optional): These can help with removing and reinstalling the trim.
- Utility knife: Used for trimming excess sealant or adhesive.
- Masking tape: Protect the car’s paint during the repair process.
Step-by-Step Guide to Repairing Car Window Trim
Follow these detailed steps to repair your car window trim:
-
Clean the Area: Thoroughly clean the damaged trim and the surrounding area with rubbing alcohol or a rubber cleaner. This removes dirt, debris, and any residue that could affect adhesion.
-
Prepare the Trim: If the trim is loose or detached, carefully remove it from the car frame. For minor cracks or tears, you can skip this step.
-
Apply Adhesive (If Necessary): If the trim was detached or needs re-securing, apply a thin, even layer of automotive adhesive to the back of the trim and the corresponding area on the car frame.
-
Reattach the Trim (If Necessary): Carefully align the trim and press it firmly into place. Use masking tape to hold it in position while the adhesive dries.
-
Apply Sealant: For cracks, tears, or gaps, apply a high-quality rubber sealant. Push the sealant into the damaged area, ensuring complete coverage. Smooth out the sealant with your finger or a trim tool, creating a seamless repair.
-
Remove Excess and Let Dry: Use a utility knife to carefully trim away any excess sealant. Allow the sealant to dry completely according to the manufacturer’s instructions.
-
Test the Repair: Once dry, inspect the repaired area for any gaps or imperfections. Close the car window to ensure a tight seal and check for any leaks or wind noise.
When to Replace Car Window Trim
While repairing car window trim is often a viable option, some instances require a complete replacement. Consider replacing the trim if:
- Extensive damage: Large sections of the trim are severely damaged or missing.
- Dry rot: The rubber has become brittle and crumbles easily.
- Multiple repairs fail: Previous attempts to repair the trim haven’t been successful.
Replacing car window trim can be more challenging than repair, and you may want to consult a professional mechanic for assistance.
Expert Insights
“Many car owners underestimate the importance of properly functioning window trim,” says John Smith, a seasoned automotive mechanic at ABC Auto Repair. “Damaged trim not only lets in noise and water but can also affect your car’s heating and cooling efficiency, potentially costing you more in fuel in the long run.”
Maintaining Your Car Window Trim
Regular maintenance can significantly extend the lifespan of your car window trim:
- Clean regularly: Wipe down the trim with a damp cloth every time you wash your car.
- Apply rubber protectant: Use a dedicated rubber protectant a few times a year to prevent drying and cracking.
- Inspect for damage: Regularly check for signs of wear and tear, addressing any issues promptly.
By following these simple maintenance tips and the repair guide outlined above, you can ensure your car window trim remains in optimal condition, keeping your car’s interior protected and comfortable for years to come.
FAQs
Q: Can I use superglue to repair car window trim?
A: While superglue might seem like a quick fix, it’s not recommended for car window trim. Superglue can damage the rubber and create a weak bond that won’t last.
Q: How long does it take for car window trim sealant to dry?
A: Drying time varies depending on the type of sealant used. Always refer to the manufacturer’s instructions for specific drying times. In general, most sealants require at least 24 hours to cure completely.
Q: Where can I buy car window trim replacement parts?
A: You can find car window trim replacement parts at most auto parts stores or online retailers. Be sure to have your car’s year, make, and model handy to ensure you order the correct parts.
Looking for more DIY car repair tips? Check out our guides on:
- car window rubber trim repair
- repair hole in car window weather stripping repair
- diy car window motor repair
Need help finding a qualified mechanic near you? We can connect you with trusted professionals in your area. Visit our car window trim molding repair near me page for more information.
Having trouble with a leaky car window? Our comprehensive guide on how to repair car window leak can help you identify the source of the problem and provide step-by-step solutions.
Don’t hesitate to contact us via WhatsApp: +1(641)206-8880, Email: [email protected]. Our dedicated customer support team is available 24/7 to assist you with any car repair inquiries or concerns.


