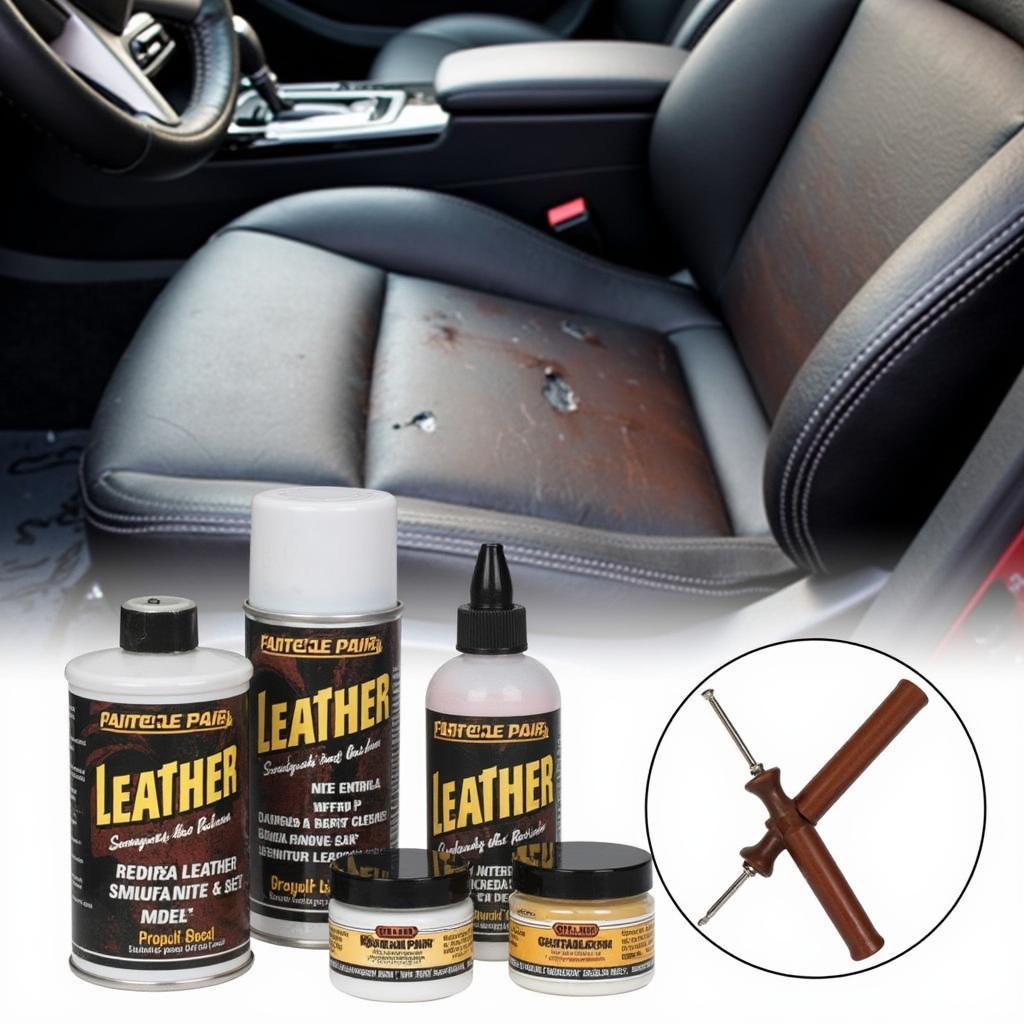
A car leather paint repair kit can be a lifesaver when it comes to restoring the look of your car’s interior. Whether you’re dealing with scratches, scuffs, or even faded color, these kits provide a cost-effective and convenient way to breathe new life into your leather seats and trim.
Understanding Car Leather Damage
Before diving into the repair process, it’s important to understand the different types of damage that can occur to car leather. Common culprits include:
- Scratches: These are superficial marks that typically only affect the top layer of the leather.
- Scuffs: Similar to scratches, scuffs are caused by abrasion and can remove some of the leather’s pigment.
- Cracks: Deeper than scratches or scuffs, cracks can occur due to age, dryness, or exposure to extreme temperatures.
- Fading: Over time, exposure to sunlight and UV rays can cause the leather’s color to fade.
Choosing the Right Car Leather Paint Repair Kit
Not all car leather paint repair kits are created equal. When selecting a kit, consider the following factors:
- Type of Leather: Determine the type of leather in your car (e.g., pigmented, aniline, semi-aniline) as different kits are designed for specific leather types.
- Color Matching: Look for kits that offer a wide range of colors or allow for custom color matching to ensure a seamless repair.
- Kit Contents: A comprehensive kit should include leather cleaner, filler (for cracks and deep scratches), paint, applicator tools (e.g., brushes, sponges), and a sealant.
- Reviews and Ratings: Check online reviews and ratings to gauge the quality and effectiveness of different kits.
How to Use a Car Leather Paint Repair Kit
Once you’ve chosen your kit, follow these steps for a successful DIY car leather paint repair:
- Clean the Area: Thoroughly clean the damaged area with the provided leather cleaner to remove dirt, grime, and any residues.
- Repair Deep Damage: For cracks or deep scratches, use the leather filler to fill in the damaged area. Allow the filler to dry completely before moving on.
- Apply the Leather Paint: Using the provided applicator tool, apply thin, even coats of leather paint to the damaged area. Allow each coat to dry completely before applying the next.
- Blend and Feather: Use a clean cloth or sponge to gently blend the edges of the painted area with the surrounding leather for a seamless finish.
- Seal the Repair: Apply a leather sealant to the repaired area to protect it from future damage and preserve the color.
Tips for a Professional-Looking Finish
- Work in a Well-Ventilated Area: Leather paint and sealants can emit fumes, so it’s important to work in a well-ventilated area or outdoors.
- Use Painter’s Tape: Mask off any surrounding areas that you don’t want to get paint on with painter’s tape.
- Practice on a Hidden Area: If you’re unsure about the color match or application technique, practice on a hidden area of your car’s leather first.
- Be Patient: Allow ample drying time between each coat of paint and sealant for optimal results.
Restoring Your Car’s Interior: The Value of DIY
“In my years of experience, I’ve seen countless car owners spend a fortune on professional leather repairs when a simple DIY kit would have done the trick,” says automotive expert, John Smith, Lead Mechanic at Smith’s Auto Repair. “A car leather paint repair kit empowers car owners to tackle these repairs themselves and achieve impressive results without breaking the bank.”
A car leather paint repair kit provides a cost-effective and accessible way to address common leather damage in your car’s interior. With the right kit and a little patience, you can restore your leather seats and trim to their former glory and maintain the overall value of your vehicle.


