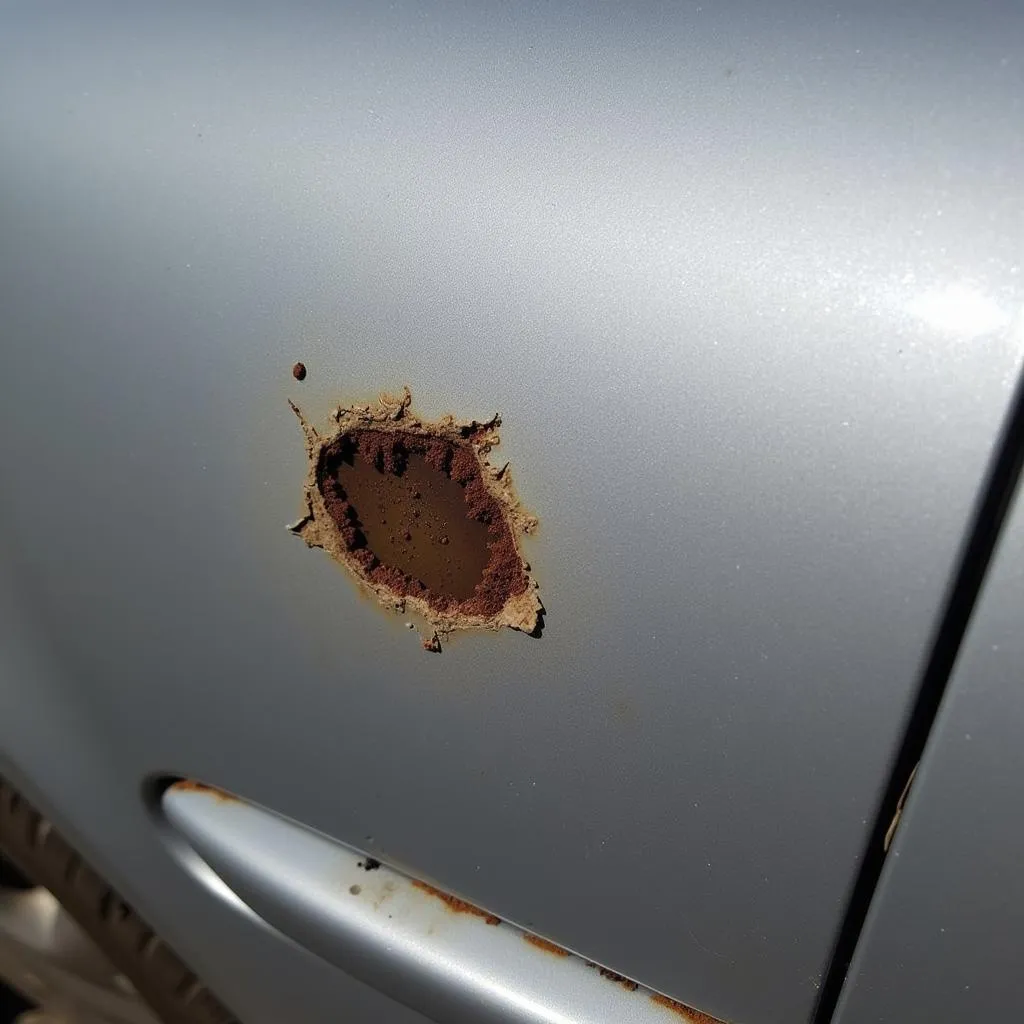
Discovering a rock chip on your car’s pristine paint job can be disheartening. But before you despair, understand that these minor blemishes are common and often easily fixable. Whether you’re dealing with a tiny nick or a larger chip, this guide provides a step-by-step approach to repair car paint chips from rocks, empowering you to restore your car’s finish with confidence.
Understanding Rock Chips and Their Impact
Rock chips are, unfortunately, a fact of life for most car owners. These tiny craters in your car’s paint occur when small stones, gravel, or other debris are kicked up by tires and collide with your vehicle. While seemingly minor, ignoring rock chips can lead to:
- Rust: The exposed metal underneath the paint becomes vulnerable to moisture and air, leading to rust formation.
- Paint Peeling: If left untreated, a chip can grow larger, potentially causing surrounding paint to peel away.
- Diminished Aesthetics: Rock chips detract from your car’s overall appearance.
 Close-up of a rock chip exposing bare metal on a car door
Assessing the Damage: Is DIY Repair Right for You?
Before grabbing your tools, it’s essential to assess the severity of the rock chip. DIY repair is suitable for:
- Small Chips: Chips smaller than a pencil eraser are typically manageable for beginners.
- Surface-Level Damage: Chips affecting only the top layers of paint can usually be addressed with a DIY approach.
However, for:
- Large Chips: Chips larger than a dime often require professional attention.
- Deep Damage: Chips exposing multiple layers of paint or bare metal are best left to professionals.
- Cracks or Splits: Damage extending beyond a simple chip will require professional repair.
Gathering Your Rock Chip Repair Arsenal
Equipping yourself with the right tools and materials is crucial for a successful DIY rock chip repair:
- Cleaning Supplies: Microfiber cloths, car wash soap, isopropyl alcohol
- Touch-Up Paint: Obtain the precise color match for your car. Check your owner’s manual or the information sticker inside the driver’s side door jamb for the paint code.
- Touch-Up Paint Applicators: Choose between a brush applicator (for smaller chips) or a pen applicator (for larger chips).
- Clear Coat: Provides a protective, glossy finish.
- Sandpaper (optional): Fine-grit sandpaper (2000-grit or higher) may be needed for smoothing larger chips.
- Rubbing Compound (optional): Helps blend the repair and restore shine.
How to Repair Car Paint Chips: A Step-by-Step Guide
Follow these steps to tackle those pesky rock chips:
-
Clean the Area: Thoroughly wash your car and allow it to dry completely. Use isopropyl alcohol to clean the chipped area, removing any dirt, wax, or grease.
-
Prepare the Chip (If Necessary): For larger chips, use fine-grit sandpaper to smooth out any jagged edges. Be extremely gentle to avoid damaging the surrounding paint.
-
Apply Touch-Up Paint: Using the applicator, carefully dab a small amount of touch-up paint onto the chip. Apply in thin layers, allowing each layer to dry completely before applying the next.
-
Apply Clear Coat (If Necessary): Once the touch-up paint is dry, apply a thin layer of clear coat, following the same technique used for the paint.
-
Level the Surface (Optional): If needed, use fine-grit sandpaper to carefully level the dried clear coat with the surrounding paint surface.
-
Polish for a Flawless Finish (Optional): Use a rubbing compound and a microfiber cloth to polish the repaired area, blending it seamlessly with the surrounding paint.
Expert Insights from John Miller, Automotive Paint Specialist
“When it comes to DIY car paint chip repair, patience is key,” advises John Miller, a seasoned automotive paint specialist. “Applying multiple thin layers of paint yields a far better result than one thick, gloppy layer. Additionally, don’t underestimate the importance of proper color matching. Even a slight discrepancy can be noticeable, so invest the time to find the perfect paint match for your vehicle.”
Preventing Future Rock Chips
While some rock chips are unavoidable, you can take steps to minimize their occurrence:
- Maintain a Safe Following Distance: Increase the distance between your car and the vehicle ahead, especially on gravel roads or highways.
- Invest in Paint Protection Film: Consider applying a clear, protective film to vulnerable areas like the hood, bumpers, and mirrors.
- Wash Your Car Regularly: Regular washing removes debris and contaminants that can exacerbate chip damage.
How to Repair Car Paint Chips: FAQs
Q: Can I use nail polish to repair car paint chips?
A: While tempting, nail polish is not formulated for automotive paint and will not adhere properly or offer the same level of durability.
Q: How long does touch-up paint take to dry?
A: Drying times vary depending on the product, temperature, and humidity. Generally, allow at least 24 hours for touch-up paint to dry completely.
Q: Can I wax over touch-up paint?
A: Yes, but wait at least 30 days after the repair to allow the touch-up paint to fully cure.
Need More Help?
Still have questions about car paint chip repair? We’re here to assist you! Contact us via WhatsApp: +1(641)206-8880 or Email: [email protected]. Our dedicated team is available 24/7 to provide expert advice and guidance.


