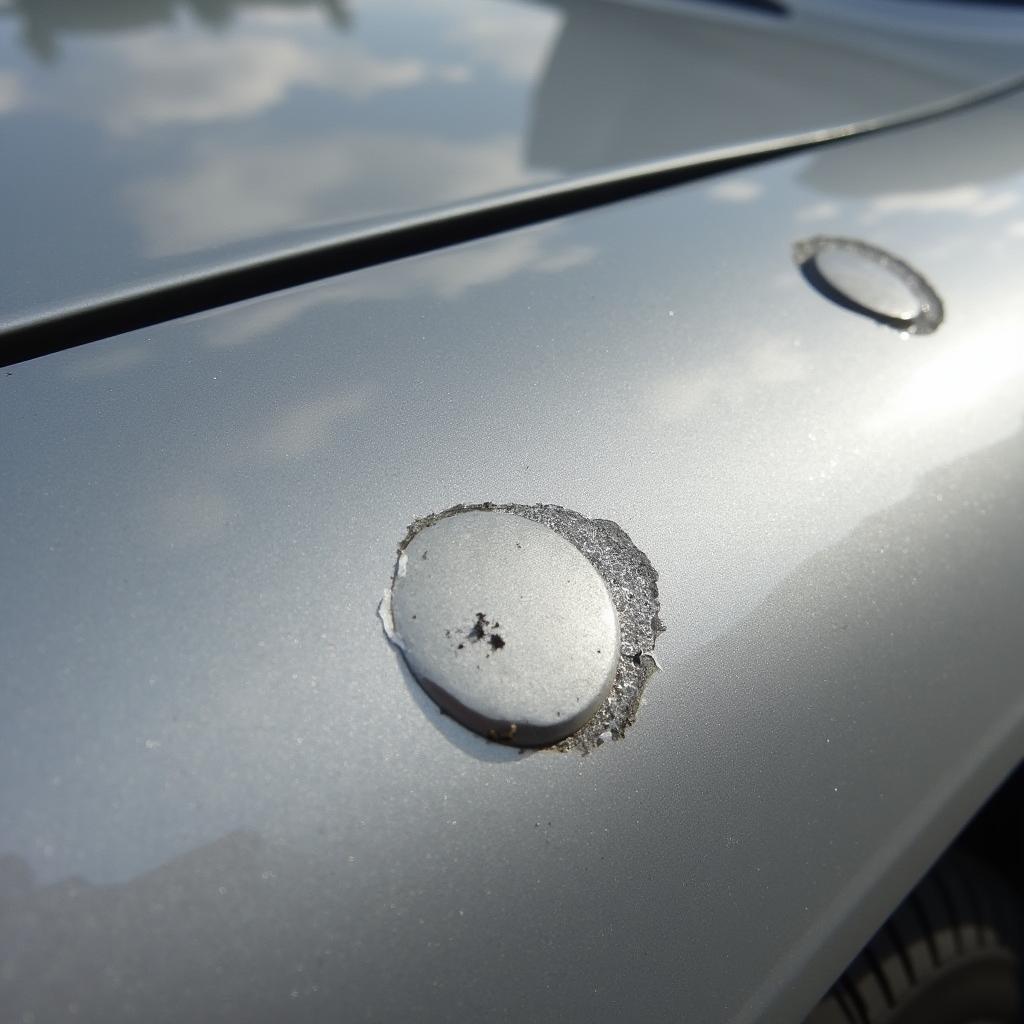
Discovering a chipped paint on your car can be disheartening, but it’s a common issue that can be addressed with the right approach. Whether it’s a minor stone chip or a larger area of damage, this comprehensive guide will provide you with a step-by-step approach to repair chipped paint on your car and restore its pristine look.
Assessing the Damage: A Crucial First Step
Before diving into the repair process, it’s essential to assess the severity of the chipped paint. This will determine the appropriate repair method and tools needed.
- Minor Chips: These are small, shallow chips that haven’t penetrated through the primer layer.
- Medium Chips: These chips are larger and may expose the primer or bare metal underneath.
- Severe Chips: These chips are extensive, exposing a significant portion of the underlying layers and may even involve rust formation.
DIY Repair for Minor and Medium Paint Chips
For minor and medium chips, a DIY approach can be a cost-effective solution. Here’s what you’ll need:
- Cleaning Supplies: Car wash soap, microfiber cloths, rubbing alcohol
- Touch-Up Paint: Obtain the exact color code for your car’s paint and purchase touch-up paint from a reputable supplier.
- Applicators: Choose from a touch-up pen, brush, or toothpick depending on the chip size.
- Clear Coat: If the chip has penetrated the clear coat, you’ll need a matching clear coat for a seamless finish.
- Sandpaper (Optional): For medium chips, fine-grit sandpaper (2000-grit) can help smooth out uneven surfaces before applying touch-up paint.
Step 1: Clean the Area
Thoroughly wash the area around the chip with car wash soap and water. Use rubbing alcohol to remove any remaining wax or grease.
Step 2: Prepare the Chip (For Medium Chips Only)
If the chip is medium-sized, lightly sand the area with fine-grit sandpaper to create a smooth surface for the touch-up paint.
Step 3: Apply Touch-Up Paint
Carefully apply a small amount of touch-up paint to the chip, ensuring it fills the entire area without overflowing onto the surrounding paint. Allow the paint to dry completely.
Step 4: Apply Clear Coat (If Needed)
If the chip had penetrated the clear coat, apply a thin layer of clear coat over the dried touch-up paint. This will provide a protective layer and enhance the shine.
Step 5: Sand and Polish (Optional)
For a professional-looking finish, you can lightly sand the area with very fine-grit sandpaper (3000-grit) after the clear coat has dried. Then, use a polishing compound to restore the shine.
When to Seek Professional Help
While DIY repairs are suitable for minor and some medium chips, certain situations warrant professional intervention:
- Large or Deep Chips: Extensive chips that expose a significant portion of the underlying layers require specialized tools and expertise.
- Rust Formation: Rust can spread quickly, compromising the structural integrity of the car’s body.
- Damage to Multiple Layers: If the chip has affected multiple paint layers or reached the metal, professional repair is necessary.
how to repair a paint chip on car
Professional Paint Chip Repair: What to Expect
Professional auto body shops have the expertise and equipment to handle all types of paint chip repairs. Here’s an overview of the process:
- Assessment and Color Matching: Professionals will assess the damage and use a spectrophotometer to ensure the touch-up paint matches your car’s existing paint color perfectly.
- Surface Preparation: The area surrounding the chip is thoroughly cleaned, sanded, and prepped to create a smooth surface.
- Paint Application: Using specialized spray guns, technicians apply multiple layers of paint, including primer, base coat, and clear coat, to achieve a seamless blend.
- Leveling and Buffing: Once the paint has dried, the area is leveled and buffed to remove any imperfections and restore the original shine.
Preventing Future Paint Chips: Proactive Measures
Prevention is always better than cure. Consider these tips to minimize the risk of future paint chips:
- Maintain a Safe Distance: Keep a safe following distance from other vehicles, especially on gravel or dirt roads.
- Regular Car Washes: Frequent car washes can help remove debris and contaminants that can cause chips.
- Protective Film (PPF): Consider applying a clear protective film to vulnerable areas like the hood, bumper, and mirrors.
Conclusion
Repairing chipped paint on your car is crucial to maintain its appearance and value. While DIY methods can effectively address minor and some medium chips, professional repair is recommended for severe damage or when you want the best possible finish. Remember, timely action is key to preventing further damage and ensuring a successful repair.
mobile car paint repair oxfordshire
FAQs about Repairing Chipped Paint on Cars
Can I use nail polish to repair a paint chip?
Using nail polish is not recommended as it doesn’t adhere well to car paint and can cause further damage.
How long does touch-up paint take to dry?
Drying time varies depending on the type of paint and environmental conditions, but it typically takes 24-48 hours for a complete cure.
Can I wash my car after repairing a paint chip?
It’s best to wait at least 72 hours after the repair before washing your car to allow the paint to fully cure.
How much does professional paint chip repair cost?
The cost varies depending on the severity of the damage, the make and model of your car, and the location of the repair shop.
What is the best way to prevent rock chips on my car?
Maintaining a safe following distance from other vehicles, especially on gravel roads, is the most effective way to prevent rock chips.
Can I repair a paint chip if there is rust?
If rust is present, it’s best to consult with a professional as the rust needs to be properly treated before any paint repair can be done.
repair car scratch painting pen
Need further assistance? Reach out to our 24/7 support team via WhatsApp: +1(641)206-8880, Email: [email protected]. We’re here to help!


