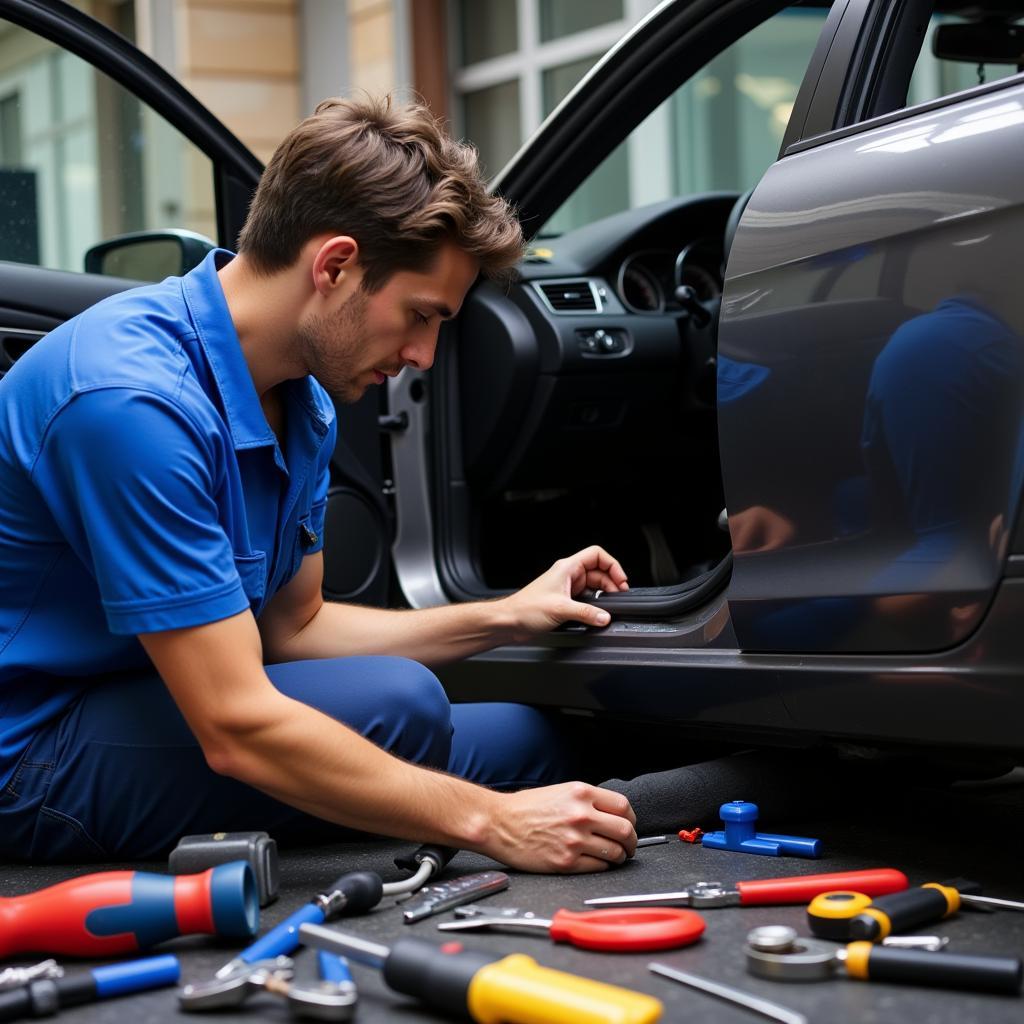
Car window rubber trim, also known as window weatherstripping, plays a crucial role in keeping your car dry, quiet, and comfortable. It acts as a seal between your car window and the car frame, preventing water leaks, wind noise, and dust from entering your vehicle. However, like any car part, rubber trim can deteriorate over time due to exposure to the elements, general wear and tear, or improper care. When this happens, you might experience annoying wind noise, water leaks, or even difficulty operating your car windows. This is where understanding how to repair your car window rubber trim comes in handy.
This comprehensive guide will provide you with everything you need to know about Car Window Rubber Trim Repair, from identifying the signs of damage to choosing the right repair method for your needs.
Signs Your Car Window Rubber Trim Needs Repair
Before diving into the repair process, it’s essential to identify whether your car window rubber trim actually needs attention. Here are some common signs to look out for:
- Visible cracks, tears, or holes in the rubber trim
- Water leaks around the windows, especially after rain or car washes
- Increased wind noise or whistling sounds while driving
- Difficulty rolling your windows up or down smoothly
- Loose or detached rubber trim
- Mold or mildew growth on or around the trim
If you notice any of these signs, it’s crucial to address the issue as soon as possible. Ignoring damaged rubber trim can lead to more severe problems like water damage to your car’s interior, compromised insulation, and even electrical issues.
Car Window Rubber Trim Repair Options
Fortunately, repairing your car window rubber trim doesn’t always require a costly visit to the mechanic. Depending on the severity of the damage, you can choose from a variety of repair methods:
1. Rubber Trim Sealant
For minor cracks, tears, or gaps in the rubber trim, using a rubber trim sealant is an effective and affordable solution. Rubber trim sealant is a specialized adhesive that bonds to rubber surfaces, creating a watertight and airtight seal.
How to Apply Rubber Trim Sealant:
- Thoroughly clean the damaged area with soap and water, and allow it to dry completely.
- Apply a thin, even layer of rubber trim sealant to the damaged area, following the manufacturer’s instructions.
- Use your finger or a blunt tool to smooth out the sealant and ensure a proper seal.
- Allow the sealant to cure for the recommended amount of time before exposing it to moisture.
Pros:
- Cost-effective
- Easy to apply
- Suitable for minor damage
Cons:
- May not be a permanent solution
- Not ideal for large areas of damage
2. Rubber Trim Replacement
If the rubber trim is severely damaged, torn, or beyond repair with sealant, replacement is the best option. While this method requires a bit more effort and expense, it provides a lasting solution and restores the integrity of your car’s weatherstripping.
How to Replace Car Window Rubber Trim:
- Purchase a replacement rubber trim specifically designed for your car make, model, and year.
- Carefully remove the old rubber trim, starting from one corner and gently pulling it away from the car frame.
- Clean the area where the old trim was attached, removing any residue or adhesive.
- Install the new rubber trim, starting from one end and pressing it firmly into place along the window channel.
- Ensure the trim is properly seated and aligned with the window frame.
Pros:
- Provides a long-lasting solution
- Restores the original look and functionality of the trim
- Suitable for severe damage
Cons:
- More expensive than sealant
- Can be time-consuming to install
- May require specialized tools
Tips for Preventing Car Window Rubber Trim Damage
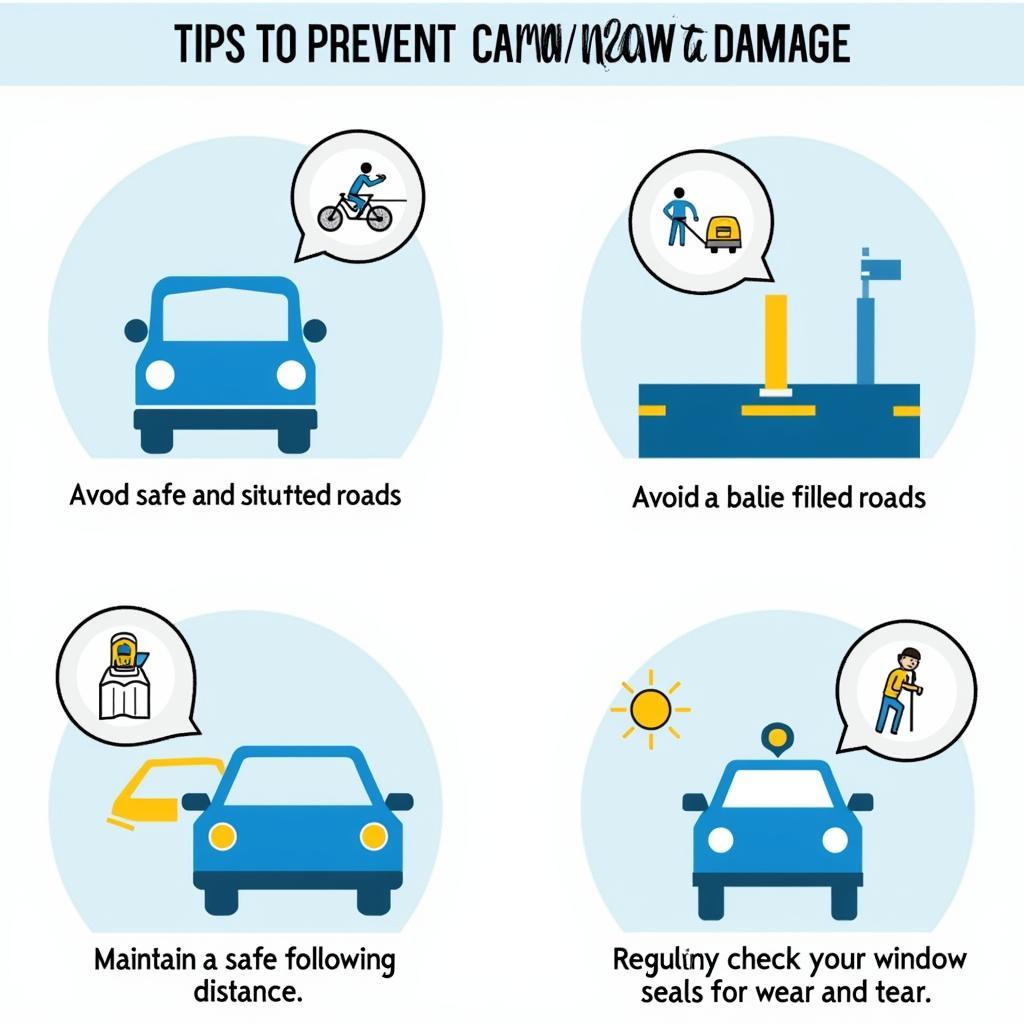
While repairing damaged rubber trim is relatively straightforward, prevention is always better than cure. Here are some tips to help you prolong the life of your car’s weatherstripping:
-
Regular Cleaning: Clean your car window rubber trim regularly with a mild soap solution and a soft-bristled brush to remove dirt, grime, and debris that can accelerate wear and tear.
-
Lubrication: Apply a silicone-based lubricant to your car window rubber trim every few months to keep it supple and prevent drying, cracking, and sticking.
-
Avoid Harsh Chemicals: Avoid using harsh chemicals, solvents, or petroleum-based products on your rubber trim, as these can damage the rubber and shorten its lifespan.
-
Proper Window Usage: Avoid slamming your car doors and operating your windows forcefully, as this can put unnecessary stress on the rubber trim and lead to premature wear.
Car Window Rubber Trim Repair: Seeking Professional Help
While DIY repair methods can be effective for minor damage, there are instances when seeking professional help is recommended. If you’re uncomfortable tackling the repair yourself, or if the damage is extensive and requires specialized tools or expertise, it’s best to consult a qualified mechanic or auto glass specialist.
Car Window Rubber Trim Repair Cost
The cost of car window rubber trim repair can vary depending on the severity of the damage, the type of repair required, and labor costs in your area. Rubber trim sealant is the most affordable option, typically costing between $5 and $20 per tube. Replacing the entire rubber trim can range from $50 to $200 or more, depending on the make and model of your car.
Conclusion
Maintaining your car window rubber trim is essential for a comfortable, quiet, and leak-free driving experience. By understanding the signs of damage, choosing the right repair method, and following preventive measures, you can keep your car’s weatherstripping in optimal condition for years to come. Remember, if you’re unsure about any aspect of car window rubber trim repair, don’t hesitate to seek professional help from a trusted mechanic or auto glass specialist.
To find out more about specific car window repair needs, check out our resources on off track car window repair, car power window repair tucson, and ford car window repair.


