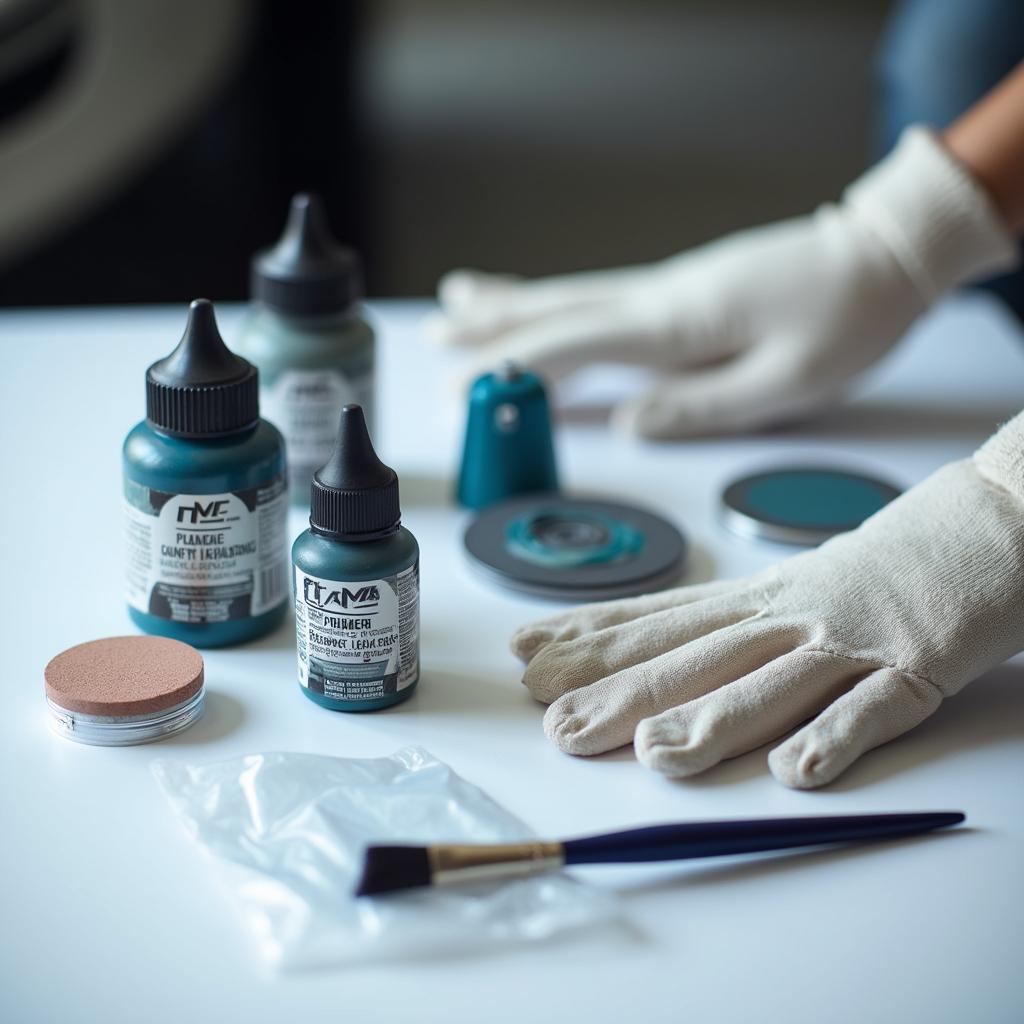
Touch up car paint repair is a quick, cost-effective solution for minor paint damage like scratches and chips. It involves applying a small amount of paint to conceal the imperfection and blend it with the surrounding area. While it may seem daunting, touch up car paint repair can be easily done at home with the right tools and techniques.
Understanding Car Paint Damage
Before you begin, it’s crucial to assess the severity of the damage. Touch up paint repair works best on minor scratches, chips, and nicks. Deep scratches that expose the metal underneath or extensive paint damage may require professional attention for optimal results.
Gathering Your Touch Up Car Paint Repair Supplies
To ensure a smooth and successful repair, you will need the following:
- Touch Up Paint: Finding the perfect color match is essential. Your car’s VIN number, located on the driver’s side door jamb, will help you locate the exact paint code.
- Primer (for deep scratches): Primer helps the touch up paint adhere to the bare metal, preventing rust and ensuring longevity.
- Clear Coat: Clear coat adds a protective layer and gloss, helping the touch up paint blend seamlessly.
- Applicators: Choose between a brush applicator, a pen applicator, or a matchstick depending on the size and type of damage.
- Cleaning Supplies: Isopropyl alcohol, microfiber cloths, and masking tape are essential for preparing and protecting the area.
- Sandpaper (optional): Fine-grit sandpaper can be used for smoothing rough edges and blending the paint.
Step-by-Step Guide to Touch Up Car Paint Repair
- Clean the Area: Thoroughly clean the area with soap and water, then use isopropyl alcohol to remove any remaining dirt or wax.
- Mask the Surrounding Area: Use masking tape to protect the surrounding paint from accidental application.
- Apply Primer (if necessary): If the scratch is deep and exposes the metal, apply a thin coat of primer to the affected area and allow it to dry completely.
- Shake the Touch Up Paint: Shake the touch up paint bottle vigorously for at least 30 seconds to ensure the pigment is evenly mixed.
- Apply Thin Coats: Apply thin coats of touch up paint to the damaged area, allowing each coat to dry completely before applying the next. Patience is key here, as multiple thin coats are better than one thick coat.
- Level the Surface (optional): If necessary, use fine-grit sandpaper to gently smooth out any unevenness after the paint has dried. Be careful not to sand through the clear coat.
- Apply Clear Coat: Once the touch up paint is dry, apply a thin layer of clear coat to the area, extending slightly beyond the repaired spot for a seamless blend.
Tips for a Professional-Looking Finish
- Practice Makes Perfect: Practice on a hidden area of your car or a similar surface before tackling a visible area.
- Work in a Well-Lit Area: Good lighting is essential for accurate color matching and application.
- Avoid Applying Too Much Paint: Applying too much paint will create a raised area that stands out.
- Be Patient: The drying process can take time. Avoid rushing the application or touching the repaired area until it is completely dry.
When to Consult a Professional
While touch up car paint repair is an excellent DIY solution for minor damage, it’s essential to recognize when professional help is necessary. If you’re dealing with extensive paint damage, deep scratches, or dents, it’s best to consult a reputable auto body shop for a seamless repair.
Conclusion
Touch up car paint repair is a valuable skill for any car owner. By following these steps and tips, you can effectively conceal minor paint imperfections and maintain your car’s appearance. Remember, patience and attention to detail are key to achieving a flawless finish that will leave your car looking its best. If you ever need support, don’t hesitate to contact us via WhatsApp at +1(641)206-8880 or email us at [email protected]. Our customer support team is available 24/7 to assist you.


