Knowing how to paint car body repair can save you money and give you a sense of accomplishment. Whether you’re dealing with minor scratches or more extensive damage, this comprehensive guide will walk you through the process, equipping you with the knowledge and confidence for a professional-looking finish.
Assessing the Damage and Gathering Supplies
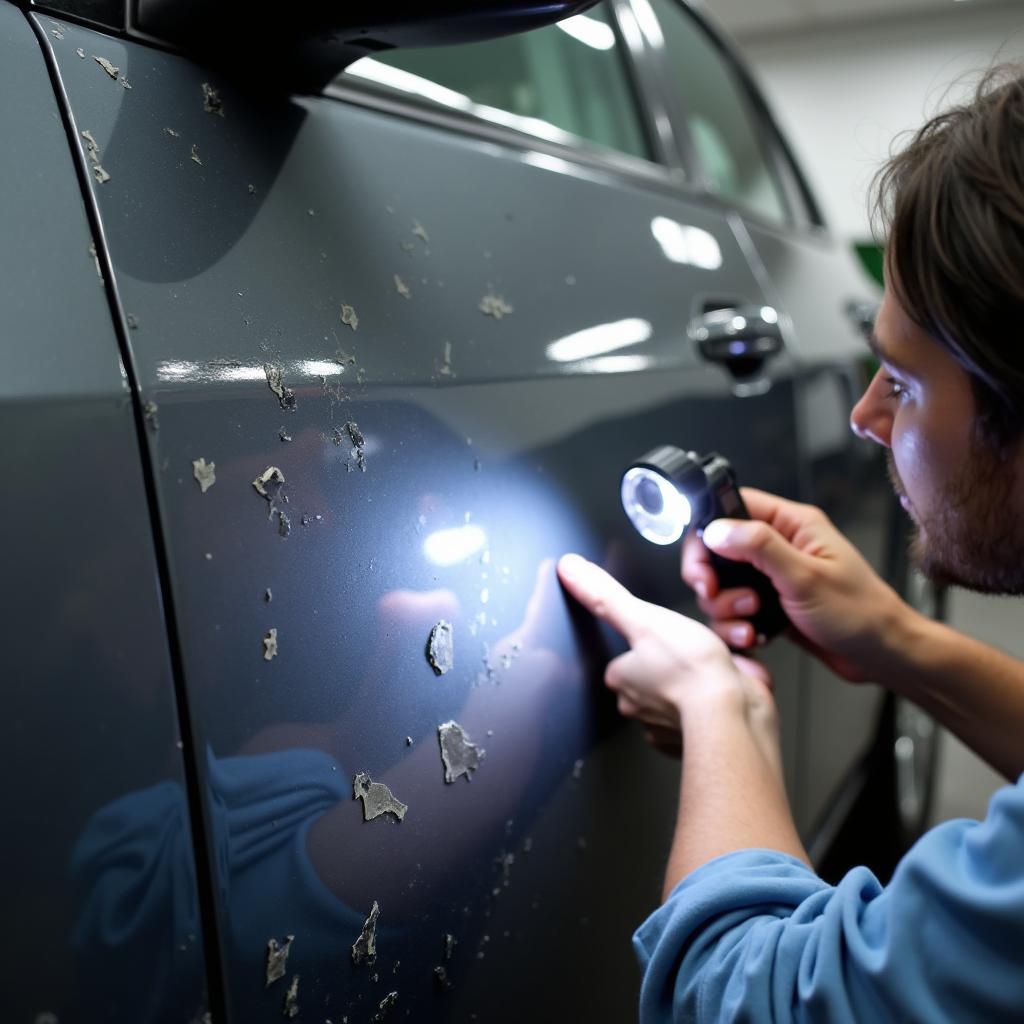
Before you begin, it’s crucial to assess the extent of the damage. Is it a minor scratch, a deep gouge, or damage requiring bodywork? This assessment will determine the tools and materials you’ll need.
For most car body paint repairs, you’ll need:
- Sandpaper: Various grits (220, 400, 600, 800) for smoothing and prepping the surface.
- Body Filler: (If necessary) to fill dents and even out imperfections.
- Primer: Provides a smooth base for the paint to adhere to.
- Automotive Paint: Choose the correct color and type for your vehicle.
- Clear Coat: Protects the paint and provides a glossy finish.
- Masking Tape and Paper: To protect areas you don’t want to paint.
- Tack Cloth: For removing dust and debris before painting.
- Paint Spray Gun: (Recommended) For a smooth and even paint application.
- Safety Gear: Gloves, mask, and safety glasses.
Preparing the Work Area
Choose a well-ventilated area, preferably indoors, to protect your work from dust and weather. Lay down a drop cloth and ensure adequate lighting.
Step-by-Step Painting Process
Here’s a breakdown of the painting process:
-
Clean and Sand the Area: Thoroughly clean the repair area with soap and water. Allow it to dry completely. Using 220-grit sandpaper, sand the damaged area and feather the edges outward.
-
Apply Body Filler (If Needed): If there are dents, apply body filler in thin, even coats, allowing each coat to dry before sanding with progressively finer sandpaper (400-grit, then 600-grit).
-
Mask Off the Area: Use masking tape and paper to cover any areas that you don’t want to paint. Make sure the edges are smooth to prevent paint bleed.
-
Prime the Surface: Apply two to three thin coats of primer, allowing each coat to dry thoroughly before applying the next. Sand lightly with 600-grit sandpaper between coats.
-
Apply the Base Coat: Shake your automotive paint well and apply several thin coats, allowing each to dry according to the paint manufacturer’s instructions.
-
Apply Clear Coat: Once the base coat is dry, apply two to three layers of clear coat, allowing adequate drying time between each.
-
Wet Sand and Buff (Optional): For an extra smooth and glossy finish, wet sand the clear coat with 800-grit sandpaper, followed by 1000-grit and 1500-grit. Finally, use a polishing compound and buffer to achieve a mirror-like shine.
Tips for a Professional Finish
- Practice Makes Perfect: If you’re new to car painting, practice on scrap metal first to get a feel for the spray gun and paint application.
- Thin Coats are Key: Apply thin coats to prevent runs and ensure even coverage.
- Patience is Paramount: Allow ample drying time between each coat and stage of the process. Rushing can lead to imperfections.
Conclusion
Painting your car body repair requires patience and attention to detail, but the results can be incredibly rewarding. By following this comprehensive guide and using quality materials, you can achieve a professional-looking finish that will have your car looking its best. Remember, practice makes perfect, so don’t be afraid to tackle this project and enjoy the satisfaction of a job well done!
FAQs About Car Body Repair Painting
Q: Can I use regular spray paint on my car?
A: It’s not recommended. Automotive paint is specifically designed to withstand the elements and last longer on a car’s surface.
Q: How long does it take for car paint to cure completely?
A: While paint may feel dry to the touch within a few hours, it can take several weeks for it to fully cure and harden.
Q: Can I paint over existing car paint?
A: Yes, but the surface needs to be properly prepared by sanding and priming to ensure good adhesion.
Q: How can I fix paint runs or sags?
A: If caught early, you can gently smooth them out with a wet finger or brush. Once dry, you’ll need to sand the imperfections and repaint the area.
Q: Should I wet sand the entire car after painting?
A: It’s generally not necessary unless you’re aiming for a show-car finish. Focus on wet sanding only the repaired and painted areas.
Need more help with your car paint after body repair? Check out our other resources:
- Car Body Paint Repair
- Car Paint After Body Repair
- Car Repair Near Me Paint
- Car Body Paint Repair Guide
- Car Body Paint Scratch Repair Pen
For personalized guidance and expert advice on car body paint repair, reach out to our team via WhatsApp: +1(641)206-8880 or Email: [email protected]. We offer 24/7 support to help you achieve a flawless finish for your vehicle.


