A cracked car window can be a real pain – a safety hazard and a potential invitation for theft. But before you rush to a mechanic, consider a DIY solution: a car window crack repair kit. These handy kits can often save you time, money, and a whole lot of hassle.
Understanding Car Window Cracks
Not all car window damage is created equal. While a shattered window requires professional replacement, minor cracks and chips can often be repaired using a DIY kit. These kits are most effective on:
- Bullseye cracks: Circular cracks with a small point of impact.
- Star cracks: Cracks radiating out from a central point.
- Combination breaks: A mix of bullseye and star cracks.
However, it’s important to note that DIY kits are not suitable for:
- Cracks longer than 12 inches.
- Cracks on the edge of the windshield.
- Cracks that penetrate both layers of glass.
- Damage affecting the driver’s line of sight.
How Car Window Crack Repair Kits Work
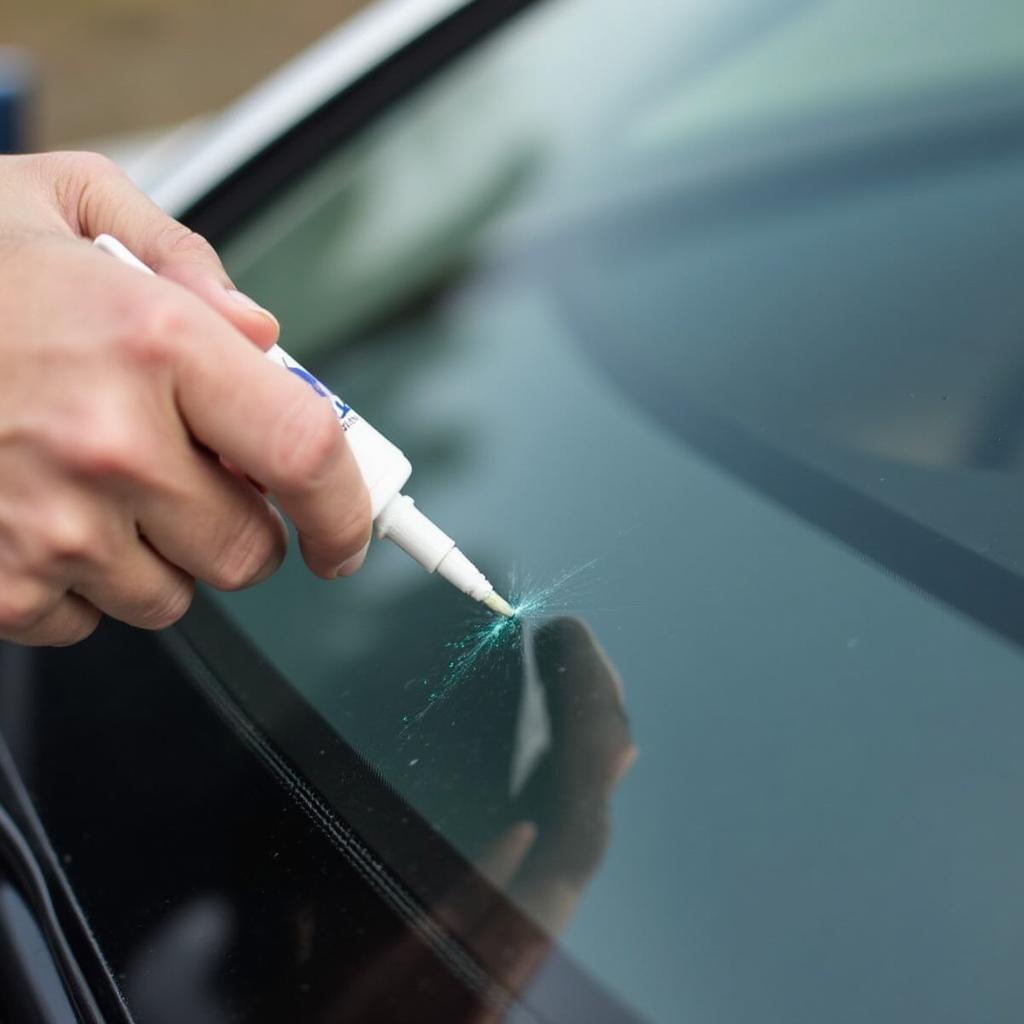
Car window crack repair kits work by using a resin that fills the crack and then cures under UV light. This process restores the structural integrity of the glass, prevents the crack from spreading, and improves the appearance of the damage.
Choosing the Right Car Window Crack Repair Kit
When choosing a car window crack repair kit, consider the following factors:
- Type of crack: Some kits are specifically designed for certain types of cracks.
- Resin quality: Look for kits with high-quality resin that cures clear and strong.
- Ease of use: Choose a kit with clear instructions and easy-to-use applicators.
- UV curing lamp: Some kits include a UV lamp, while others require you to purchase one separately.
- Price: Prices can vary, so compare options to find the best value.
Applying a Car Window Crack Repair Kit: A Step-by-Step Guide
While specific instructions may vary depending on the kit, here’s a general overview of the process:
- Clean the area: Thoroughly clean the damaged area and remove any loose glass fragments.
- Prepare the injector: Attach the resin chamber to the injector tool as directed in the kit’s instructions.
- Inject the resin: Carefully position the injector over the crack and slowly inject the resin, ensuring it fills the entire crack.
- Remove air bubbles: Use the provided tool to remove any air bubbles trapped within the resin.
- Cure the resin: Apply the curing strip over the repaired area and expose it to UV light (sunlight or a UV lamp) for the recommended time.
- Remove excess resin: Once cured, carefully scrape away any excess resin with a razor blade.
Tips for Successful Car Window Crack Repair
- Act quickly: Repair the crack as soon as possible to prevent dirt and moisture from accumulating.
- Work in a shaded area: Direct sunlight can cause the resin to cure too quickly.
- Follow instructions carefully: Each kit has specific instructions, so follow them closely for best results.
- Be patient: Properly applying the resin and allowing sufficient curing time are crucial for a successful repair.
Car Window Crack Repair Kit: A Cost-Effective Solution
Using a car window crack repair kit can save you a significant amount of money compared to professional repair or windshield replacement. It’s also a convenient DIY solution that can be done at home. However, if you’re unsure about tackling the repair yourself, it’s always best to consult a professional.
For residents of certain areas, we can help connect you with reputable car window repair services:
- Looking for reliable car window chip repair in Nottingham? Click here for more information.
- Need cheap car window repair in Fresno, CA? We can help!
Conclusion
A car window crack repair kit can be a valuable tool for any car owner. By addressing minor cracks promptly and effectively, you can prevent further damage, maintain the safety of your vehicle, and avoid costly replacements. Remember to choose the right kit for your needs, follow the instructions carefully, and don’t hesitate to seek professional help if needed.


