Fixing that annoying scratch on your car bumper doesn’t always require a trip to the auto shop. With the power of YouTube tutorials and a little elbow grease, you can often tackle minor bumper scratch repairs right in your own driveway. This guide will walk you through everything you need to know about using YouTube to your advantage for a successful car bumper scratch repair.
Understanding the Severity of the Scratch
Before diving into a DIY repair, it’s crucial to assess the damage. A simple “Car Bumper Scratch Repair Youtube” search will reveal a wide range of techniques, but not all scratches are created equal.
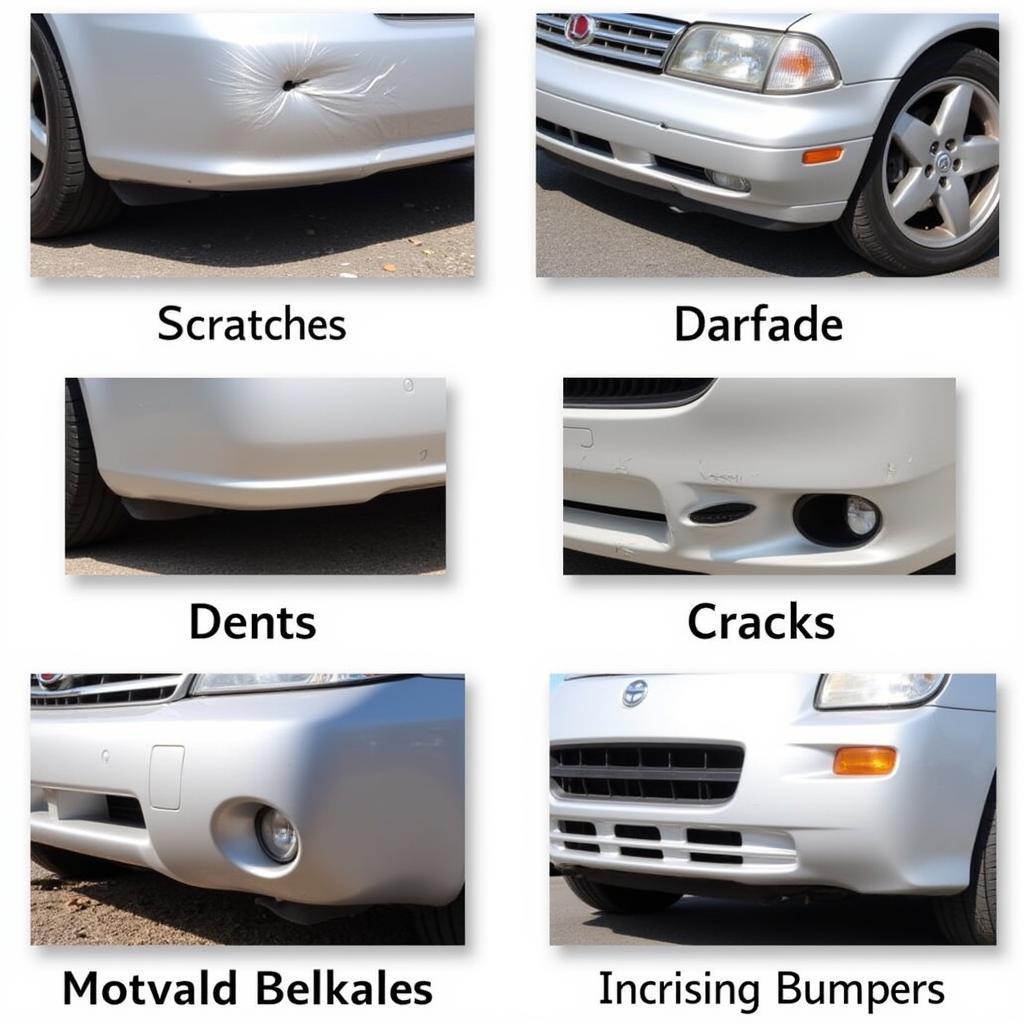
- Clear Coat Scratches: These are the most superficial, affecting only the clear coat protecting your car’s paint.
- Paint Scratches: These go deeper, exposing the primer or even bare metal underneath.
- Deep Gouges: These penetrate beyond the paint, potentially damaging the bumper itself.
While YouTube can be an invaluable resource for DIY repairs, deep gouges and extensive damage are best left to professional auto body shops.
Gathering the Right Tools and Materials
Once you’ve determined your scratch is DIY-friendly, it’s time to gather your supplies. YouTube videos will often list the specific products they use, but here are some common items:
- Cleaning Supplies: Car wash soap, microfiber cloths, rubbing alcohol
- Sandpaper: Varying grits (e.g., 2000, 3000) for different stages of repair
- Masking Tape: To protect surrounding areas
- Primer (if necessary): For scratches that reach the primer or bare metal
- Touch-Up Paint: Matched to your car’s exact color code
- Clear Coat: To seal and protect the repaired area
- Polishing Compound: To restore shine
- Applicators: Foam brushes, microfiber cloths
Remember to check the specific YouTube tutorial you’re following for their recommended brands and product types.
Finding the Perfect YouTube Tutorial
YouTube is a treasure trove of car repair advice, but finding the right tutorial for your specific needs can be overwhelming. Here are some tips to narrow your search:
- Be Specific: Instead of just “car bumper scratch repair,” try “DIY clear coat scratch repair” or “how to fix deep paint scratch on plastic bumper.”
- Check Upload Date: Look for recent videos to ensure the information and products are up-to-date.
- Read the Comments: Viewer feedback can provide valuable insights into the tutorial’s clarity and effectiveness.
- Look for Experience: Choose tutorials from channels specializing in car repair or DIY projects.
Expert Insights
“Don’t underestimate the power of a good close-up shot,” says Michael Turner, owner of Turner Auto Body and Restoration. “When evaluating a YouTube tutorial, look for videos that clearly show each step of the repair process in detail. This will give you a better understanding of the techniques involved and help you achieve a more professional-looking result.”
Following the Steps Carefully
With your tools ready and the perfect tutorial queued up, it’s time to start repairing. Here’s a general overview of the process, but always defer to your chosen YouTube guide:
- Clean the Area: Thoroughly wash and dry the scratched area.
- Sand (If Necessary): For deeper scratches, start with a coarser grit sandpaper and gradually work your way to a finer grit for a smooth finish.
- Clean Again: Remove any sanding dust with a microfiber cloth and rubbing alcohol.
- Mask Off the Area: Use painter’s tape to protect the surrounding paint from overspray.
- Apply Primer (If Necessary): If the scratch exposes bare metal or primer, apply a thin coat of primer to the affected area. Allow it to dry completely.
- Apply Touch-Up Paint: Using a fine-tipped brush or pen, carefully apply thin coats of touch-up paint, allowing each coat to dry before applying the next.
- Apply Clear Coat: Once the touch-up paint is dry, apply a few thin coats of clear coat, allowing each coat to dry completely.
- Wet Sand and Polish (If Necessary): For a seamless finish, you may need to wet sand the clear coat with very fine-grit sandpaper (e.g., 3000 grit) and then polish the area.
Final Tips and Considerations
- Practice Patience: Rushing the process will likely lead to subpar results.
- Work in a Well-Ventilated Area: Paint fumes can be harmful.
- Start Small: If you’re new to DIY car repair, consider practicing on a less conspicuous area of your car first.
- Don’t Be Afraid to Seek Professional Help: If you’re unsure about any step of the process, it’s always best to consult with a professional.
Conclusion
With the abundance of informative “car bumper scratch repair youtube” videos available, you can often tackle these DIY repairs with confidence. By following the steps carefully and using the right techniques, you can save time and money while restoring your car’s appearance.
FAQs
Q: Can I use nail polish to repair a car scratch?
A: While nail polish might seem like a quick fix, it’s not a suitable solution for car scratch repair. Nail polish isn’t designed to withstand the elements and can damage your car’s paint over time.
Q: How long does it take for touch-up paint to dry?
A: Drying times vary depending on the type of touch-up paint and environmental conditions, but it’s generally best to wait at least 24 hours before washing or waxing the repaired area.
Need more help with your car scratch repair? Contact our team of experts via WhatsApp: +1(641)206-8880 or email us at [email protected]. We’re available 24/7 to assist you. You can also check out our other articles on car repair tips and tricks on our website CarRepairOnline.


