Leather car seats are a luxurious addition to any vehicle, but over time, even the highest quality leather can suffer from wear and tear. One common issue is seam separation, where the stitching that holds the leather panels together starts to unravel. While this might seem like a job for a professional upholsterer, it’s actually something you can tackle yourself with the right tools and a bit of patience.
This comprehensive guide will walk you through the steps on how to repair a leather car seat seam, arming you with the knowledge to restore your seats to their former glory.
Assessing the Damage and Gathering Your Supplies
Before diving into the repair process, it’s essential to assess the extent of the damage to your car seat seam. This assessment will help determine the best approach for the repair.
- Minor Seam Separation: If the seam has just started to come undone with only a few stitches loose, a simple repair using a leather needle and thread might suffice.
- Moderate Seam Separation: For seams with more significant unraveling but intact leather panels, you’ll need a stronger thread like a heavy-duty upholstery thread and a curved needle for easier access.
- Severe Seam Separation or Tears: If the leather panels themselves are torn or severely damaged, a more involved repair using a leather patch and adhesive might be necessary. In some cases, consulting a professional upholsterer is advisable.
Once you’ve evaluated the damage, gather the following supplies:
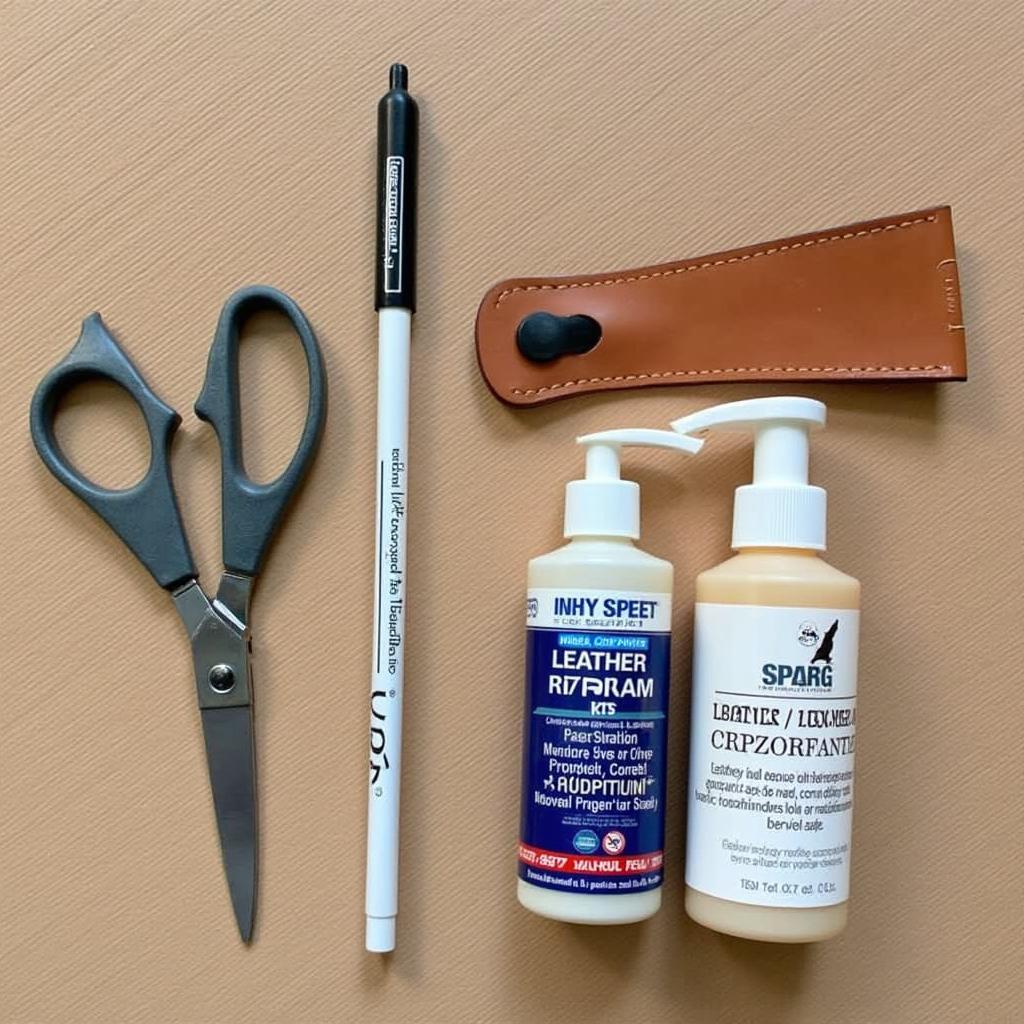
- Leather Repair Kit: A good quality kit will include essential items like a leather needle, heavy-duty thread, a curved needle, and potentially leather adhesive and patches.
- Scissors: Sharp fabric scissors for trimming loose threads.
- Leather Cleaner and Conditioner: Thoroughly cleaning and conditioning the area around the seam will ensure the adhesive (if used) bonds properly and the repair blends seamlessly.
- Masking Tape (Optional): Useful for holding the separated seam edges together while you work.
- Leather Filler (Optional): If the seam separation has left a noticeable indentation, leather filler can help create a smoother finish.
 Leather car seat repair tools
Step-by-Step Guide to Repairing a Leather Car Seat Seam
Follow these steps to effectively repair your leather car seat seam:
-
Clean the Area: Begin by thoroughly cleaning the damaged seam and the surrounding leather using a dedicated leather cleaner. This step removes dirt, grime, and any conditioning residue that might hinder the adhesive’s bonding (if needed) and thread’s performance.
-
Prepare the Seam: For minor seam separation, simply trim any loose threads using sharp scissors. For more significant unraveling, carefully separate the leather panels along the seam to access the stitching. Use masking tape to temporarily hold the edges together for easier stitching.
-
Thread the Needle: Cut a length of heavy-duty upholstery thread (about 18-24 inches). Thread the needle, ensuring you have an adequate length on both sides to complete the seam repair.
-
Begin Stitching: Starting from a few stitches before the damaged area, insert the needle through the existing stitch holes. For moderate separation, use a curved needle to reach the underside of the seam more easily. Pull the thread through, ensuring even tension on both sides.
-
Continue Stitching: Work your way along the seam, following the original stitch pattern. For areas where stitches are missing, use the needle to create new holes, maintaining consistent spacing. Pull the thread taut after each stitch to create a secure and even seam.
-
Knotting Off: Once you’ve stitched past the damaged area, knot the thread securely on the underside of the seam. Trim any excess thread.
-
Apply Leather Adhesive (If Necessary): For severe seam separation or tears, apply a small amount of leather adhesive to the back of the seam edges. Carefully align and press the edges together, holding them in place for the manufacturer-recommended drying time.
-
Condition the Leather: After the adhesive has dried (if used) or the stitching is complete, apply a leather conditioner to the repaired area and the surrounding leather. This step helps moisturize the leather, prevents cracking, and blends the repair for a seamless look.
Expert Insights
“Many car owners think a damaged leather seat seam means an expensive trip to the upholsterer,” says John Miller, a veteran automotive leather repair specialist. “But with a bit of patience and the right approach, you can often achieve professional-looking results at home, saving both time and money.”
Conclusion
Repairing a leather car seat seam is a manageable DIY project that can save you a considerable amount of money compared to professional repairs. By following the steps outlined in this guide and using the right tools and techniques, you can restore your leather car seats to their former glory and enjoy that luxurious feel for miles to come.


