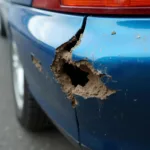
Finding a car paint chip on your vehicle can be frustrating, but it’s a common problem, especially with age and exposure to the elements. Fortunately, you don’t need to be a professional to fix minor paint chips yourself and restore your car’s appearance. This comprehensive guide will provide you with a step-by-step approach on how to repair car paint chips, saving you a trip to the auto body shop.
Understanding Car Paint Chips
Before you begin the repair process, it’s essential to understand the nature of car paint chips and the different layers involved.
A car’s paint job typically consists of four layers:
- Clear Coat: The outermost layer that provides protection from UV rays, scratches, and minor abrasions.
- Base Coat: This layer contains the actual color of your car.
- Primer: The primer layer promotes adhesion of the base coat to the metal surface and prevents rust.
- Metal: The metal body of your car.
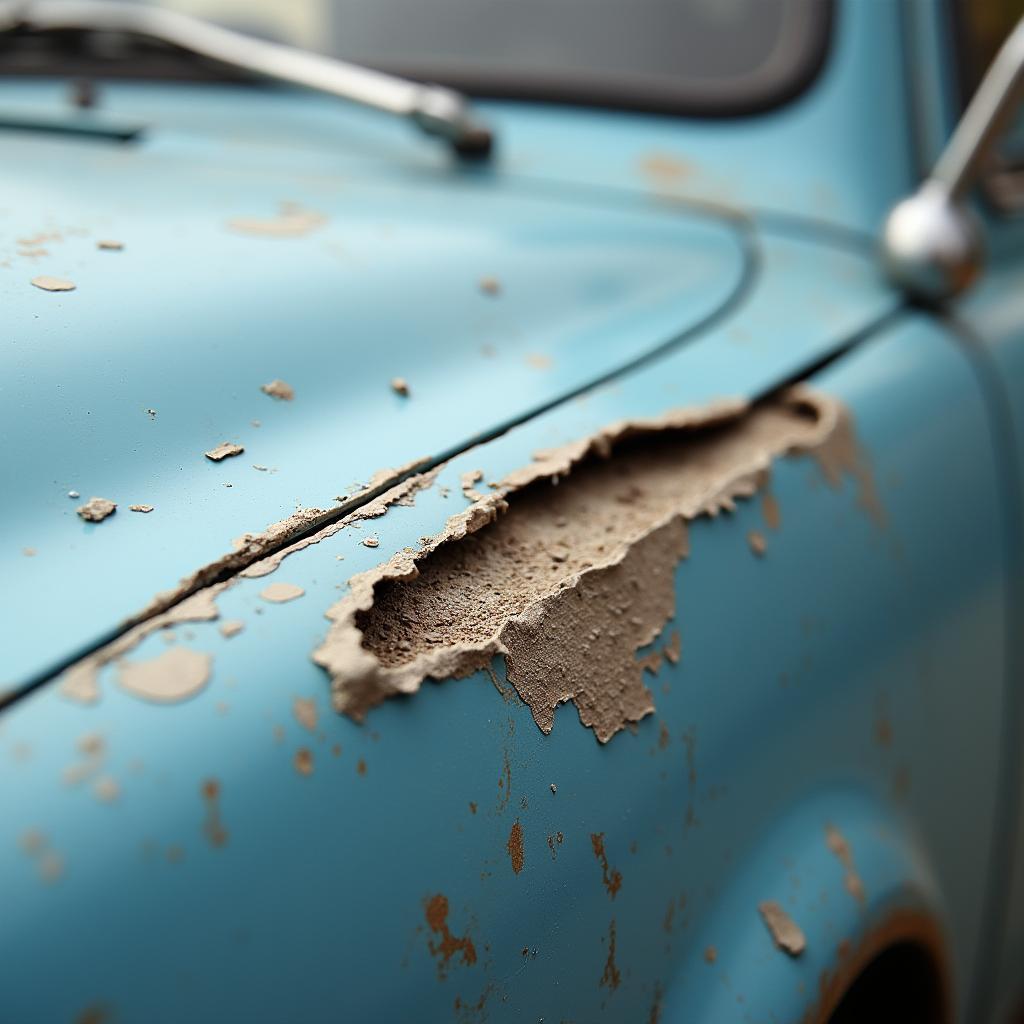
Depending on the severity of the chip, it may expose different layers, impacting the repair approach.
Gather Your Supplies
Having the right tools and materials is crucial for a successful car paint chip repair. Here’s a list of what you’ll need:
- Car wash soap
- Microfiber towels
- Masking tape
- Automotive primer (if necessary)
- Touch-up paint (matching your car’s color)
- Clear coat
- Rubbing compound
- Polishing compound
- Sandpaper (2000-grit and 3000-grit)
- Applicators (brushes, toothpicks, or touch-up pens)
Step-by-Step Guide to Repairing Car Paint Chips
Follow these detailed steps to effectively repair car paint chips:
1. Clean the Area
Thoroughly wash the area around the paint chip with car wash soap and water. Rinse well and dry with a microfiber towel. This ensures proper adhesion of the touch-up paint.
2. Mask Off the Area
Use masking tape to protect the surrounding paint from overspray or accidental contact with repair materials.
3. Assess the Damage
Examine the chip to determine the depth and if it requires primer. If the chip exposes bare metal, you’ll need to apply primer before proceeding.
4. Apply Primer (If Necessary)
If primer is needed, apply a thin coat to the exposed metal using a fine-tipped brush or touch-up pen. Allow it to dry completely according to the product instructions.
5. Apply Touch-Up Paint
Carefully apply thin coats of touch-up paint, matching your car’s color, to the chipped area. Use a brush, toothpick, or touch-up pen for precise application. Allow each coat to dry thoroughly before applying the next.
6. Level the Surface
Once the final coat of touch-up paint is dry, use 2000-grit sandpaper to gently level the surface. Be careful not to sand through the surrounding paint.
7. Apply Clear Coat
Apply a thin layer of clear coat over the repaired area, extending slightly beyond the edges to create a smooth transition. Allow it to dry completely.
8. Sand and Polish
After the clear coat has dried, use 3000-grit sandpaper to wet-sand the area lightly. Follow up with rubbing compound and a polishing compound to restore the shine and blend the repair seamlessly.
Tips for a Professional-Looking Finish
- Work in a well-ventilated area.
- Use thin coats to avoid runs and drips.
- Allow ample drying time between each coat.
- Use a light touch when sanding and polishing.
- If unsure about any step, consult a professional detailer or auto body shop.
Conclusion
Repairing car paint chips is a manageable DIY project that can save you money and maintain your vehicle’s appearance. By following these steps and using the right techniques, you can achieve professional-looking results. Remember to be patient, take your time, and don’t be afraid to seek expert advice if needed.