Discovering a cut in your leather car seat can be disheartening. Leather seats add a touch of luxury and comfort to your vehicle, and a cut can detract from their aesthetic appeal and value. Fortunately, repairing a cut in a leather car seat is often achievable with some readily available materials and a bit of patience.
Before starting the repair, it’s important to assess the damage. A small cut might only require a simple leather filler, while a larger, deeper cut may necessitate more extensive repair involving patching and leather dye.
Evaluating the Damage to Your Leather Car Seat
Start by cleaning the area around the cut with a leather cleaner and a microfiber cloth. This removes any dirt or debris that could interfere with the repair process. Once clean, inspect the cut closely. Consider these factors:
- Size: Measure the length and width of the cut. This will determine the type of repair needed and the appropriate materials to use.
- Depth: Is the cut superficial, or does it go through the leather layers? Deeper cuts will require more attention and may be more challenging to repair seamlessly.
- Location: The location of the cut on the seat can also influence the repair approach. A cut on a high-stress area like the seat edge might require more robust reinforcement.
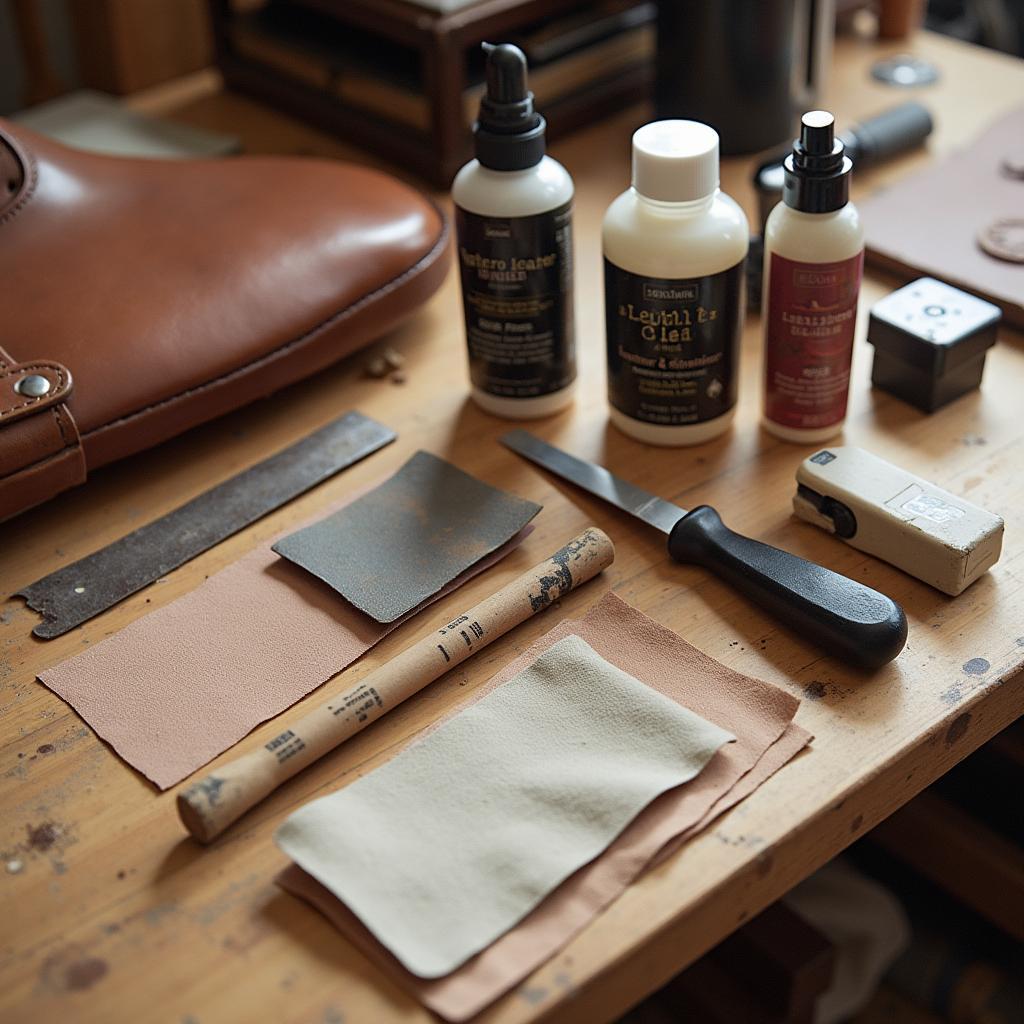
Gathering Your Leather Repair Supplies
Once you’ve assessed the cut, gather the necessary materials:
- Leather cleaner and conditioner: These are essential for preparing the leather and keeping it supple.
- Leather filler: This product fills in the cut and provides a smooth surface for subsequent steps. Choose a high-quality leather filler that matches your seat’s color.
- Leather adhesive: A strong adhesive is crucial if you’re working with a deep cut that requires patching.
- Leather patch: If the cut is large or gaping, you’ll need a leather patch to bridge the gap. Choose a patch that closely matches the color and texture of your car’s leather.
- Colorant kit: For a seamless repair, a leather colorant kit helps blend the repaired area with the surrounding leather.
- Applicator tools: Sponges, cotton swabs, a palette knife, and fine-grit sandpaper will help with applying and blending the repair materials.
Simple Repair for Minor Cuts and Scratches
For minor cuts and scratches, the repair process is relatively straightforward:
- Clean the area: Thoroughly clean the cut and the surrounding leather with leather cleaner to remove dirt and oils.
- Apply leather filler: Using a palette knife, carefully fill the cut with leather filler, ensuring it’s level with the surrounding surface.
- Let it dry: Allow the filler to dry completely. Drying time varies depending on the product, so refer to the manufacturer’s instructions.
- Sand and refine: Once dry, gently sand the area with fine-grit sandpaper to create a smooth and even surface.
- Apply leather conditioner: After sanding, apply a leather conditioner to the repaired area and the surrounding leather to restore its suppleness.
“For minor cuts and scratches, using a high-quality leather filler can make the repair almost invisible,” says John Miller, an experienced automotive leather repair specialist at Miller’s Auto Upholstery. “However, always test the filler on a hidden area first to ensure color matching.”
Advanced Repair for Deeper Cuts and Tears
Deeper cuts and tears in your leather car seat require a more involved approach:
- Clean and prepare: As with minor repairs, start by cleaning the damaged area and surrounding leather thoroughly.
- Support the tear: If the cut is gaping, use a piece of painter’s tape on the underside of the leather to bring the edges together as closely as possible.
- Apply leather adhesive: Choose a leather adhesive suitable for your type of leather. Apply a thin layer of adhesive to the edges of the cut and the underside of the leather patch if you’re using one.
- Position the patch (if needed): If using a patch, carefully align it over the cut, ensuring it lies flat and matches the surrounding leather grain. Press firmly to secure it in place.
- Fill the gap: Use leather filler to fill any remaining gaps around the patch or within the cut. Ensure the filler is level with the surrounding leather.
- Drying and sanding: Allow ample drying time for both the adhesive and filler. Once dry, sand the area carefully with fine-grit sandpaper until smooth and flush with the surrounding leather.
- Color matching (if needed): For a seamless repair, use a leather colorant kit that closely matches your leather’s color. Apply the colorant in thin coats, allowing each coat to dry before applying the next.
Maintaining Your Repaired Leather Car Seat
Proper maintenance after the repair helps ensure a long-lasting result.
- Regular cleaning: Use a dedicated leather cleaner to remove dirt and grime. Avoid harsh chemicals or abrasive cleaners that can damage the leather.
- Conditioning: Leather conditioners help keep the leather supple and prevent drying and cracking, which can lead to future tears.
- UV protection: Prolonged exposure to sunlight can fade and damage leather. Consider using a UV protectant spray or parking your car in the shade whenever possible.
“Remember,” adds Miller, “prevention is key. Regular cleaning and conditioning of your leather car seats can significantly reduce the risk of cuts, scratches, and other damage.”
By following these steps, you can effectively repair a cut in your leather car seat and restore its appearance and durability. For deep cuts or if you’re unsure about tackling the repair yourself, consider seeking assistance from a professional automotive upholstery specialist.


