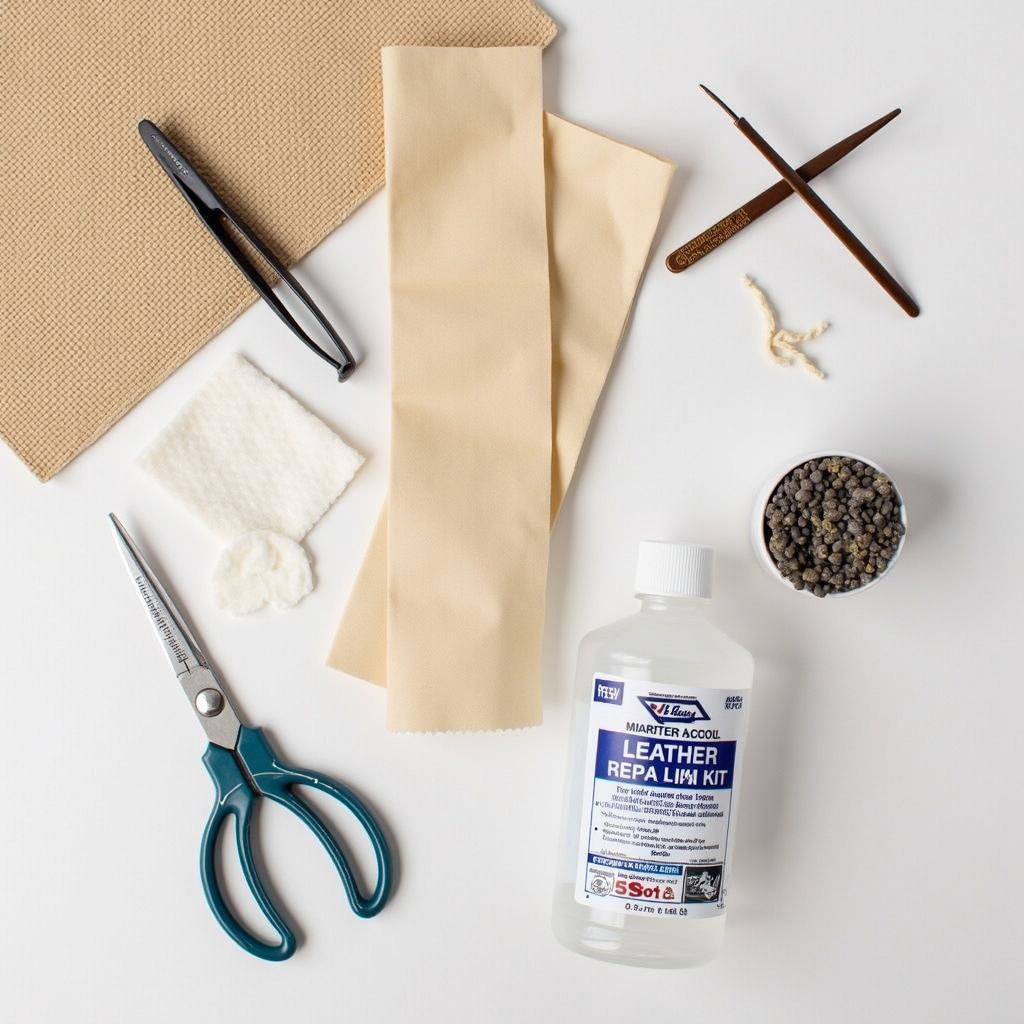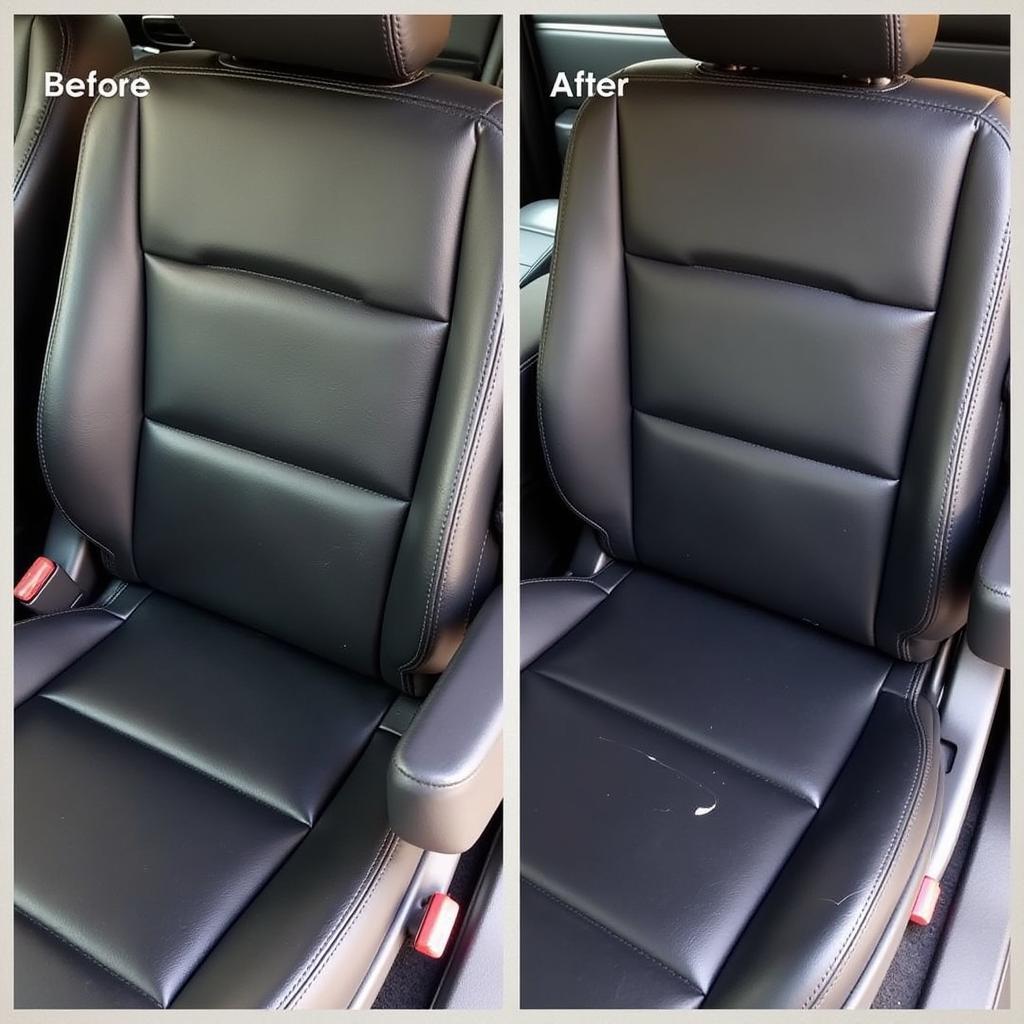
Leather repair kit and essential tools for fixing a ripped car seat
A rip in your leather car seat can be an eyesore and even affect the resale value of your vehicle. While it might seem daunting, repairing a tear in your leather car seat is often achievable without professional help. This guide will provide a step-by-step approach to help you restore your car’s interior and tackle that unsightly rip.
Assessing the Damage: Know Your Enemy
Before diving into the repair process, it’s crucial to assess the severity of the rip. Is it a minor cut, a gaping hole, or a tear along a seam? The extent of the damage will dictate the appropriate repair method and the materials you’ll need.
Gathering Your Arsenal: Tools and Materials
Having the right tools and materials is essential for a successful leather car seat repair. Here’s a list of what you’ll generally need:
- Leather Repair Kit: Choose a kit that matches your car’s leather color and grain. These kits typically contain a filler paste, colorant, adhesive, backing fabric, and various applicators.
- Clean Cloth: Microfiber cloths work best for cleaning and applying products without leaving lint behind.
- Scissors: Used for trimming backing fabric and any loose threads.
- Rubbing Alcohol: For cleaning the damaged area and ensuring proper adhesion.
- Tweezers: Helpful for precise placement of backing fabric.
- Heat Gun or Hairdryer: (Optional) To speed up the drying process of the filler paste and colorant.
 Leather repair kit and essential tools for fixing a ripped car seat
The Repair Process: A Step-by-Step Guide
1. Prepare the Affected Area
Begin by thoroughly cleaning the ripped area with rubbing alcohol and a clean cloth. This removes dirt, grime, and any oils that could hinder the adhesion of the repair materials. Allow the area to dry completely.
2. Reinforce with Backing Fabric (If Necessary)
For larger rips or holes, using a backing fabric provides extra support. Trim a piece of backing fabric slightly larger than the rip and use tweezers to carefully insert it under the torn edges. Apply a thin layer of leather adhesive to secure the backing fabric in place.
3. Apply the Filler Paste
Using a palette knife or the applicator provided in your repair kit, carefully fill the rip with leather filler paste. Overfill slightly to account for shrinkage during drying. Ensure a smooth and even application, matching the contour of the surrounding leather.
4. Level and Blend
Allow the filler paste to dry completely. This may take several hours or as directed by the product instructions. Once dry, use fine-grit sandpaper (400 grit or higher) to carefully level and blend the repaired area with the surrounding leather. Be gentle to avoid damaging the surrounding leather.
5. Color Matching and Application
Now it’s time to make the repair blend seamlessly. If your leather repair kit includes a colorant, carefully apply it to the repaired area using a sponge or applicator. Start with a light coat and allow it to dry completely before applying additional coats.
Pro Tip: “When color matching, always test the colorant on a hidden area of the car seat first to ensure a perfect match,” advises John Smith, Senior Automotive Upholstery Specialist at LeatherLuxe. “This simple step can save you from potential color mishaps.”
6. Seal and Protect
Once the colorant is dry, apply a leather sealant or conditioner to the entire seat. This helps protect the repair, prevents future cracking, and restores the leather’s suppleness.
Conclusion: Restoring Your Car’s Interior
Repairing a rip in your leather car seat requires patience and attention to detail, but the results are well worth the effort. By following these steps, you can save on costly professional repairs and restore your car’s interior to its former glory.
Remember, if you’re unsure about any step of the process or dealing with extensive damage, seeking professional help is always a wise decision.
FAQs
Can I use super glue to repair a leather car seat rip?
Using super glue is not recommended for leather car seat repair. It can create a stiff, noticeable bond that can crack over time and damage the surrounding leather.
How long does a leather car seat repair last?
A properly executed DIY repair can last for several years. However, factors like usage, sun exposure, and care can affect its longevity.
Can I still repair a rip in my leather car seat if it’s old?
Yes, you can still repair rips in older leather seats. However, keep in mind that the leather might be more fragile, requiring extra care during the repair process.
Need Help? We’re Just a Message Away!
For any further assistance or inquiries, don’t hesitate to contact our expert team via WhatsApp at +1(641)206-8880 or email us at [email protected]. We’re available 24/7 to help you with all your car repair needs.


