Car Front Window Moulding Repair is crucial for maintaining your vehicle’s structural integrity and appearance. Damaged moulding can lead to water leaks, wind noise, and even rust. This guide will walk you through everything you need to know about identifying, repairing, and preventing front window moulding damage.
Understanding Car Front Window Moulding
The front window moulding, also known as the windshield trim or weatherstrip, is a rubber seal that surrounds your windshield. It serves several vital functions, including:
- Preventing Water Leaks: The moulding creates a watertight seal, keeping rain and moisture from entering your vehicle’s cabin.
- Reducing Wind Noise: It acts as a barrier against wind, minimizing noise and improving your driving experience.
- Protecting Against Rust: By preventing water from seeping into the frame, the moulding helps prevent rust and corrosion.
- Enhancing Appearance: A well-maintained moulding contributes to your car’s overall aesthetics.
Identifying Damaged Car Front Window Moulding
Recognizing the signs of damaged moulding is the first step towards effective repair. Look for these common indicators:
- Visible Cracks or Tears: Inspect the moulding carefully for any visible cracks, tears, or gaps.
- Water Leaks: If you notice water leaking into your car during rain, a damaged moulding might be the culprit.
- Increased Wind Noise: Excessive wind noise while driving can be a sign of a failing seal.
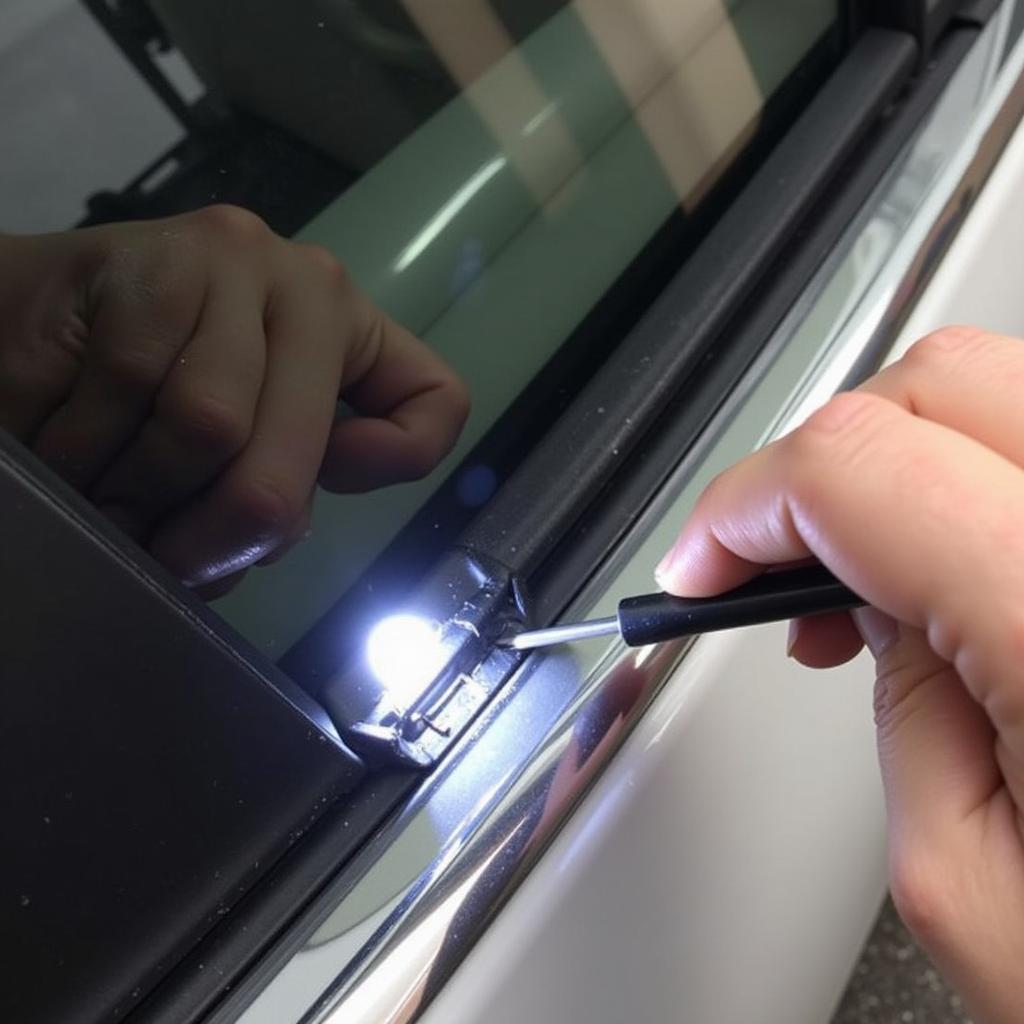
- Loose or Detached Moulding: Check if the moulding is securely attached to the windshield frame. Loose or detached sections need immediate attention.
- Visible Rust or Corrosion: Rust around the windshield frame often indicates a long-standing leak and potential moulding damage.
DIY Car Front Window Moulding Repair
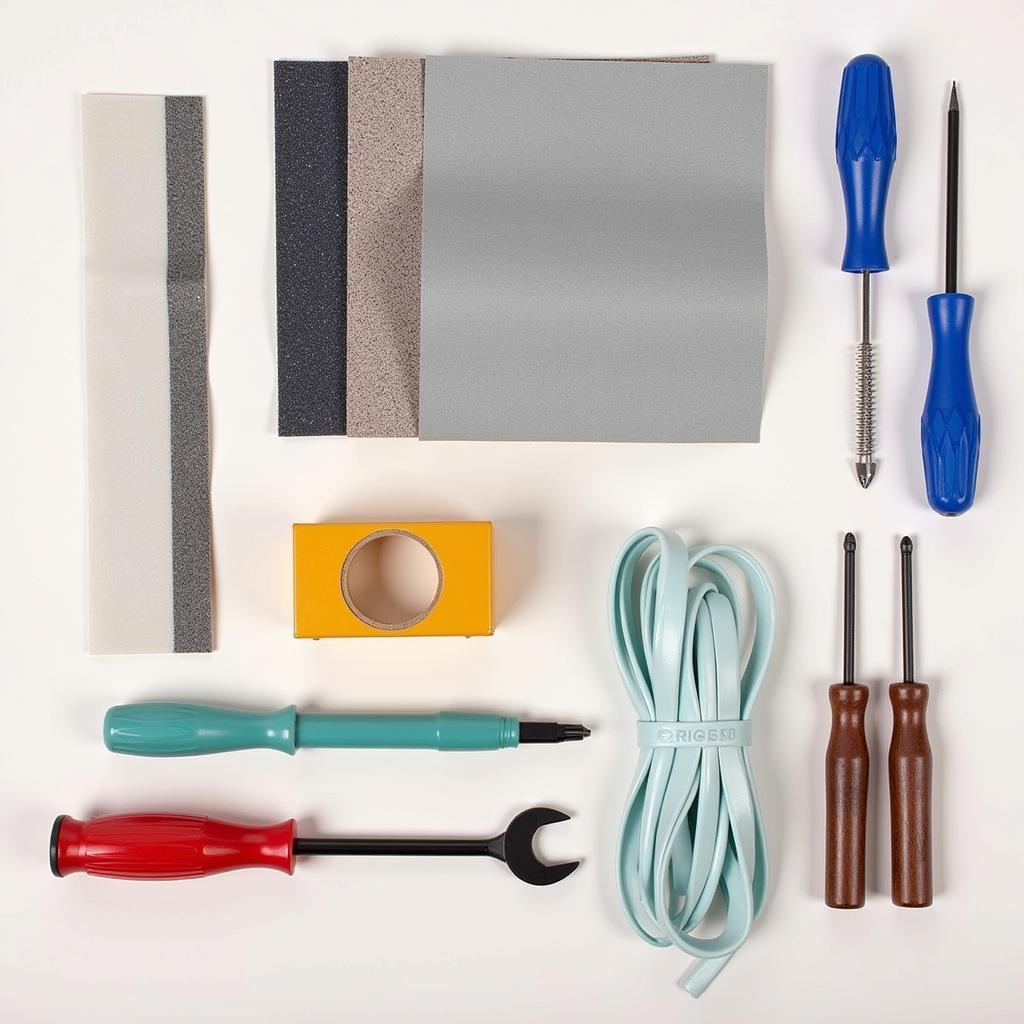
Minor moulding damage can often be repaired at home with the right tools and materials. Here’s a step-by-step guide:
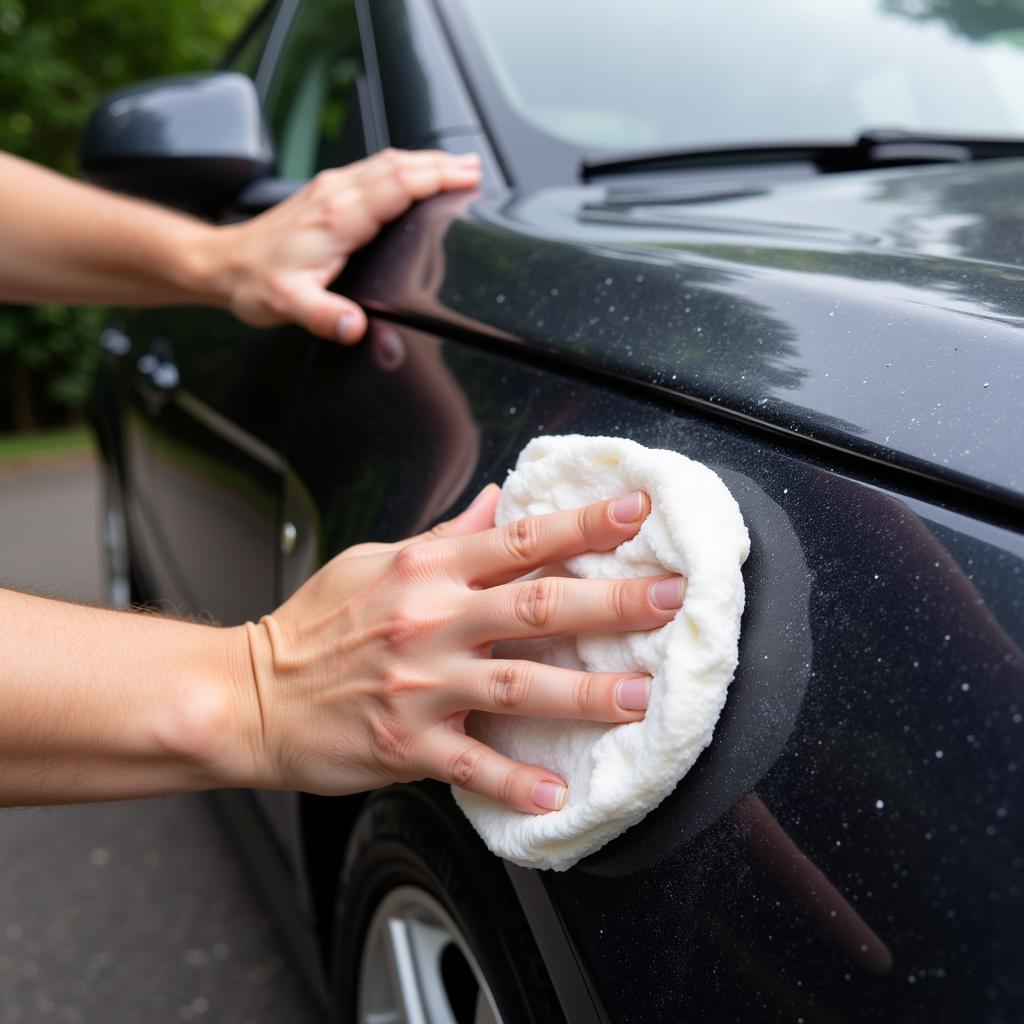
- Clean the Area: Thoroughly clean the damaged area and surrounding moulding with a suitable cleaner and a soft cloth.
- Apply Adhesive: Choose a high-quality adhesive specifically designed for automotive rubber. Apply it to the damaged area or the detached section of the moulding.
- Secure the Moulding: Press the moulding firmly against the windshield frame, ensuring a tight seal. Use masking tape to hold it in place while the adhesive dries.
- Remove Excess Adhesive: Carefully remove any excess adhesive with a razor blade or a plastic scraper.
- Allow to Dry: Allow the adhesive to dry completely according to the manufacturer’s instructions before driving.
When to Seek Professional Help
While DIY repairs can be effective for minor damage, more extensive issues often require professional expertise. Consider contacting a qualified auto glass technician if:
- The damage is extensive: Large tears, significant detachment, or widespread cracking warrant professional repair.
- You’re uncomfortable with DIY repairs: If you lack the tools, experience, or confidence to perform the repair yourself, it’s best to leave it to the professionals.
- The damage is recurring: If you’ve repaired the moulding before and the problem keeps coming back, there might be an underlying issue that requires professional diagnosis.
Preventing Car Front Window Moulding Damage
Protecting your car’s front window moulding can save you time and money in the long run. Here are some preventative measures:
- Regular Cleaning: Clean the moulding regularly with a mild soap and water solution to remove dirt, debris, and harmful contaminants.
- Avoid Harsh Chemicals: Refrain from using harsh chemicals or abrasive cleaners that can damage the rubber.
- Park in the Shade: Whenever possible, park your car in the shade to protect the moulding from prolonged exposure to sunlight and UV rays.
- Inspect Regularly: Periodically inspect the moulding for signs of wear and tear. Early detection can prevent minor damage from escalating into more significant problems.
Conclusion
Car front window moulding repair is essential for preserving your car’s integrity and preventing costly damage. By understanding the causes and signs of damage, you can take proactive steps to maintain your vehicle’s moulding and enjoy a quieter, drier, and more comfortable ride. Regular inspections and prompt repairs are key to extending the life of your moulding and protecting your investment.
FAQ
- How much does car front window moulding repair cost? The cost varies depending on the extent of the damage and whether you opt for DIY or professional repair. DIY repairs can cost a few dollars for adhesive, while professional repairs can range from $50 to $200 or more.
- Can I drive with damaged car front window moulding? While you can technically drive with minor damage, it’s not recommended. Damaged moulding can lead to leaks, noise, and further deterioration.
- How long does it take to repair car front window moulding? DIY repairs can typically be completed in an hour or two, while professional repairs may take a few hours depending on the complexity.
- What type of adhesive should I use for car front window moulding repair? Use a high-quality adhesive specifically designed for automotive rubber.
- How often should I clean my car front window moulding? Cleaning the moulding every few months or as needed is generally sufficient.
- Can I replace the car front window moulding myself? Replacing the entire moulding is a more complex task and is best left to professionals.
- What causes car front window moulding to deteriorate? Exposure to sunlight, extreme temperatures, harsh chemicals, and general wear and tear can contribute to moulding deterioration.
Need help? Contact us via WhatsApp: +1(641)206-8880, Email: [email protected]. We have a 24/7 customer support team.

