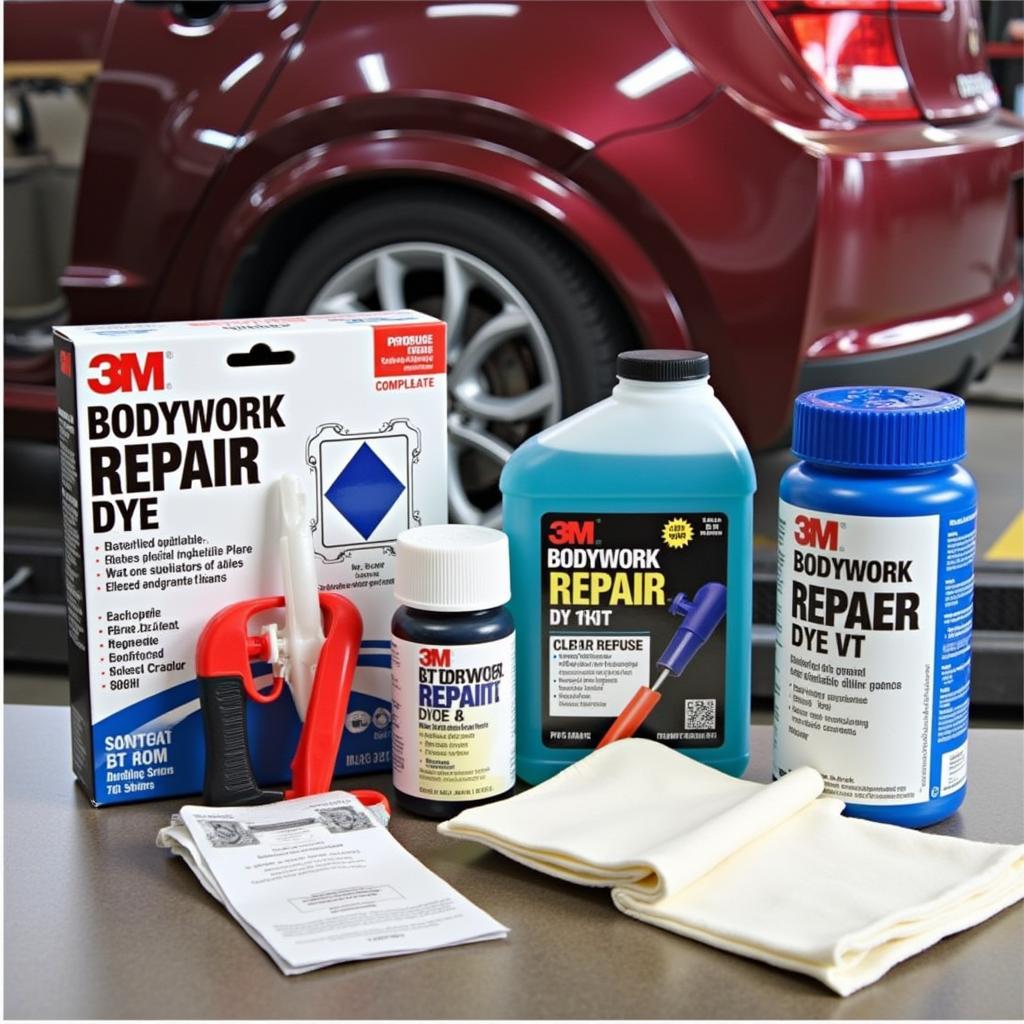
3M car bodywork repair dye offers a professional solution for minor paint imperfections. From small scratches to stone chips, understanding how to use these dyes effectively can save you time and money. This guide explores everything you need to know about 3M car bodywork repair dyes, from choosing the right shade to application techniques and achieving a flawless finish.
Understanding 3M Car Bodywork Repair Dye
3M car bodywork repair dyes are specifically designed to match your car’s original paint color, making them an ideal solution for touch-up repairs. Unlike traditional touch-up paints, these dyes are highly pigmented and formulated to blend seamlessly with the existing paintwork. They are particularly effective at addressing minor paint damage such as stone chips, light scratches, and small areas of paint fade.
Choosing the Correct Shade
Selecting the correct shade is crucial for achieving a seamless repair. 3M offers a vast range of colors, often matching specific manufacturer paint codes. Locating your car’s paint code is usually straightforward – check your owner’s manual or look for a sticker on the driver’s side doorjamb. Using the correct code ensures a perfect match and minimizes the visibility of the repair.
Preparing the Damaged Area
Proper preparation is essential for a successful repair. Thoroughly clean the damaged area with a wax and grease remover to ensure the dye adheres properly. If there’s any rust present, gently remove it with fine-grit sandpaper. For deeper scratches, it may be necessary to apply a primer before using the dye.
Applying 3M Car Bodywork Repair Dye
Applying the dye requires precision and patience. Use the provided applicator or a fine-tipped brush to carefully dab the dye onto the damaged area, ensuring even coverage. Avoid applying too much dye at once, as this can lead to dripping and an uneven finish. Multiple thin coats are preferable to one thick coat. Allow sufficient drying time between each coat, following the manufacturer’s instructions.
Finishing Touches and Clear Coat
Once the dye is completely dry, you can apply a clear coat to protect the repair and enhance its shine. This step also helps to blend the repair seamlessly with the surrounding paintwork, achieving a professional finish.
Frequently Asked Questions (FAQs)
- How long does 3M car bodywork repair dye take to dry? Drying time varies depending on temperature and humidity, but typically it takes around 30-60 minutes per coat.
- Can I use 3M dye on plastic bumpers? Yes, 3M offers specific dyes designed for plastic surfaces. Ensure you choose the correct product for your bumper material.
- How do I remove excess dye? Use a clean cloth and a recommended thinner to gently remove any excess dye before it dries.
- What if the dye doesn’t perfectly match my car’s color? While using the correct paint code ensures a close match, minor variations can occur. In such cases, a professional detailer can help blend the repair further.
- Can I apply the dye in direct sunlight? Avoid applying the dye in direct sunlight or extreme heat, as this can affect the drying process and the final finish.
Conclusion
3M car bodywork repair dye provides a cost-effective and efficient solution for addressing minor paint imperfections. By following the correct procedures and choosing the right shade, you can achieve professional-looking results and restore your car’s appearance. Using 3M car bodywork repair dye empowers car owners to tackle small repairs with confidence, maintaining their vehicle’s aesthetic appeal.
For further assistance or to schedule a consultation with our expert team, please contact us via WhatsApp: +1(641)206-8880, or Email: [email protected]. We offer 24/7 customer support. You can also explore our other helpful articles on car repair and maintenance on our website.


