Applying Car Body Repair Resin
Car Body Repair Resin is a crucial component in restoring damaged vehicles. Whether you’re a professional auto body technician or a DIY enthusiast, understanding the different types of resin, their applications, and proper usage is essential for achieving a seamless and durable repair. This guide provides a comprehensive overview of car body repair resin, covering everything from choosing the right product to achieving a professional finish.  Applying Car Body Repair Resin
Understanding Car Body Repair Resin
Car body repair resin is a versatile material used to fill dents, cracks, and holes in car bodies. It’s available in various formulations, each with unique properties suitable for different repair scenarios. Choosing the right type of resin is crucial for achieving a strong, long-lasting repair. Common types include polyester resin, epoxy resin, and polyurethane resin. Polyester resin is widely used for its affordability and ease of use, while epoxy resin offers superior strength and durability. Polyurethane resin, though more expensive, provides excellent flexibility and adhesion, making it ideal for repairing plastic parts.
Choosing the appropriate resin depends on the type of damage, the material being repaired (metal, fiberglass, or plastic), and the desired level of finish. For instance, minor scratches and dents might require a simple filler with polyester resin, while significant structural damage may necessitate the use of fiberglass reinforced with epoxy resin. car body repair fiberglass offers more insights into fiberglass repair.
Choosing the Right Car Body Repair Resin
How do you choose the right car body repair resin for your project? Consider these factors:
- Type of Damage: Is it a small dent, a deep crack, or a hole?
- Material: Are you repairing metal, fiberglass, or plastic?
- Desired Finish: Do you need a smooth, paintable surface or a structural repair?
- Experience Level: Are you a beginner or a seasoned professional?
Understanding these factors will help you choose the best resin for your specific needs.
Applying Car Body Repair Resin: A Step-by-Step Guide
Proper application is crucial for a successful repair. Here’s a step-by-step guide:
- Prepare the Surface: Clean the damaged area thoroughly, removing any rust, dirt, or grease. Sand the surface to create a rough texture for better adhesion.
- Mix the Resin: Follow the manufacturer’s instructions carefully. Mix the resin and hardener in the correct proportions.
- Apply the Resin: Apply the resin to the damaged area using a spreader or putty knife. Work quickly, as the resin will begin to harden.
- Shape and Smooth: Once the resin has cured, sand the area smooth and level with the surrounding surface.
- Prime and Paint: Prime the repaired area before applying the final coat of paint.
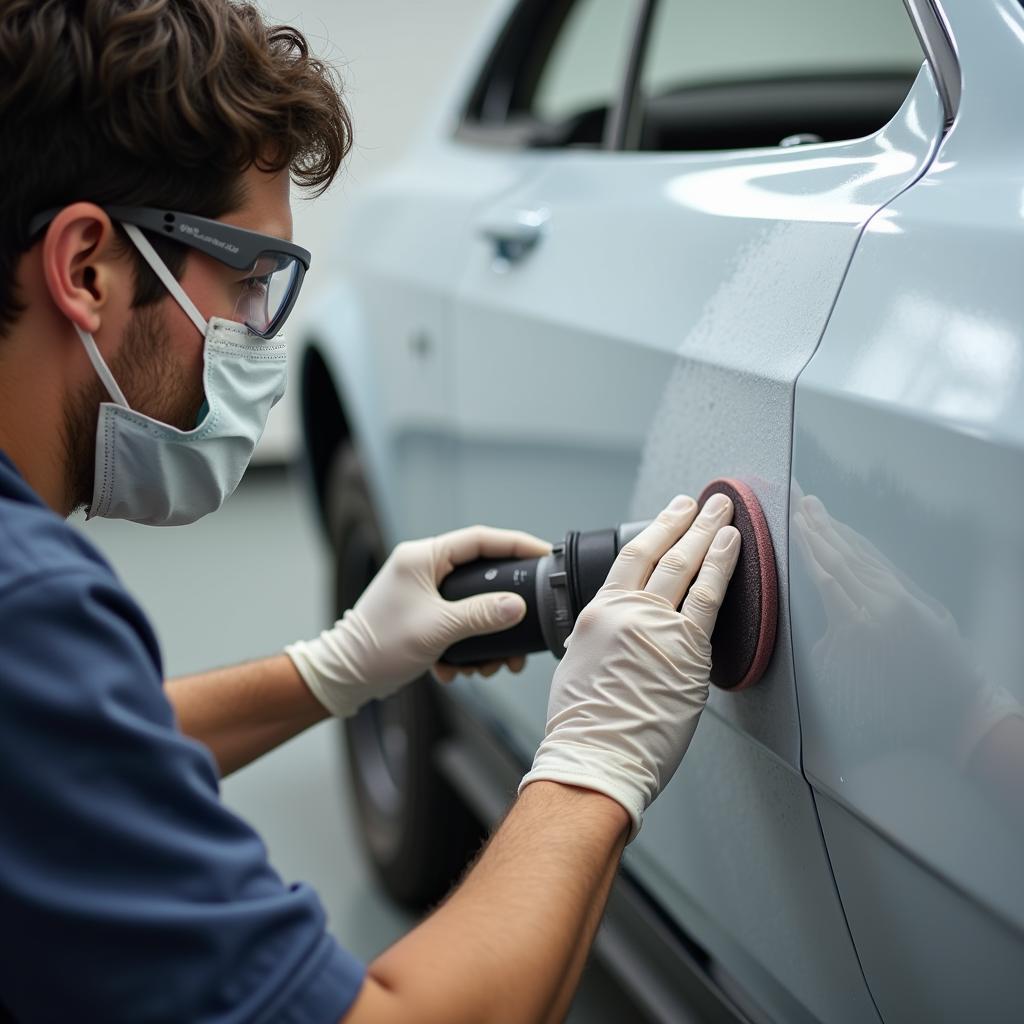
 Sanding Car Body Repair Resin
Common Car Body Repair Resin Mistakes to Avoid
Avoiding these common mistakes can ensure a successful repair:
- Improper Surface Preparation: Failure to clean and sand the surface properly can lead to poor adhesion and a weak repair.
- Incorrect Mixing Ratio: Using too much or too little hardener can affect the curing time and strength of the resin.
- Applying Too Much Resin: Applying thick layers of resin can result in cracking and warping. It’s best to apply multiple thin layers, allowing each layer to cure before applying the next. car body repair bondo explains more about using body filler effectively.
Advanced Techniques and Tips for Using Car Body Repair Resin
For those tackling more complex repairs, consider these advanced techniques:
- Reinforcing with Fiberglass: For larger holes or structural damage, reinforce the repair with fiberglass matting and epoxy resin.
- Using a Heat Gun: A heat gun can accelerate the curing process and help shape the resin.
- Blending Techniques: For a seamless finish, practice blending techniques to feather the edges of the repaired area into the surrounding surface.
“Using the right tools and techniques is critical for achieving a professional-looking repair,” says automotive expert John Miller, Certified Collision Repair Technician. “Taking your time and paying attention to detail will yield the best results.”
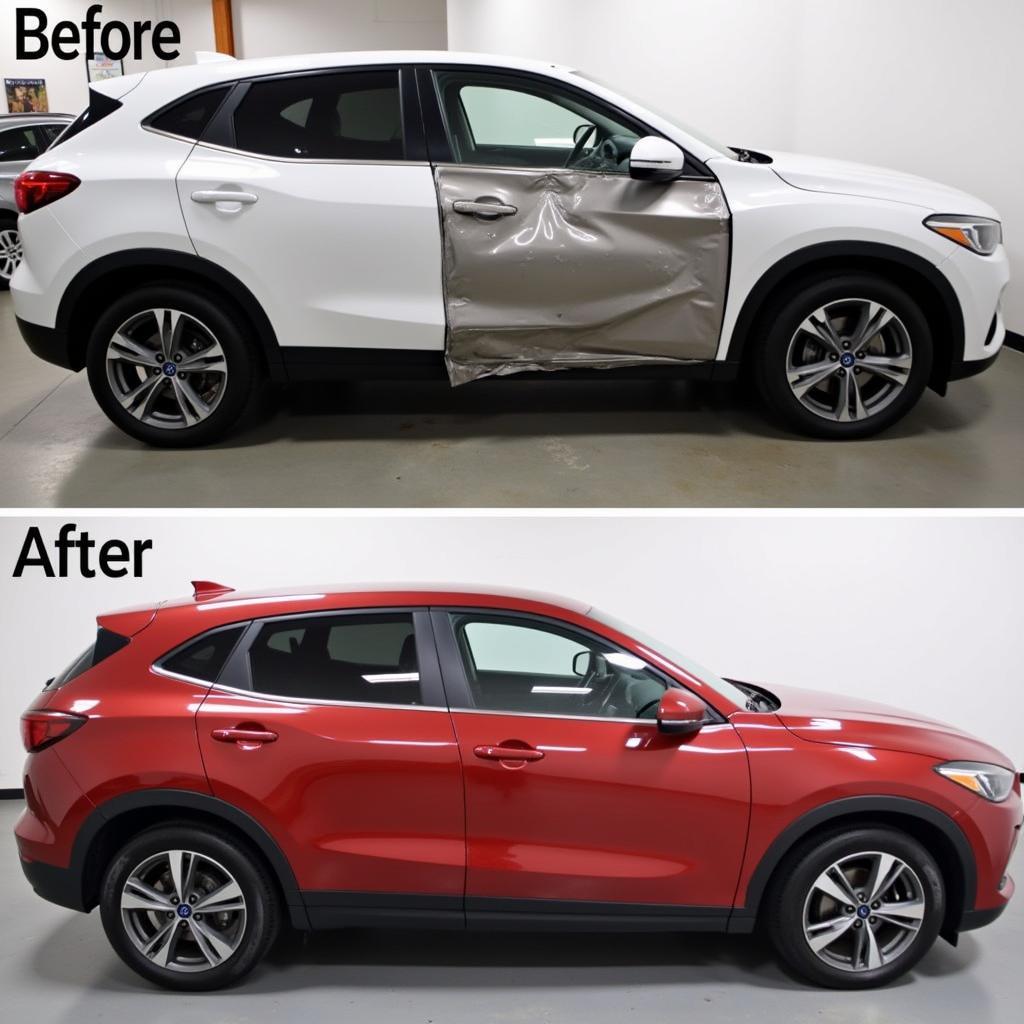
 Finished Car Body Repair with Resin
Conclusion
Car body repair resin is a versatile and essential tool for restoring damaged vehicles. By understanding the different types of resin, their applications, and proper usage, you can achieve professional-looking repairs. From minor scratches to significant structural damage, car body repair resin provides a cost-effective and efficient solution. Remember, choosing the right resin and following proper application techniques are key to achieving a durable and seamless repair that restores your vehicle to its former glory. car body hole repair might offer further assistance for specific repair needs.
FAQ
- How long does car body repair resin take to cure?
- What type of sandpaper should I use for sanding car body repair resin?
- Can I use car body repair resin on plastic parts?
- What is the difference between polyester resin and epoxy resin?
- How do I prevent air bubbles in car body repair resin?
- How do I remove cured car body repair resin?
- Can I paint over car body repair resin?
“Always test the resin on a small, inconspicuous area before applying it to the main repair area,” advises Sarah Johnson, an experienced auto body technician. “This will help you ensure compatibility and avoid any unwanted surprises.”
You might also find helpful information in our articles on car body repair kit rust and ash frame car body repairs.
Need help with your car repair? Contact us via WhatsApp: +1(641)206-8880, Email: [email protected]. Our customer service team is available 24/7.
