Fixing a damaged front bumper can seem daunting, but with the right guidance, it’s a manageable DIY project. This guide provides a step-by-step approach to help you understand the process, determine the necessary repairs, and successfully restore your car’s bumper.
Assessing the Damage: Is a DIY Repair Possible?
Before diving into the repair process, it’s crucial to evaluate the extent of the damage to your car’s front bumper. Minor scratches, scuffs, and small cracks can often be addressed with DIY methods. However, significant dents, deep cracks, or damage affecting the bumper’s structural integrity might require professional intervention.
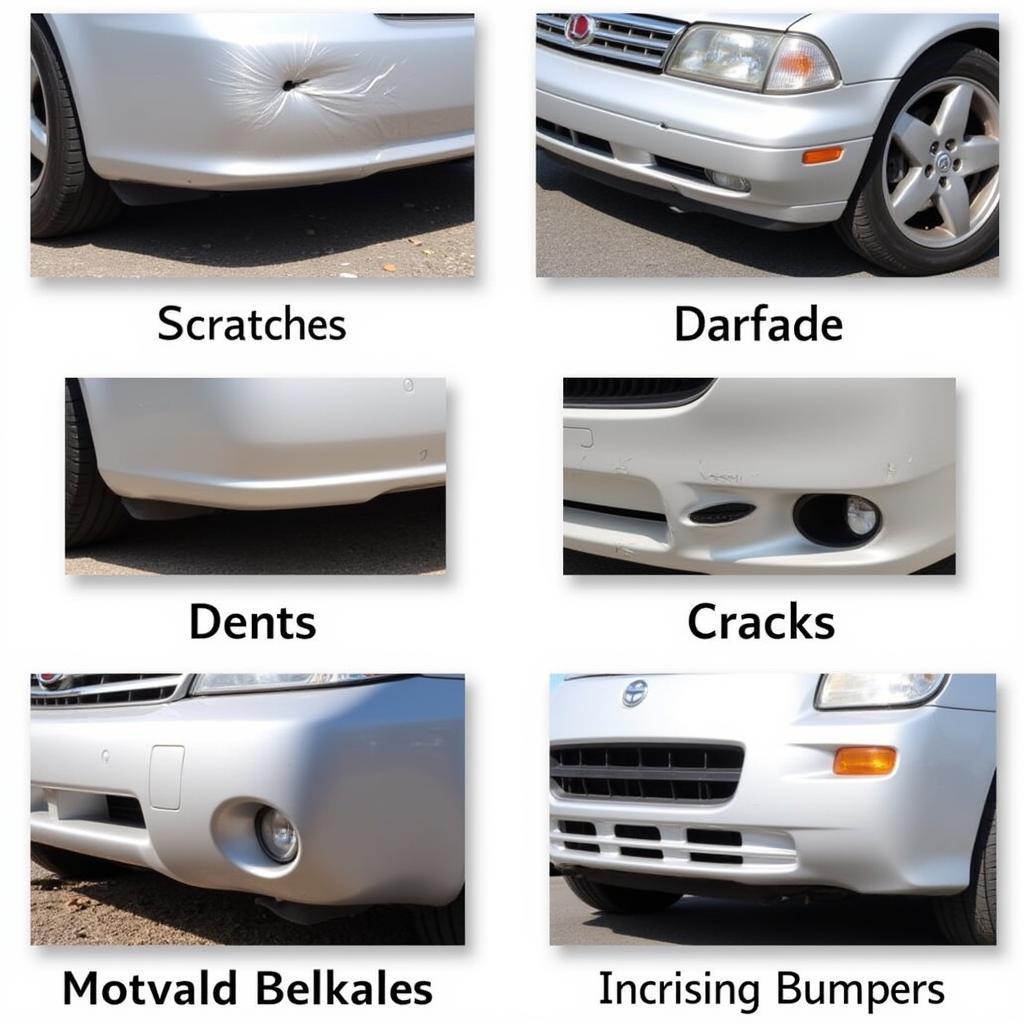
[image-1|assessing-bumper-damage|Assessing Car Bumper Damage|A close-up photo of a damaged car bumper. The image clearly shows scratches, scuffs, and a small crack, highlighting the areas that need repair.]
Gathering the Necessary Tools and Materials
Having the right tools and materials is essential for a successful bumper repair. Here’s a list of items you’ll likely need:
- Cleaning Supplies: Car wash soap, water, microfiber cloths, wax and grease remover.
- Sandpaper: Variety of grits (e.g., 200, 400, 600, 800).
- Body Filler (if needed): Choose a high-quality filler designed for automotive use.
- Putty Knife: For applying and smoothing body filler.
- Primer: Designed for plastic bumpers.
- Automotive Paint: Ensure it matches your car’s existing paint color.
- Clear Coat: Provides a protective and glossy finish.
- Masking Tape and Paper: To protect surrounding areas during painting.
- Safety Gear: Gloves, safety glasses, and a respirator mask.
Step-by-Step Guide to Repairing Your Car’s Front Bumper
Follow these steps to repair minor to moderate damage on your car’s front bumper:
-
Clean the Bumper: Thoroughly wash the bumper with car wash soap and water, removing dirt, debris, and loose paint. Use wax and grease remover to ensure a clean surface for optimal adhesion of repair materials.
-
Sand the Damaged Area: Start with coarser grit sandpaper (around 200) and gradually move to finer grits (up to 800). Sand the damaged area and surrounding paint to create a smooth and even surface for the filler to adhere to.
-
Apply Body Filler (if necessary): If there are dents or deep scratches, apply body filler using a putty knife. Follow the manufacturer’s instructions for mixing and application. Allow the filler to dry completely before sanding it smooth.
[image-2|applying-body-filler|Applying Body Filler to Car Bumper|A person wearing gloves carefully applies body filler to a dent on a car bumper using a putty knife. The image emphasizes the proper technique for a smooth and even finish.]
-
Prime the Repaired Area: Once the filler is dry and sanded, apply a primer specifically designed for plastic bumpers. This will help the paint adhere properly and prevent future peeling. Allow the primer to dry completely.
-
Paint the Bumper: Using multiple thin coats, apply automotive paint that matches your car’s color. Allow each coat to dry thoroughly before applying the next. Ensure adequate ventilation while painting.
-
Apply Clear Coat: After the final coat of paint dries, apply a clear coat to protect the paint and provide a glossy finish. Again, apply in thin coats, allowing each to dry completely.
-
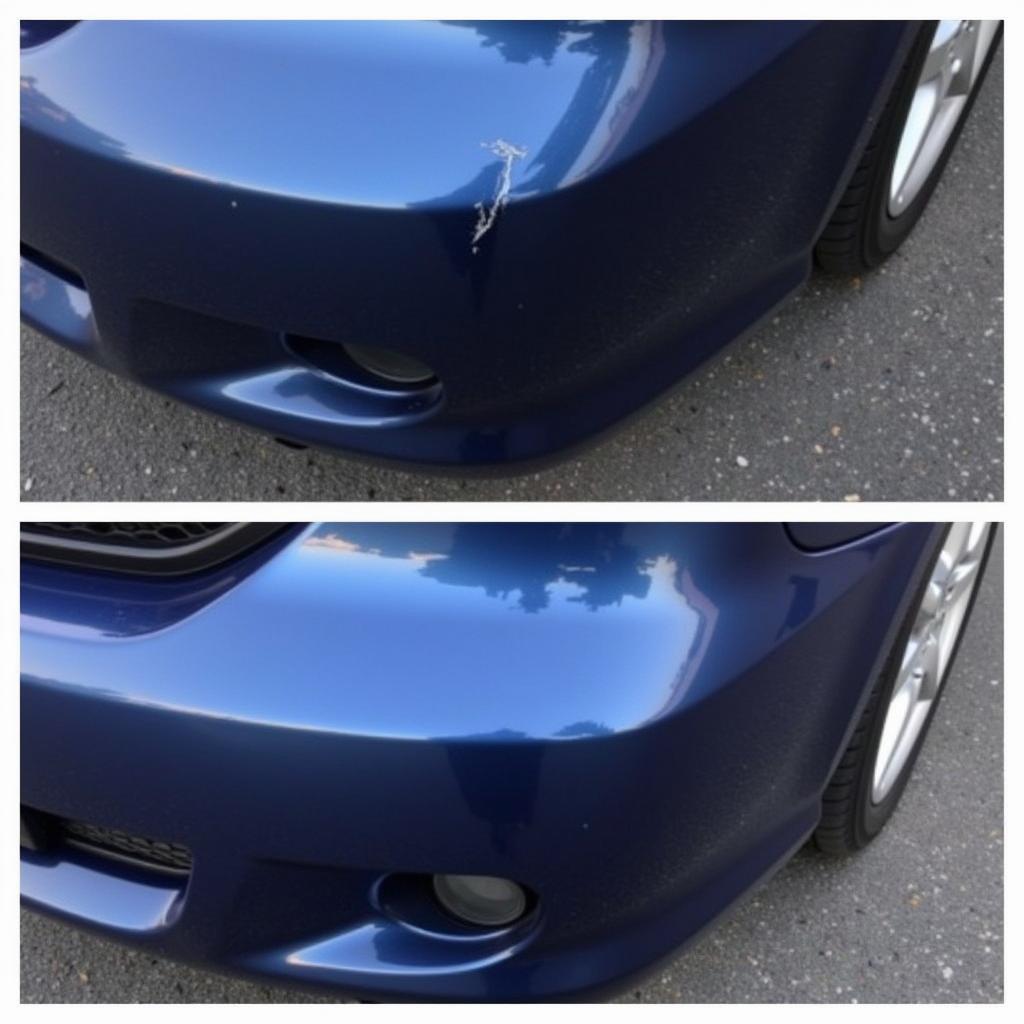
Buff and Polish: Once the clear coat has cured, you can buff and polish the repaired area to blend it seamlessly with the rest of the bumper.
Expert Insights
“Many car owners underestimate their ability to tackle minor bumper repairs,” says John Smith, an experienced automotive technician. “With a bit of patience and the right approach, you can achieve professional-looking results and save a significant amount compared to going to a body shop.”
FAQs About Front Bumper Repair
Q: Can I repair a cracked bumper myself?
A: Small cracks can often be repaired using a plastic welding kit or epoxy designed for automotive plastics. However, larger cracks or those affecting structural integrity might require professional repair or replacement.
Q: How do I match the paint color perfectly?
A: Your car’s paint code can be found on the vehicle information sticker, usually located on the driver’s side door jamb. Use this code to purchase matching paint from an automotive store.
Q: How long does the repair process take?
A: Depending on the extent of the damage and drying times, the entire process can take a few hours to a couple of days.
Seeking Professional Help?
While DIY repairs can be rewarding, some bumper damage requires professional expertise. If you’re unsure about tackling the repair yourself, or if the damage is extensive, it’s always best to consult a qualified automotive technician. They can assess the damage, advise on the best course of action, and ensure a safe and long-lasting repair. To explore professional solutions for car bumper scratches, you can learn more about car bumper scratch repair cost india and discover the advantages of expert assistance.
Conclusion
Repairing your car’s front bumper doesn’t have to be an intimidating task. By following this comprehensive guide and arming yourself with the right knowledge, you can restore your bumper’s appearance and protect your investment. Remember, safety is paramount, so always wear appropriate safety gear and seek professional help when needed. For those interested in addressing minor scratches, our comprehensive resource on car bumper scratch repair how to provides valuable insights and step-by-step instructions to guide you through the process effectively.
Should you require assistance or have further questions, don’t hesitate to reach out to our dedicated customer support team via WhatsApp at +1(641)206-8880 or email us at [email protected]. We are available 24/7 to provide expert guidance and support.


