Discovering a key scratch on your car can be incredibly frustrating. Whether it’s a result of vandalism or an unfortunate accident, that unsightly mark can feel like a major blemish on your vehicle’s appearance. Fortunately, repairing a key scratch isn’t always a costly trip to the auto body shop. With a little patience and the right techniques, you can often address minor to moderate scratches yourself. This comprehensive guide will walk you through the steps of How To Repair A Key Scratch On A Car, empowering you to restore your car’s finish with confidence.
Assessing the Damage: How Deep is the Scratch?
Before diving into the repair process, it’s crucial to assess the severity of the key scratch. The depth of the scratch will determine the appropriate repair method.
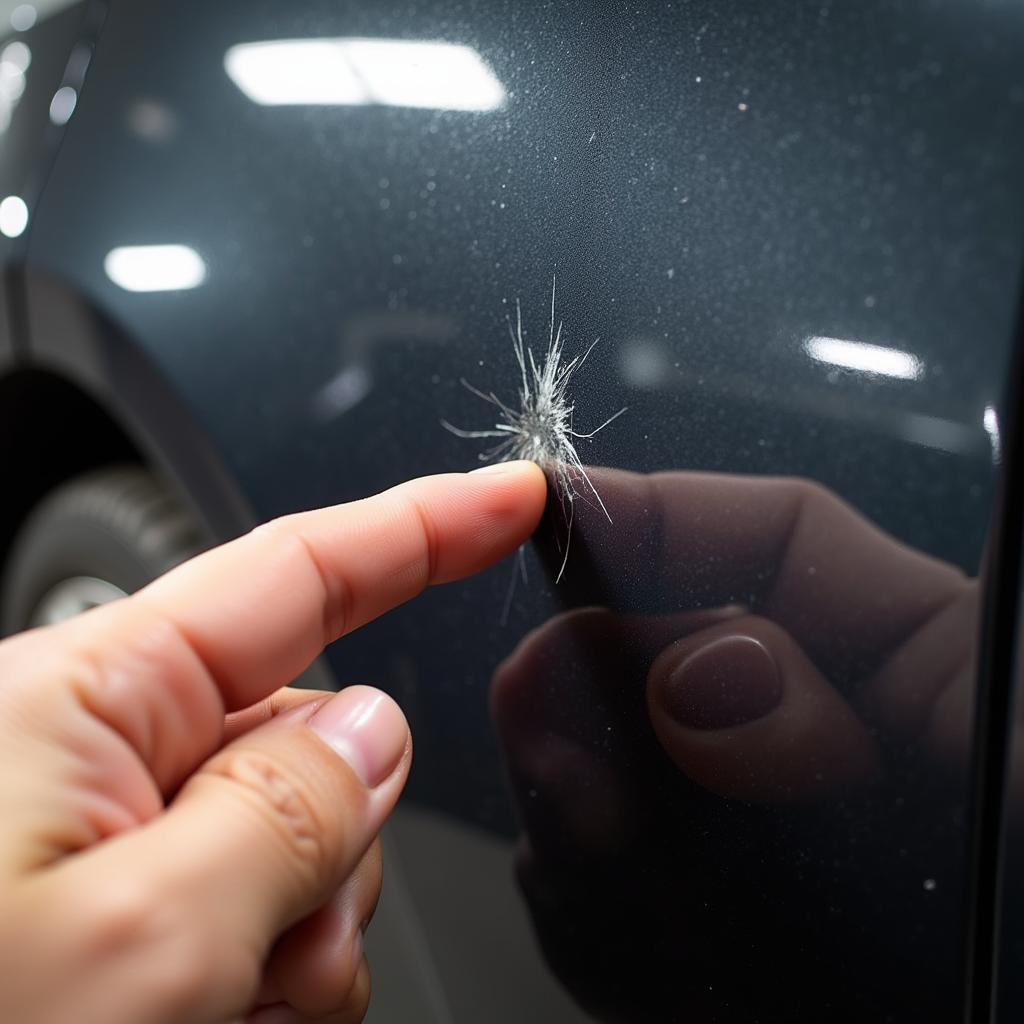
- Clear Coat Scratch: This is the most superficial type of scratch, affecting only the clear coat layer that protects your car’s paint.
- Paint Scratch: This type of scratch goes deeper, penetrating the clear coat and damaging the paint layer. You’ll likely see a different color underneath, such as the primer.
- Deep Scratch: These scratches cut through the clear coat, paint, and primer, potentially reaching the metal body of your car. Deep scratches often require professional attention.
[image-1|clear-coat-paint-deep-scratch|Types of Car Scratches|A close-up image showing the different levels of car scratches: clear coat, paint, and deep scratch reaching the metal.]
DIY Key Scratch Repair: Tools and Techniques
For minor to moderate key scratches that haven’t penetrated the primer, you can often achieve impressive results with DIY repair methods. Here’s a step-by-step guide:
1. Gather Your Supplies
- Car wash soap
- Microfiber wash mitt
- Masking tape
- Automotive cleaning solvent
- 2000-grit sandpaper
- Rubbing compound
- Polishing compound
- Wax applicator pad
- Microfiber cloth
2. Wash and Prepare the Area
Thoroughly wash the scratched area with car wash soap and a microfiber wash mitt. This removes dirt and debris that can further scratch the surface during the repair process. Rinse well and dry completely. Use masking tape to protect surrounding areas from accidental scratches during sanding and polishing.
3. Sand the Scratch (If Necessary)
If the scratch is through the clear coat and into the paint, you’ll need to lightly sand the area. Using 2000-grit sandpaper soaked in water, gently sand the scratch in a back-and-forth motion. The goal is to smooth out any raised edges and create a level surface. Avoid excessive sanding, which can damage the surrounding paint.
4. Clean and Apply Rubbing Compound
Wipe away any sanding residue with a clean microfiber cloth. Apply a small amount of rubbing compound to a clean applicator pad. Work the compound into the scratch using circular motions, applying moderate pressure. The rubbing compound will help to remove the scratch and restore the shine.
5. Polish to a Shine
After the rubbing compound, use a polishing compound with a clean applicator pad. Apply it using the same circular motions as before. This step will further refine the finish and bring back the gloss.
6. Wax and Protect
Once you’re satisfied with the results, apply a layer of car wax to the repaired area. Waxing provides a protective barrier against future damage and enhances the shine.
[image-2|car-scratch-repair-steps|Steps to Repair Car Scratch|A step-by-step illustration showing the process of repairing a car scratch, from cleaning to waxing.]
When to Consult a Professional
While DIY methods can be effective for minor scratches, there are situations where professional repair is necessary. Consider seeking professional help if:
- The scratch is deep and has reached the metal, as this may require repainting.
- You’re unsure about the repair process or uncomfortable attempting it yourself.
- The scratch is in a difficult-to-reach area or on a delicate surface.
For those in the UK, you can find more information on the cost of professional key scratch repair in our article: car keyed scratch repair cost uk.
Preventing Key Scratches: Tips for Protection
Taking preventative measures can save you from the hassle and expense of scratch repair in the future. Here are some tips:
- Park strategically: Choose parking spots away from high-traffic areas or potential hazards.
- Use car covers: When parking for extended periods, consider using a car cover for added protection.
- Apply paint protection film: Consider applying a clear paint protection film to vulnerable areas like the hood and doors.
- Be mindful of keys: Avoid placing keys near your car’s surface to prevent accidental scratches.
Conclusion
Dealing with a key scratch on your car doesn’t have to be a major headache. By understanding the nature of the damage and following the appropriate repair steps, you can often address these blemishes effectively. Remember to assess the scratch depth, gather the right supplies, and proceed with patience. While DIY methods work well for minor to moderate scratches, don’t hesitate to seek professional help for deeper damage or if you’re unsure about the process. For more information on car scratch repair costs, you can refer to our article on how much to repair a key scratch on a car. By taking proactive steps, you can keep your car looking its best for years to come.


