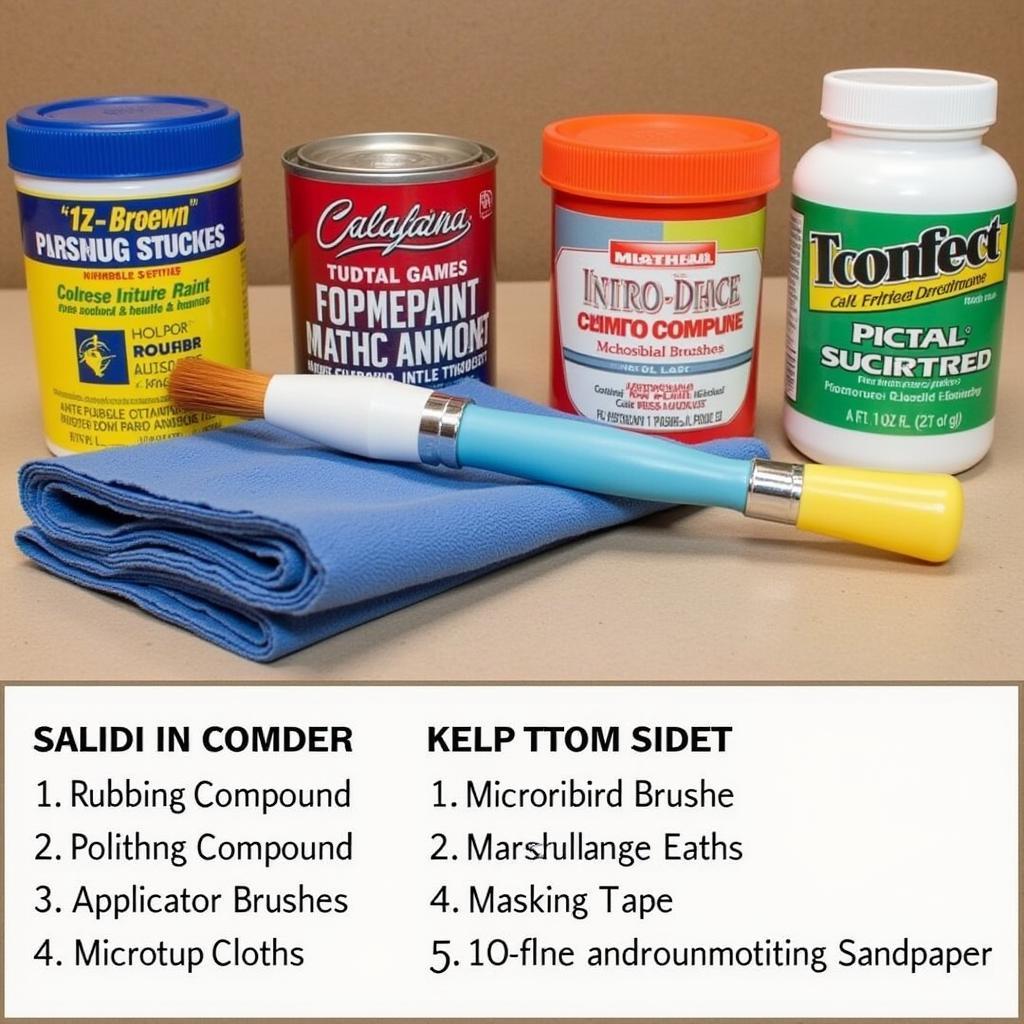
Repairing scratched car paint yourself can be a rewarding experience, saving you money and giving you a sense of accomplishment. This guide covers everything you need to know about DIY car paint scratch repair, from assessing the damage to achieving a professional-looking finish. We’ll explore various methods, tips, and tricks to help you restore your car’s appearance effectively. Let’s dive in!
Assessing the Damage: How Deep is the Scratch?
Before you begin any repair, it’s crucial to determine the severity of the scratch. Scratches are generally categorized into three types: clear coat scratches, base coat scratches, and deep scratches that reach the primer or metal. Identifying the type of scratch dictates the appropriate repair method. Clear coat scratches are the easiest to fix, often requiring just a bit of polishing. Base coat scratches require a bit more work, typically involving touch-up paint. Deep scratches necessitate more extensive repair, possibly including sanding, priming, and painting.
Knowing the depth of the scratch is the first step to a successful DIY repair. Incorrectly assessing the damage can lead to ineffective repairs or even further damage to your car’s paint.
After washing and drying the affected area, carefully inspect the scratch in good lighting. Run your fingernail across it. If you can’t feel the scratch, it’s likely a clear coat scratch. If you can feel it slightly, it’s probably a base coat scratch. If the scratch is deep and you can feel the bare metal, it requires more advanced repair.
A car paint nick repair can be challenging, but following the right steps makes it manageable.
DIY Repair Methods for Scratched Car Paint
Several methods exist for repairing scratched car paint, each suited to a different level of damage. For minor clear coat scratches, a rubbing compound or polishing compound can often restore the shine. Deeper scratches might require touch-up paint, either with a brush or a spray can. For the most severe scratches, sanding, priming, and painting may be necessary.
Repairing Clear Coat Scratches
Clear coat scratches can often be buffed out with a rubbing compound. Apply a small amount of rubbing compound to a clean microfiber cloth and rub it gently over the scratch using circular motions. Follow up with a polishing compound to restore the shine.
Repairing Base Coat Scratches
Base coat scratches require touch-up paint. Clean the area thoroughly and apply the touch-up paint carefully, matching the existing paint color as closely as possible. You can use a fine-tipped brush or a car paint repair magic pen for precise application. After the paint dries, you can use a rubbing compound and polishing compound to blend the repair seamlessly.
Repairing Deep Scratches
Deep scratches reaching the primer or metal require more involved repair. You’ll need to sand the area smooth, apply primer, and then apply touch-up paint. This process demands patience and precision to achieve a satisfactory result. Consider professional help if you’re uncomfortable with these steps.
You can use a spray paint car scratch repair method for larger scratches.
Tips and Tricks for a Professional Finish
Achieving a professional-looking finish requires attention to detail and patience. Here are a few tips to help you succeed:
- Cleanliness is key: Thoroughly clean the area before starting any repair. Any dirt or debris can interfere with the repair process.
- Use the right tools: Invest in quality rubbing compounds, polishing compounds, and touch-up paint.
- Practice makes perfect: If you’re unsure about any step, practice on a less conspicuous area of the car first.
- Patience is a virtue: Don’t rush the process. Allow ample drying time between coats of paint.
“A common mistake DIYers make is rushing the process,” says automotive expert, David Miller. “Taking your time and focusing on each step meticulously will yield the best results.”
Choosing the Right Touch-Up Paint
Choosing the correct touch-up paint is vital for a seamless repair. Your car’s owner’s manual should contain the paint code. You can also find the code on a sticker located inside the driver’s side doorjamb or under the hood. Using the correct paint code ensures a perfect color match.
“Matching the paint color precisely is essential for a professional-looking repair,” advises Sarah Johnson, an experienced auto body technician. “Using the wrong shade will make the repair stand out, negating the purpose of the DIY fix.”
If you are unsure of your car’s exact color, a car auto scratching repair touch up paint pen white pearl might be a good option if your car is white pearl. Alternatively, you might consider using a repair car scratch with paint pen.
Conclusion
Repairing scratched car paint DIY can save you time and money. By assessing the damage accurately and following the appropriate repair methods, you can restore your car’s finish and boost its curb appeal. Remember, patience and attention to detail are key to achieving a professional-looking result. Utilizing the correct tools and techniques, including choosing the right touch-up paint, will significantly enhance the effectiveness of your repair scratched car paint DIY endeavor.
FAQ
- Can I repair deep scratches myself? Deep scratches may require professional repair.
- Where can I find my car’s paint code? Check your owner’s manual, driver’s side doorjamb, or under the hood.
- What type of sandpaper should I use? Start with fine-grit sandpaper (2000-grit) and work your way up.
- How long should I wait for the touch-up paint to dry? Follow the manufacturer’s instructions, typically 24-48 hours.
- Can I wax my car after repairing a scratch? Yes, after the paint has fully cured and you’ve polished the area.
For further assistance, contact us via WhatsApp: +1(641)206-8880, or Email: [email protected]. We offer 24/7 customer support.


