Discovering a nick in your car’s paint can be frustrating. Luckily, repairing minor paint nicks is often a manageable DIY project. This guide provides a comprehensive walkthrough on how to repair a nick in car paint, saving you a potentially costly trip to a body shop.
Understanding the extent of the damage is the first step. Is it a light scratch that barely breaks the clear coat, or a deeper chip that exposes the primer or even bare metal? This assessment will determine the best repair approach. For smaller, superficial nicks, a touch-up paint pen or brush might suffice. However, deeper nicks require more attention and possibly some sanding and priming. Don’t worry, we’ll cover it all! Let’s dive into the repair process.
Assessing the Damage: Know Your Nick
Before you start gathering supplies, take a close look at the nick. This step is crucial for choosing the right repair method. A magnifying glass can be helpful for close inspection. Is the nick just on the surface, or does it go deep into the paint layers? Knowing the severity helps determine whether a simple touch-up is sufficient or if you’ll need a more involved approach. You’ll find that understanding the nuances of these repairs is key to a successful outcome. How to repair paint nicks on your car provides additional information on damage assessment.
Superficial Nicks: Quick and Easy Fix
For minor surface scratches and nicks, a touch-up paint pen or brush is your best friend. These are readily available at most auto parts stores and can be color-matched to your car’s paint code.
Deeper Nicks: A Multi-Step Process
Deeper nicks that reach the primer or bare metal require a more involved process. You’ll need to clean the area thoroughly, apply primer if necessary, and then carefully apply the touch-up paint in thin layers. Patience is key here to achieve a smooth and even finish. More detailed information on repairing deeper nicks can be found at hot to repair deep nicks in car paint.
Gathering Your Supplies: The Right Tools for the Job
Having the right tools makes all the difference. For minor nicks, you’ll need a touch-up paint pen or brush, rubbing compound, and a microfiber cloth. For deeper nicks, add primer, fine-grit sandpaper, and masking tape to your list. Investing in quality materials will ensure a professional-looking repair.
The Repair Process: Step-by-Step Guide
- Clean the Area: Thoroughly clean the nicked area with soap and water, followed by a dedicated car cleaning solution. This removes any dirt or debris that could interfere with the paint adhesion.
- Sanding (If Necessary): For deeper nicks, lightly sand the area with fine-grit sandpaper to smooth any rough edges. Be gentle to avoid damaging the surrounding paint.
- Priming (If Necessary): If the nick exposes bare metal or primer, apply a thin coat of primer to protect the metal and provide a better surface for the touch-up paint.
- Applying Touch-Up Paint: Carefully apply the touch-up paint in thin layers, allowing each layer to dry completely before applying the next. Avoid applying too much paint at once, as this can lead to drips and an uneven finish.
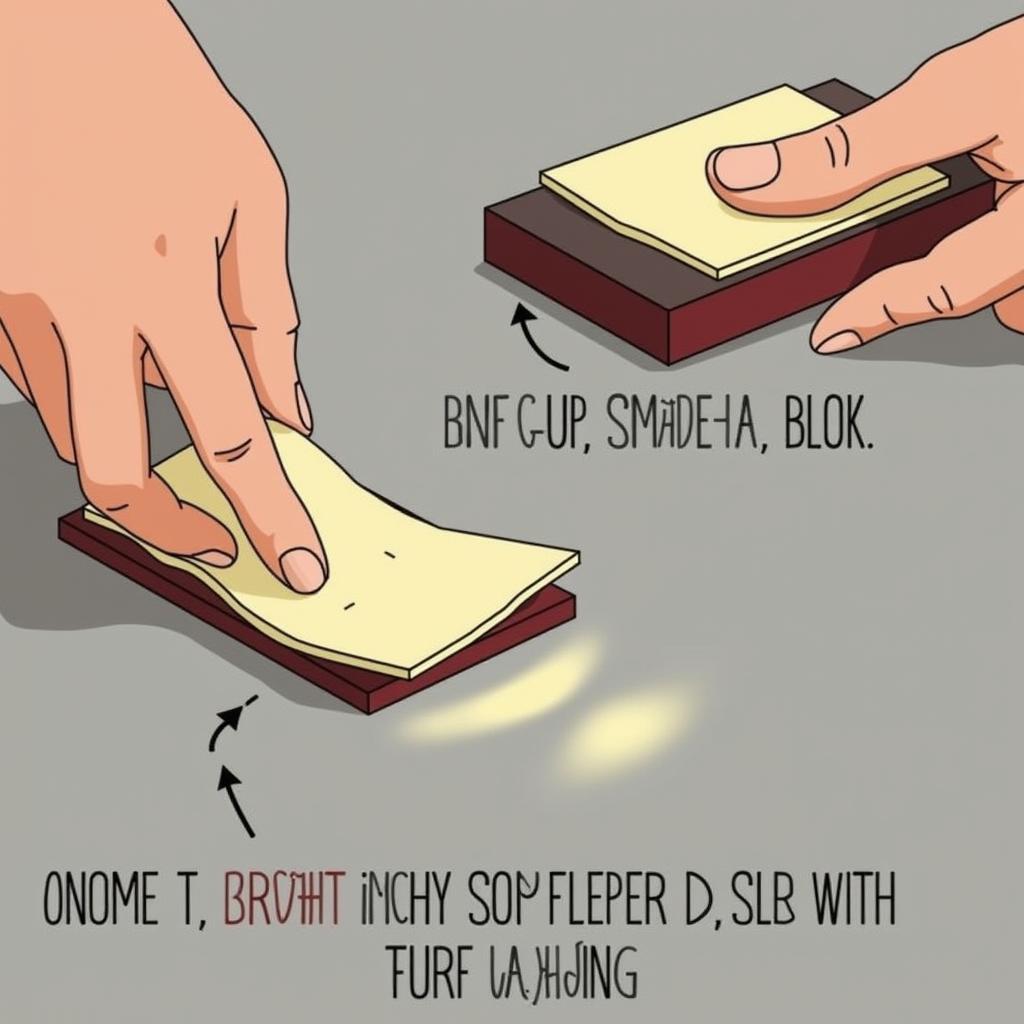
- Sanding and Polishing: Once the paint is dry, lightly sand the area with very fine-grit sandpaper to blend the repair with the surrounding paint. Follow this up with rubbing compound and a microfiber cloth to polish the area to a smooth, even shine. Should I have a collision center repair car paint knicks discusses when professional repair may be necessary.
 Sanding Car Paint Nick Before Touch-Up
Preventing Future Nicks: Protecting Your Car’s Paint
Protecting your car’s paint from future nicks is easier than you think. Regular waxing, using a car cover, and parking in covered areas can significantly reduce the risk of paint chips and scratches.
Conclusion
Knowing how to repair a nick in car paint can save you time and money. By following these steps, you can maintain your car’s appearance and protect its value. Remember to assess the damage carefully and choose the right repair approach for the best results. For more detailed guides, visit how to repair small paint nicks car.
FAQ
- Can I use any touch-up paint? No, use paint specifically matched to your car’s color code.
- How long does it take for touch-up paint to dry? Drying time varies, but generally allow several hours between coats.
- Do I need to sand after applying touch-up paint? Light sanding can help blend the repair, especially with deeper nicks.
- When should I seek professional repair? For large or complex paint damage, consult a professional.
- How can I prevent future paint nicks? Regular waxing and protective covers can help minimize damage.
- Where can I find my car’s paint code? The paint code is usually located on a sticker inside the driver’s side doorjamb.
- What if the nick is on a plastic bumper? Similar techniques apply, but use a plastic primer and paint if needed.
Need further help with car repairs? Check out these related articles: how to repair nicks in car paint.
For personalized assistance, contact us via WhatsApp: +1(641)206-8880 or Email: cardiagtechworkshop@gmail.com. Our 24/7 customer support team is ready to assist you.


