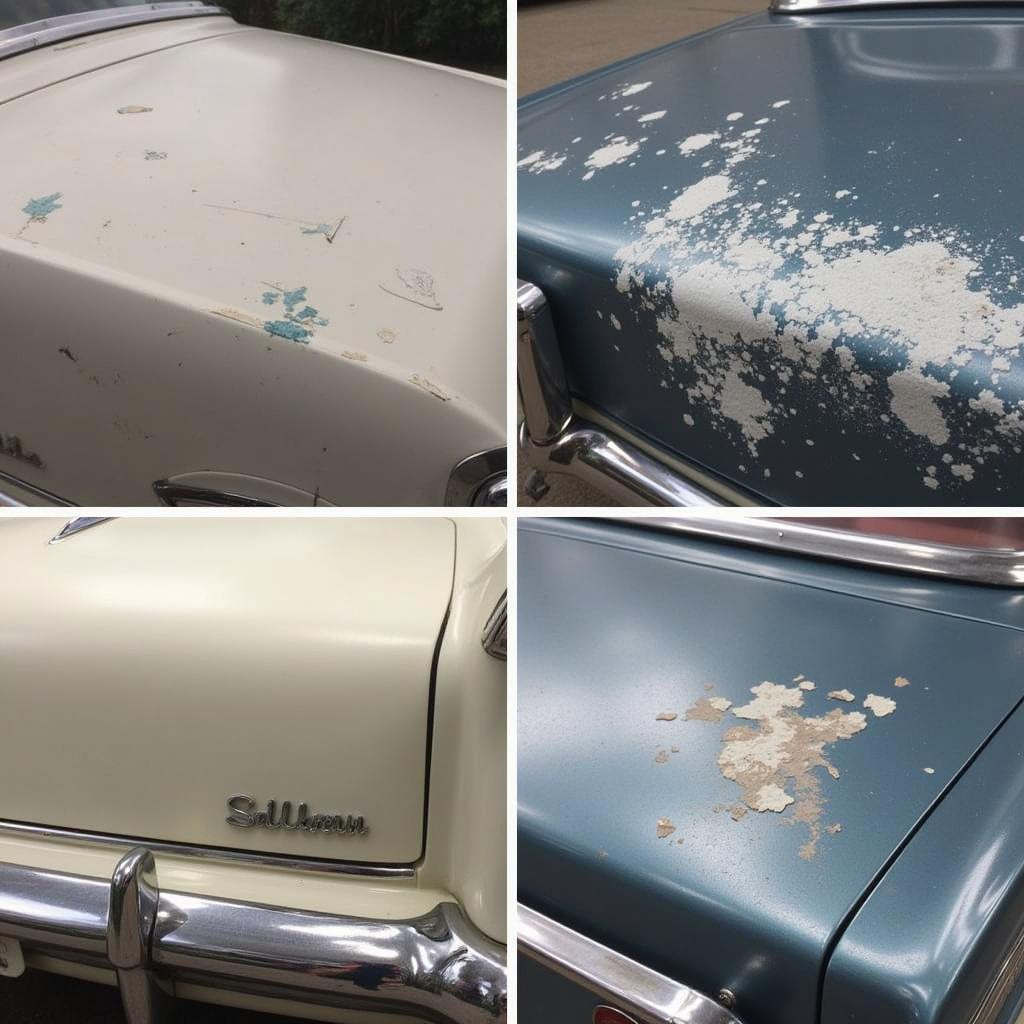
Restoring a classic car’s trunk to its former glory often involves classic car trunk paint repair, a crucial step in preserving its value and aesthetics. Whether you’re dealing with minor scratches, rust spots, or extensive damage, this guide provides expert advice and practical tips to help you achieve a professional-looking finish.
Understanding Classic Car Trunk Paint Repair
Classic car trunk paint repair isn’t just about aesthetics; it protects against further deterioration caused by rust and environmental factors. Proper preparation and technique are essential for a durable and visually appealing result. Different types of paint and repair methods exist, each suited to specific damage levels and desired finishes. Choosing the right approach depends on factors like the severity of the damage, your budget, and your level of expertise.
Assessing the Damage: Know Your Enemy
Before diving into the repair process, carefully assess the trunk’s condition. Identify the type and extent of damage, be it surface scratches, deep gouges, or pervasive rust. This initial assessment will guide your choice of repair method and materials. Is it a simple touch-up or a full-blown restoration project? Answering this question is the first step towards a successful classic car trunk paint repair.
Preparing the Surface: The Foundation of a Flawless Finish
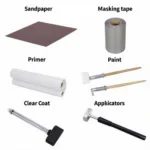
Thorough surface preparation is paramount for achieving a professional-looking paint job. Start by cleaning the trunk thoroughly with a suitable automotive cleaner to remove dirt, grease, and wax. Next, sand the damaged area to create a smooth surface for the new paint to adhere to. Use progressively finer grits of sandpaper to achieve a flawless finish. Masking off surrounding areas protects the existing paint and ensures clean lines.
Choosing the Right Paint and Tools: A Recipe for Success
Selecting the correct paint type is crucial for a successful classic car trunk paint repair. Consider the car’s original paint color and finish (e.g., matte, gloss). Options include lacquer, enamel, and urethane paints, each with its own properties and application methods. Invest in quality brushes, rollers, or spray guns for a smooth and even application. Remember, the right tools are just as important as the right paint.
Applying the Paint: The Art of the Finish
Applying the paint requires patience and precision. Whether brushing, rolling, or spraying, apply thin, even coats, allowing each coat to dry completely before applying the next. Multiple thin coats result in a smoother and more durable finish than one thick coat. Follow the manufacturer’s instructions for drying times and recoating intervals. A steady hand and attention to detail are key to achieving a professional look.
Finishing Touches: The Details Matter
After the final coat has dried, inspect the repaired area for any imperfections. Light sanding and polishing can further enhance the finish, blending the new paint seamlessly with the existing paintwork. Applying a clear coat provides additional protection and adds depth to the color. These final touches elevate the overall appearance of the trunk and protect your investment.
Conclusion: Preserving Automotive History, One Trunk at a Time
Classic car trunk paint repair is a rewarding endeavor that preserves the beauty and value of these automotive treasures. By following the steps outlined in this guide, you can achieve professional-looking results, ensuring your classic car’s trunk remains a testament to its legacy for years to come. Remember, meticulous preparation, the right materials, and patience are the keys to a successful classic car trunk paint repair.
FAQs
-
What is the best type of paint for classic car trunk repair? The ideal paint type depends on the car’s original finish and the extent of the damage. Lacquer, enamel, and urethane paints are common choices, each with its own advantages and disadvantages.
-
How do I repair rust on my classic car trunk? Rust repair involves removing the rust, treating the affected area with a rust converter, and then filling and priming before painting.
-
Can I repair classic car trunk paint myself? Yes, with the right tools, materials, and patience, DIY classic car trunk paint repair is achievable.
-
How long does it take for classic car trunk paint to dry? Drying times vary depending on the paint type and environmental conditions. Always follow the manufacturer’s instructions.
-
How do I match the original paint color of my classic car? Consult a professional auto paint supplier for accurate color matching.
-
What are the common mistakes to avoid during classic car trunk paint repair? Common mistakes include inadequate surface preparation, applying thick coats of paint, and not allowing sufficient drying time between coats.
-
How do I protect the newly painted trunk? Applying a clear coat and regularly waxing the trunk can help protect the paint and maintain its shine.
Common Classic Car Trunk Paint Repair Scenarios
- Minor Scratches: Often addressed with touch-up paint and careful blending.
- Rust Spots: Require rust removal, treatment, and priming before painting.
- Dents and Dings: May necessitate body filler and sanding to restore the trunk’s shape.
- Faded Paint: Can be revitalized with polishing or a fresh coat of paint.
Related Articles You May Find Helpful:
- Classic Car Paint Restoration: A Beginner’s Guide
- Preventing Rust on Classic Cars
- Choosing the Right Automotive Paint
Need help? Contact us via WhatsApp: +1(641)206-8880, or Email: [email protected]. Our customer support team is available 24/7.


