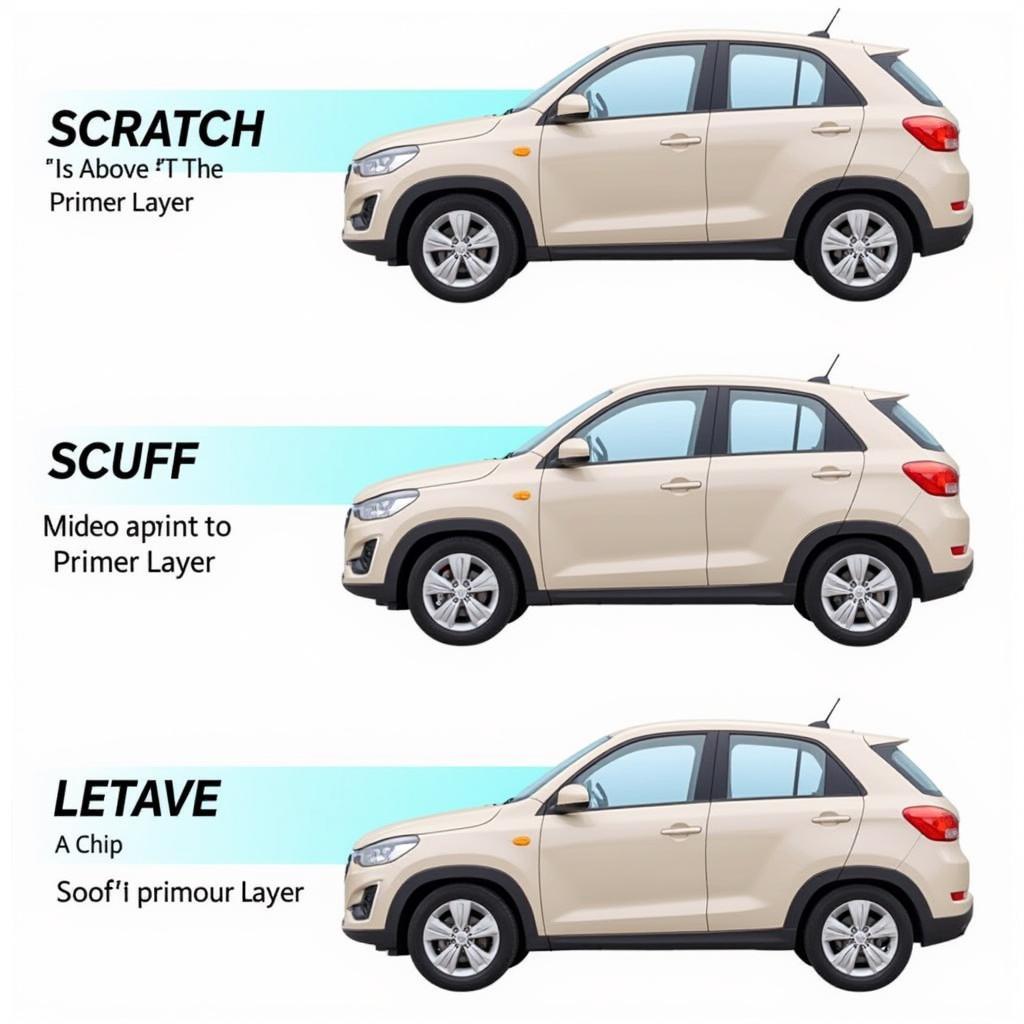
Car paint repair above primer is a common process for addressing minor to moderate damage to your vehicle’s finish. This guide explores various aspects of car paint repair above the primer layer, from identifying the damage to selecting the right repair methods and achieving a professional-looking finish. We’ll cover everything you need to know to tackle this task yourself or make informed decisions when hiring a professional. After reading this article, cost to repair car paint scratch might be helpful.
Understanding Car Paint Layers and Primer’s Role
Before diving into car paint repair above primer, it’s crucial to understand the different layers of your car’s paint system. Typically, there’s the metal or plastic substrate, the primer layer, the base coat (color), and the clear coat. The primer provides a crucial foundation for the base coat, promoting adhesion and protecting the underlying material. When damage occurs above the primer, but not deep enough to reach it, you have several repair options.
When the damage doesn’t penetrate the primer layer, the repair process becomes less invasive. This allows for targeted solutions, preserving the integrity of the existing primer and simplifying the overall repair.
Assessing the Damage: When is Repair Above Primer Necessary?
Identifying the extent of damage is the first step in deciding on the appropriate repair method. Scratches, scuffs, and minor chips that haven’t penetrated the primer can often be addressed with spot repairs above the primer. If the primer is exposed, more extensive repairs, including primer application, are necessary. Knowing how to repair small hole in plastic painted car trim can also be beneficial in some instances.
DIY Car Paint Repair Above Primer: Step-by-Step Guide
For minor scratches and scuffs above the primer, DIY repairs are often feasible.
- Clean the Area: Thoroughly clean the damaged area with car wash soap and water, then degrease with isopropyl alcohol. This ensures proper adhesion of repair materials.
- Sanding (If Necessary): For slightly deeper imperfections, use fine-grit sandpaper (2000-grit or higher) to smooth the area. Be gentle to avoid sanding through the base coat and reaching the primer.
- Apply Touch-Up Paint: Use a touch-up paint pen or brush to carefully apply paint to the damaged area. Multiple thin coats are better than one thick coat, allowing each layer to dry before applying the next. You may want to understand how much to repair a paint scratch on car.
- Leveling (If Necessary): If the touch-up paint creates a slightly raised area, use wet sanding with very fine-grit sandpaper to level it with the surrounding paint.
- Polishing and Waxing: Once the touch-up paint is dry and leveled, polish the area to blend it seamlessly with the original paint. Finish with a coat of wax to protect the repaired area.
“A common mistake DIYers make is applying too much touch-up paint at once. Patience is key – multiple thin coats will result in a much smoother and more professional-looking finish,” says John Smith, Automotive Paint Specialist at Smith Auto Body.
Professional Car Paint Repair Above Primer: When to Call the Experts
While DIY repairs can be effective for minor damage, more significant imperfections or lack of experience may warrant professional help. Professionals have access to advanced tools and techniques, like color matching systems and spray guns, to ensure a flawless finish. They can also address issues like clear coat damage and blending the repaired area seamlessly. For some situations, how to patch repair car paint provides useful information.
“For deeper scratches or chips, especially those that are close to penetrating the primer, seeking professional help is often the best course of action,” advises Maria Garcia, Senior Technician at Garcia Auto Repair. “Attempting a DIY repair on more extensive damage can sometimes worsen the problem and lead to more costly repairs down the line.”
Maintaining Your Car’s Paint After Repair
After the repair, whether DIY or professional, proper maintenance is essential for preserving the finish. Regular washing and waxing will protect the paint from further damage and maintain its shine. Avoiding harsh chemicals and parking in shaded areas can also help prolong the life of your car’s paint.
Conclusion
Car paint repair above primer can effectively address various types of surface damage, restoring your vehicle’s appearance without extensive and costly interventions. By understanding the different repair methods and assessing the extent of the damage, you can choose the appropriate approach, whether a DIY solution or professional service. Regular maintenance after the repair is crucial for preserving the finish and protecting your investment. Car paint repair above primer allows you to maintain a pristine vehicle finish for years to come.
FAQ
- Can I use any type of touch-up paint?
- How long does touch-up paint take to dry?
- What grit sandpaper should I use for wet sanding?
- When should I wax my car after a paint repair?
- How can I prevent future paint damage?
- What are the signs that my car’s clear coat is damaged?
- How much does professional car paint repair typically cost?
Situations Where “Car Paint Repair Above Primer” is a Common Question:
- Minor scratches and scuffs from parking lot mishaps.
- Light scratches caused by tree branches or road debris.
- Chipped paint from rocks or other small impacts.
- Scuff marks on bumpers or door edges.
Other Related Articles You Might Find Helpful:
- Car Paint Scratch Repair Cost
- Repairing Small Holes in Plastic Car Trim
- Patch Repairing Car Paint
- Cost of Repairing a Paint Scratch on a Car
- Car Scrape Paint Repair
Need assistance with your car paint repair? Don’t hesitate to contact us via WhatsApp: +1(641)206-8880 or Email: [email protected]. Our 24/7 customer support team is here to help!


