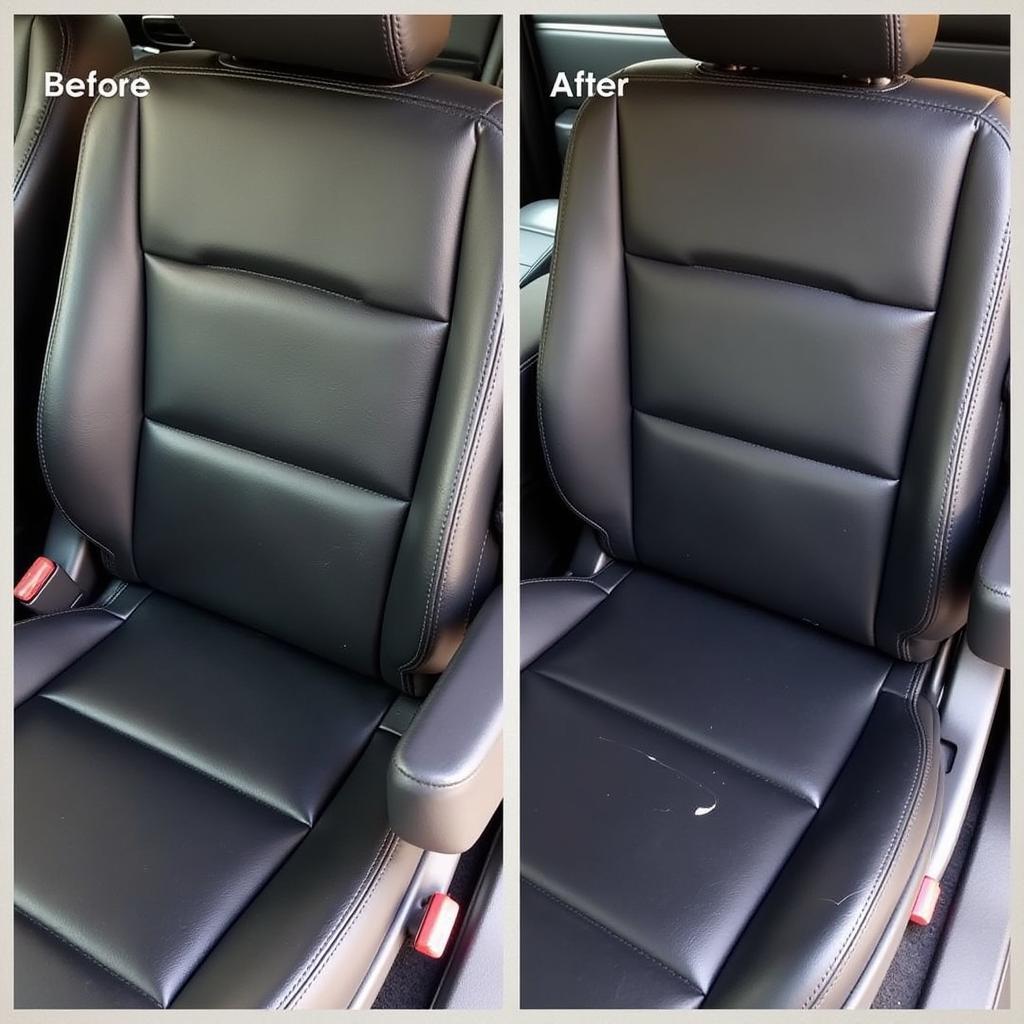
Cracked vinyl car seats are a common problem for car owners. Over time, exposure to the sun, heat, and cold can cause the vinyl to become dry and brittle, making it susceptible to cracking. However, with the right approach, you can often repair those cracks and restore your car’s interior to its former glory. This comprehensive guide will walk you through the process of How To Repair Cracked Vinyl Car Seats, from start to finish.
Assessing the Damage: When Can Cracks Be Repaired?
Before you begin, it’s crucial to assess the severity of the damage to determine if a DIY repair is feasible. Minor cracks and scratches can often be successfully repaired at home. However, if the vinyl is severely torn, large chunks are missing, or the damage extends to the seat’s stitching, it’s best to consult a professional for repair car seats services.
[image-1|assessing-vinyl-car-seat-damage|Assessing Vinyl Car Seat Damage| A close-up image of a hand inspecting cracks in a vinyl car seat. The image highlights the importance of examining the severity of the damage before attempting a repair. The hand uses a finger to gently probe the cracks to determine their depth and extent.]
Gathering Your Repair Arsenal: Tools and Materials
Once you’ve determined that the cracks in your vinyl car seats are repairable, it’s time to gather the necessary tools and materials. Here’s a list to get you started:
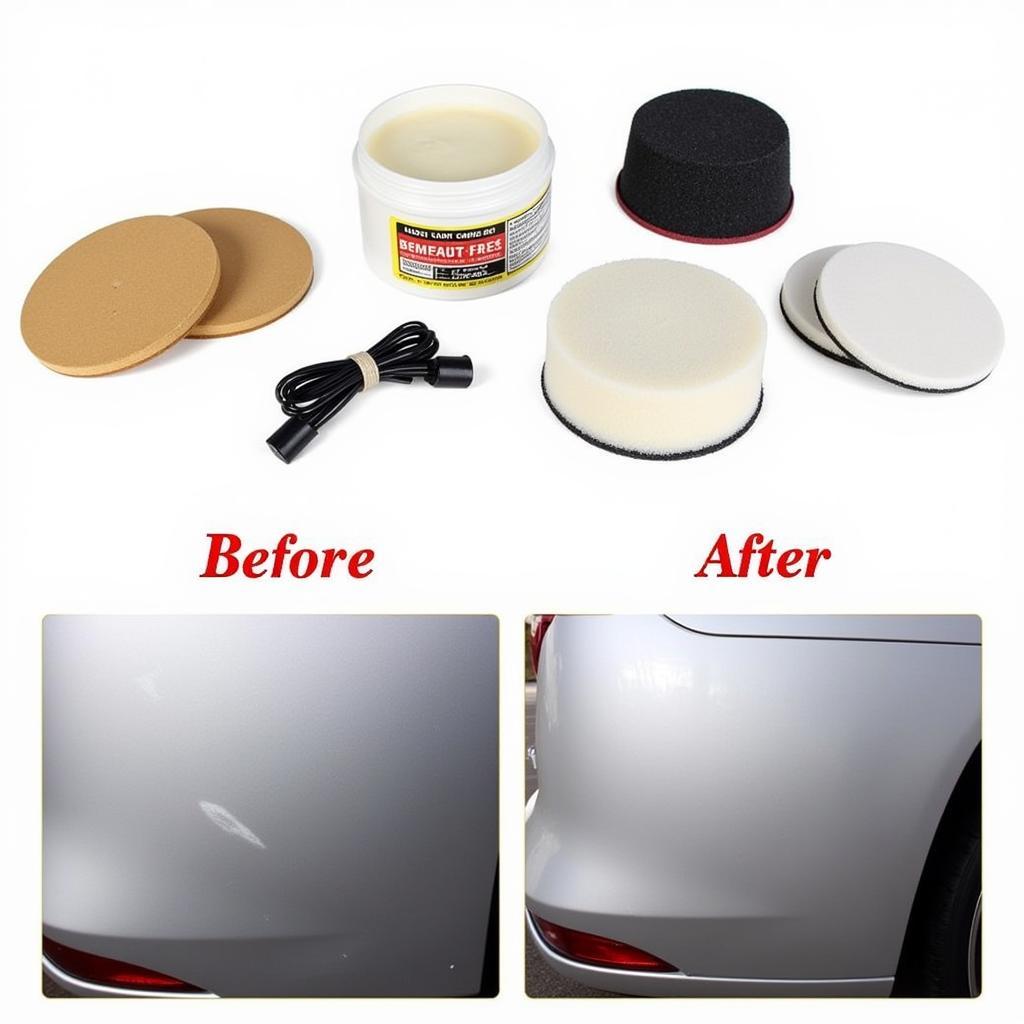
- Vinyl Repair Kit: Choose a high-quality vinyl repair kit specifically designed for car seats. These kits typically contain a vinyl filler, adhesive, color matching guide, and various grain papers to mimic the texture of your vinyl.
- Cleaning Solution: Opt for a mild cleaner suitable for vinyl surfaces. Avoid harsh chemicals that could further damage the material.
- Microfiber Cloths: These soft cloths are ideal for cleaning and applying products without scratching the vinyl.
- Masking Tape: Use masking tape to protect surrounding areas from unwanted repairs or color bleeding.
- Scissors: Sharp scissors will be needed to cut the masking tape and potentially trim any loose vinyl edges.
- Heat Gun or Hairdryer (Optional): A heat gun or hairdryer can be useful for speeding up the drying process of the vinyl filler.
A Step-by-Step Guide to Repairing Cracked Vinyl Car Seats
[image-2|applying-vinyl-repair-compound-to-car-seat| Applying Vinyl Repair Compound to Car Seat|A person carefully applies a vinyl repair compound to a cracked car seat using a small spatula. The image emphasizes the precision required for this step to ensure a smooth and even finish.]
Follow these steps to effectively repair cracked vinyl car seats:
- Clean the Area: Thoroughly clean the cracked area and surrounding vinyl with your chosen cleaning solution. This will remove any dirt, grime, or residue that could interfere with the repair process. Allow the area to dry completely before proceeding.
- Prepare the Cracks: If the cracks have loose edges, carefully trim them using sharp scissors. This will ensure a smoother and more seamless repair.
- Apply Vinyl Filler: Using the provided applicator tool or a small spatula, carefully apply the vinyl filler to the cracks. Push the filler into the cracks, ensuring they are completely filled and level with the surrounding surface.
- Remove Excess Filler: While the filler is still wet, gently wipe away any excess with a clean microfiber cloth. Avoid pressing too hard, as this could remove too much filler.
- Apply Heat (Optional): If desired, use a heat gun or hairdryer on a low setting to accelerate the drying process of the vinyl filler. Keep the heat source moving to prevent overheating and potential damage.
- Sand and Texture: Once the filler is completely dry, lightly sand the repaired area with fine-grit sandpaper until it’s smooth and even with the surrounding vinyl. If your repair kit includes grain paper, use it to match the texture of your car’s vinyl.
- Color Match and Apply: Refer to the color matching guide in your vinyl repair kit to find the closest match for your car’s interior. Once you’ve identified the right color, apply the vinyl dye to the repaired area using a clean applicator. Apply thin, even coats, allowing each coat to dry thoroughly before applying the next.
- Final Touches: After the final coat of dye has dried, inspect the repaired area. If necessary, apply additional coats until you’re satisfied with the color match. Once the dye is completely dry, apply a vinyl protectant to the repaired area and surrounding vinyl to help preserve the repair and prevent future cracking.
Preventing Future Cracks: Prolonging Your Repair
Congratulations! You’ve successfully repaired the cracks in your vinyl car seats. Now, it’s time to take proactive steps to prevent future damage and keep your car’s interior looking its best:
- Regular Cleaning: Regularly clean your vinyl car seats with a mild cleaner and a soft microfiber cloth.
- UV Protection: Protect your car’s interior from harmful UV rays by parking in the shade whenever possible. You can also use a windshield sunshade to minimize sun exposure.
- Conditioning: Just like leather, vinyl needs to be conditioned to stay supple and prevent cracking. Use a dedicated vinyl conditioner or a leather conditioner that’s safe for vinyl surfaces.
[image-3|applying-vinyl-protectant-to-car-seat|Applying Vinyl Protectant to Car Seat| A close-up image of a hand applying a vinyl protectant to a car seat using a microfiber cloth. The image emphasizes the importance of regular maintenance in preventing future cracks and preserving the vinyl’s condition.]
Expert Insights: Tips from a Seasoned Car Repair Professional
“Many car owners underestimate the importance of using a high-quality vinyl repair kit,” says John Smith, a seasoned car repair specialist with over 20 years of experience. “A good kit will not only provide you with the necessary tools and materials but also ensure a more durable and long-lasting repair. Don’t be afraid to invest a little extra in a reputable brand.”
Smith also emphasizes the importance of patience throughout the repair process. “Rushing through the steps or applying too much heat can compromise the repair and lead to an unsatisfactory outcome,” he cautions. “Take your time, follow the instructions carefully, and don’t hesitate to consult online resources or seek professional guidance if you encounter any difficulties.”
Conclusion
Repairing cracked vinyl car seats is a manageable DIY project that can save you money and restore the aesthetics of your car’s interior. By following the step-by-step guide outlined above and heeding the advice of seasoned professionals, you can achieve impressive results. Remember to choose the right tools and materials, work patiently, and prioritize regular maintenance to prolong the lifespan of your vinyl car seats and keep them looking their best for years to come. If you’re unsure about how to repair cracks in vinyl car seats, consider consulting with a professional. They can provide expert guidance and ensure a successful repair.


