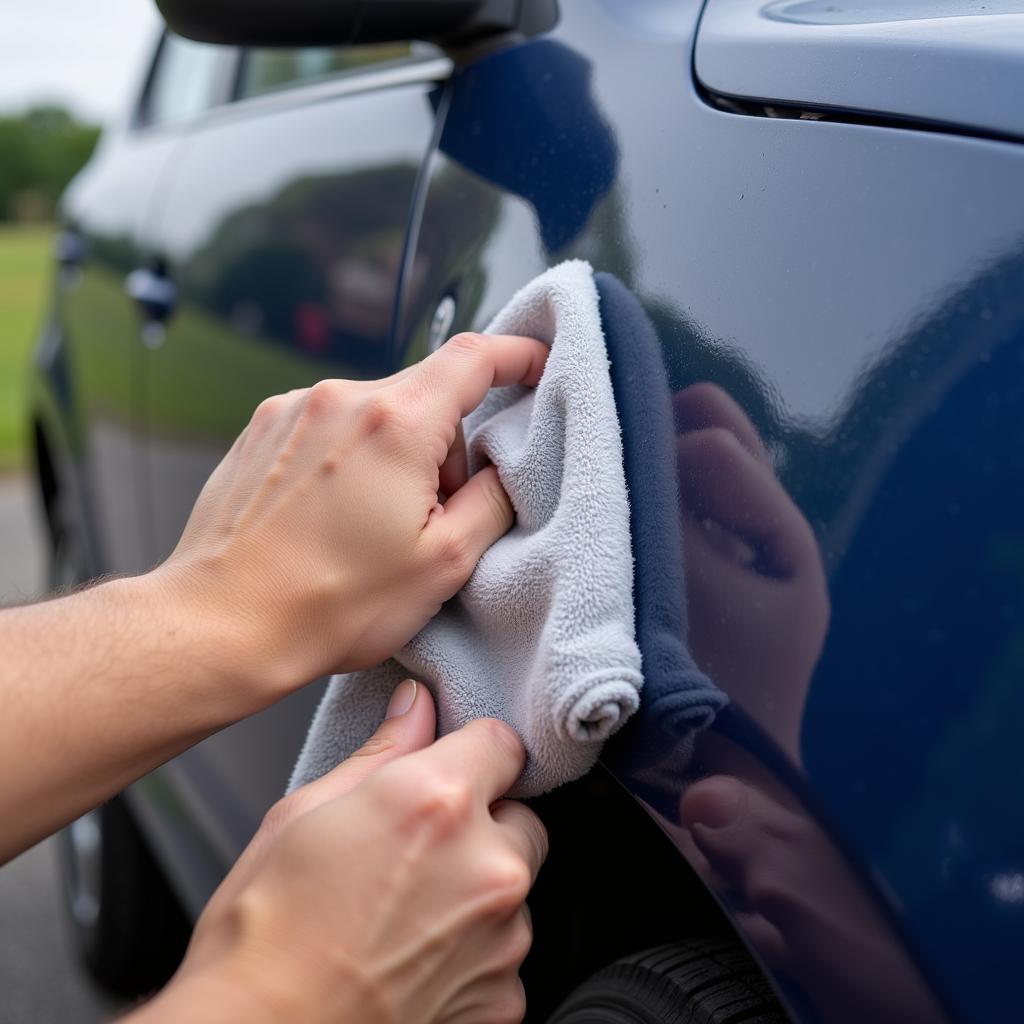
Large stone chips on your car’s paint are more than just unsightly blemishes. They expose the underlying metal to the elements, inviting rust and corrosion that can significantly devalue your vehicle. Knowing how to repair large stone chips on car paint effectively can save you money on costly professional repairs and maintain your car’s appearance. This guide provides a comprehensive approach to tackling those pesky paint chips and restoring your car’s finish.
Repairing large stone chips is a multi-step process that requires careful preparation and execution. Rushing the job or skipping steps can lead to a less-than-perfect finish and may even worsen the damage. We’ll walk you through the entire process, from assessing the damage to applying the final touches. Are you ready to learn how to make your car look its best again? Let’s dive in. You might even find our article on car paint chip and scratch repair kit helpful for gathering the necessary materials.
Assessing the Damage: More Than Meets the Eye
Before you begin any repairs, carefully assess the extent of the damage. A large stone chip often involves more than just a superficial scratch. It can penetrate through the clear coat, color coat, and even the primer, exposing the bare metal underneath. Identifying the depth of the chip will determine the appropriate repair method and the products you’ll need.
Gathering Your Supplies: The Right Tools for the Job
Having the right tools and materials on hand is crucial for a successful repair. You’ll need items like sandpaper (various grits), primer, touch-up paint, clear coat, rubbing compound, polishing compound, and applicators (brushes, foam pads). A large paint chip repair car guide can be a great resource for getting started.
Preparing the Area: A Clean Slate for Repair
Thoroughly clean the chipped area with soap and water, followed by a degreaser or rubbing alcohol. This removes any dirt, grease, or wax that could interfere with the adhesion of the repair materials. Dry the area completely before proceeding.
 Cleaning the Car Paint Chip Before Repair
Applying Primer (If Necessary): Laying the Foundation
If the chip has penetrated to the bare metal, apply a thin coat of automotive primer to the exposed area. This prevents rust and provides a smooth base for the touch-up paint. Allow the primer to dry completely according to the manufacturer’s instructions.
Filling the Chip: Bridging the Gap
For deeper chips, you may need to use a touch-up paint pen or a small brush to carefully fill the chip with several thin layers of touch-up paint. Allow each layer to dry completely before applying the next. Avoid applying too much paint at once, as this can lead to drips and an uneven finish.
Sanding and Leveling: Achieving a Smooth Finish
Once the touch-up paint is completely dry, use fine-grit sandpaper (2000-3000 grit) to carefully level the repaired area with the surrounding paint. Wet sanding is recommended for a smoother finish. Be gentle and avoid sanding through the surrounding clear coat. This step requires patience and precision, and you can always learn more about repairing large chips, specifically in your car’s paint, via this helpful guide on how to repair large stone chips in car paint.
Applying Clear Coat: The Protective Shield
After sanding, apply a few thin coats of clear coat to the repaired area, extending slightly beyond the edges of the touch-up paint. This protects the repair and restores the shine to your car’s finish.
Polishing and Buffing: The Final Touches
Once the clear coat is dry, use rubbing compound and polishing compound to blend the repaired area seamlessly with the surrounding paint. This removes any remaining imperfections and restores the original gloss. Remember, if you’re dealing with other paint issues like bubbling or peeling, our guide on car paint bubbling and peeling repair might be useful.
Conclusion: A Restored Finish
Repairing large stone chips on car paint can seem daunting, but with the right approach and a little patience, you can achieve professional-looking results. By following these steps, you can protect your car from further damage and maintain its value while restoring its pristine appearance. Remember to always prioritize safety and consult a professional if you’re unsure about any step of the process. Don’t underestimate the damage that seemingly small chips can cause; addressing them promptly will save you money and headaches in the long run. So, gather your supplies, roll up your sleeves, and give your car the care it deserves.
FAQ
- Can I use nail polish to repair stone chips? (No, nail polish is not designed for automotive use and will not provide a durable or long-lasting repair.)
- How long does it take for the touch-up paint to dry? (Drying time varies depending on the product and environmental conditions, but generally allow at least 24 hours for complete drying.)
- What should I do if the chip is very deep? (For very deep chips, it’s best to consult a professional for a more comprehensive repair.)
- Can I wash my car after repairing a stone chip? (Wait at least 48 hours after the repair before washing your car to allow the clear coat to fully cure.)
- Where can I find the correct touch-up paint for my car? (Your car’s owner’s manual should list the paint code, or you can contact your dealership.)
- Is it expensive to repair large stone chips professionally? (The cost of professional repair varies depending on the extent of the damage, but it’s often more cost-effective to perform minor repairs yourself.)
- What if I don’t have all the tools listed? (Consider visiting a cheap car paint repair shop if you lack the necessary tools or are uncomfortable tackling the repair yourself.)
Suggested Questions & Further Reading:
- How to prevent stone chips on car paint?
- What are the different types of car paint?
- How to choose the right car wax for your car’s finish?
Need help with your car repair? Contact us via WhatsApp: +1(641)206-8880 or Email: [email protected]. Our 24/7 customer support team is always here to assist you.


