Car paint chip repair DIY is a cost-effective way to address minor paint damage and protect your vehicle from rust. This guide will walk you through the process, offering expert advice and practical tips for achieving professional-looking results.
Fixing those unsightly paint chips doesn’t necessarily require a trip to the auto body shop. With the right tools and a little patience, you can tackle car paint chip repair yourself, saving money and maintaining your car’s appearance. This comprehensive guide covers everything from assessing the damage to applying the final touches, ensuring a seamless DIY repair experience. Are you ready to restore your car’s finish to its former glory? Let’s dive in.
Assessing the Damage: How Deep is the Chip?
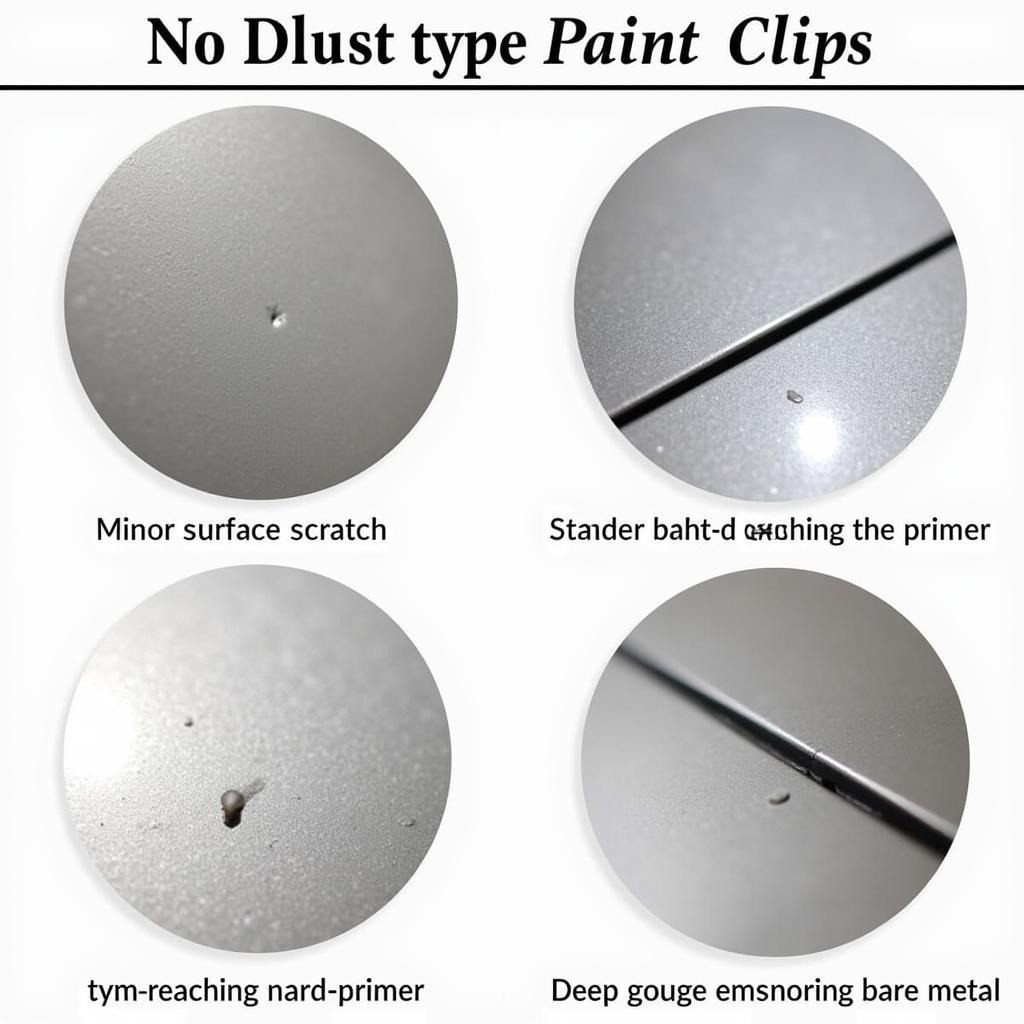
Before starting any car paint chip repair, it’s crucial to assess the extent of the damage. Is it a minor surface scratch, a chip that’s reached the primer, or a deep gouge exposing the bare metal? This determination will influence the repair approach. For surface scratches, a simple polishing compound might suffice. Deeper chips require more involved steps, including applying primer and touch-up paint. Understanding the depth of the damage ensures you use the correct products and techniques, leading to a more effective and lasting repair.
For additional insights and visual demonstrations, check out these helpful resources on car paint chip repair youtube.
Gathering Your Supplies: The DIY Car Paint Chip Repair Kit
A well-stocked car paint chip repair kit is essential for a successful DIY repair. You’ll need touch-up paint that precisely matches your car’s color (check your owner’s manual or the sticker inside the driver’s side doorjamb for the paint code). Other essential items include rubbing compound, polishing compound, primer (if necessary), fine-grit sandpaper, masking tape, applicator brushes or touch-up pens, and a clear coat sealant. For those seeking pre-assembled solutions, explore options for a car paint chip repair kit. Having the right tools at your disposal will streamline the process and ensure a professional finish.
Preparing the Area: Clean and Smooth
Thoroughly cleaning the chipped area is paramount for proper adhesion of the repair materials. Use a mild soap and water solution, followed by a dedicated automotive cleaning solution to remove any wax, grease, or dirt. After cleaning, allow the area to dry completely. For deeper chips, use fine-grit sandpaper to smooth the edges and create a level surface for the touch-up paint. Careful preparation is key to achieving a seamless and invisible repair. You can find more information about specific repair kits at car repair kit paint.
Applying the Touch-Up Paint: Patience is Key
Applying the touch-up paint requires precision and patience, particularly for smaller chips. Use a fine-tipped applicator brush or a touch-up pen to apply the paint in thin, even coats, allowing each coat to dry completely before applying the next. Avoid applying too much paint at once, as this can lead to drips and an uneven finish. For larger chips, build up the paint gradually, ensuring a smooth and level surface. Check out community discussions and tips on car paint chip repair reddit.
Sealing the Repair: Protection and Shine
Once the touch-up paint is dry, apply a clear coat sealant to protect the repair and restore the shine to your car’s finish. The clear coat also helps blend the repaired area seamlessly with the surrounding paint. Follow the manufacturer’s instructions for drying time and application. This final step ensures a durable and professional-looking repair that will last for years to come.
Conclusion: DIY Car Paint Chip Repair Success
DIY car paint chip repair is an achievable task for any car owner willing to invest a little time and effort. By following these steps and using the right products, you can effectively address minor paint damage, protect your vehicle from rust, and maintain its aesthetic appeal. Remember, patience and attention to detail are key to achieving professional-looking results. For a straightforward guide on repairing black paint chips, visit simple black paint chip repair on car.
FAQ
- How long does touch-up paint take to dry? Drying times vary depending on the product and environmental conditions, typically ranging from 30 minutes to a few hours.
- Can I use nail polish for car paint chip repair? No, nail polish is not formulated for automotive paint and will not adhere or provide adequate protection.
- What if the chip is down to the metal? For chips that expose bare metal, apply a primer before the touch-up paint to prevent rust.
- How can I match my car’s paint color exactly? Consult your owner’s manual or the sticker inside the driver’s side doorjamb for your car’s paint code.
- Where can I buy a car paint chip repair kit? Car paint chip repair kits are available at most auto parts stores and online retailers.
- Can I wet sand the repaired area? Yes, wet sanding can help blend the repair and create a smoother finish. Use very fine-grit sandpaper and be cautious not to remove too much paint.
- How can I prevent future paint chips? Regular waxing and applying paint protection film can help protect your car’s paint from chips and scratches.
For further assistance, don’t hesitate to contact us via WhatsApp: +1(641)206-8880 or Email: [email protected]. Our customer support team is available 24/7.


