Stone chips, those tiny but unsightly blemishes on your car’s paint, are an unfortunate reality of driving. Whether caused by flying gravel, road debris, or even minor accidents, these paint chips can detract from your car’s appearance and potentially lead to rust if left untreated. But don’t worry, repairing stone chips in car paint is a manageable DIY project that can save you time and money compared to a costly trip to the auto shop. This comprehensive guide will walk you through the steps to restore your car’s paint to its former glory.
Assessing the Damage: How Deep is Too Deep?
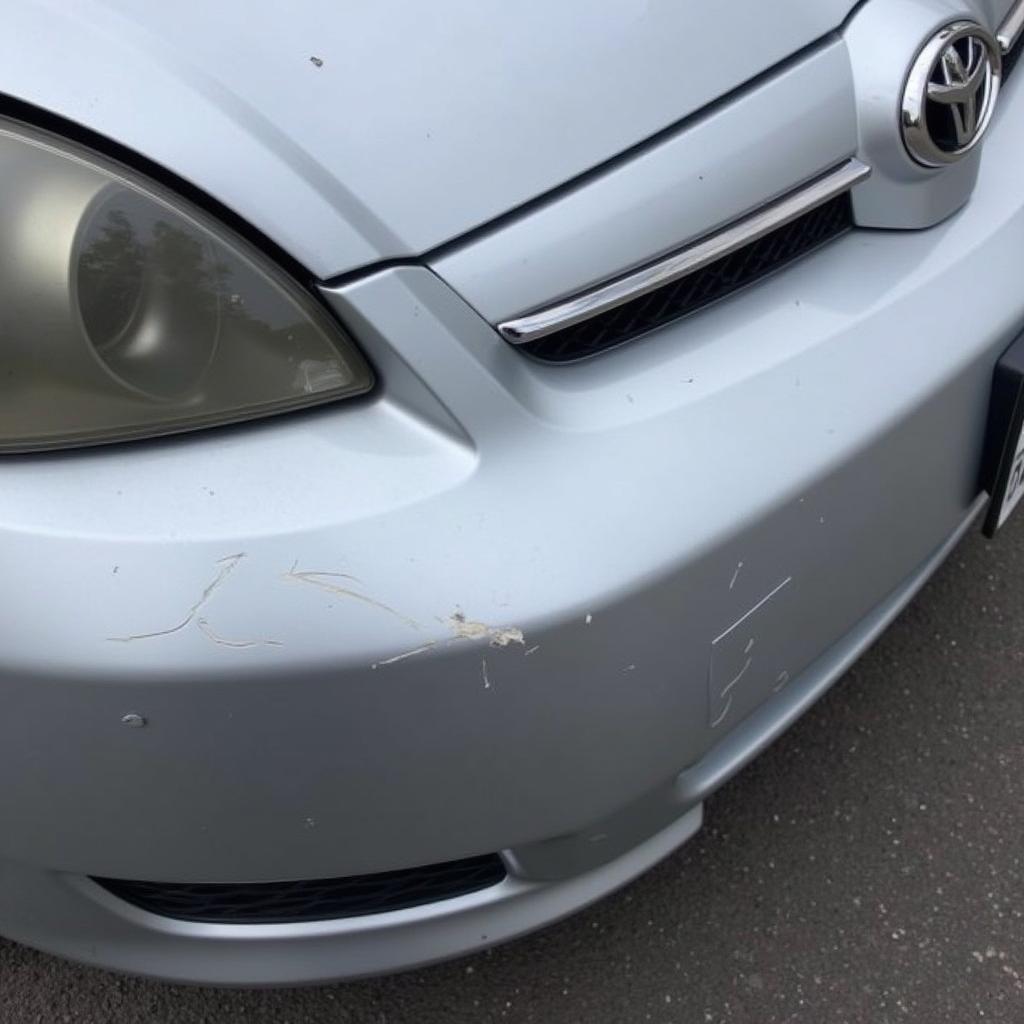
Before diving into the repair process, it’s crucial to assess the severity of the stone chips. Some chips are shallow, affecting only the clear coat or top layer of paint, while others are deeper, reaching the primer or bare metal.
[image-1|shallow-stone-chip-car-paint|Shallow Stone Chip in Car Paint| A close-up image of a shallow stone chip on a car’s hood. The chip shows a slight indentation but hasn’t penetrated the primer layer.]
For shallow chips, a simple touch-up paint application might suffice. However, deeper chips require more attention and may involve filling, sanding, and blending to achieve a seamless repair.
Gathering Your Supplies: The Right Tools for the Job
Having the right tools and materials is crucial for a successful stone chip repair. Here’s a checklist of what you’ll need:
- Cleaning Supplies: Car wash soap, microfiber towels, rubbing alcohol, and a wax and grease remover.
- Touch-Up Paint: Purchase the exact color match for your car’s paint. Consult your owner’s manual or find the paint code located on a sticker, usually inside the driver’s side door jamb. Opt for a touch-up paint kit that includes both the base coat and clear coat.
- Application Tools: Choose from a touch-up paint pen, a fine-tipped brush, or toothpicks for precise application.
- Sandpaper: If dealing with deeper chips, you’ll need different grit sandpaper (e.g., 1500, 2000, 3000 grit) for smoothing and blending the repaired area.
- Masking Tape and Paper: To protect surrounding areas from overspray or accidental paint transfer.
- Polishing Compound and Pad: For a smooth and glossy finish after the repair.
Repairing Stone Chips: A Step-by-Step Guide
Follow these steps to effectively repair stone chips in your car paint:
-
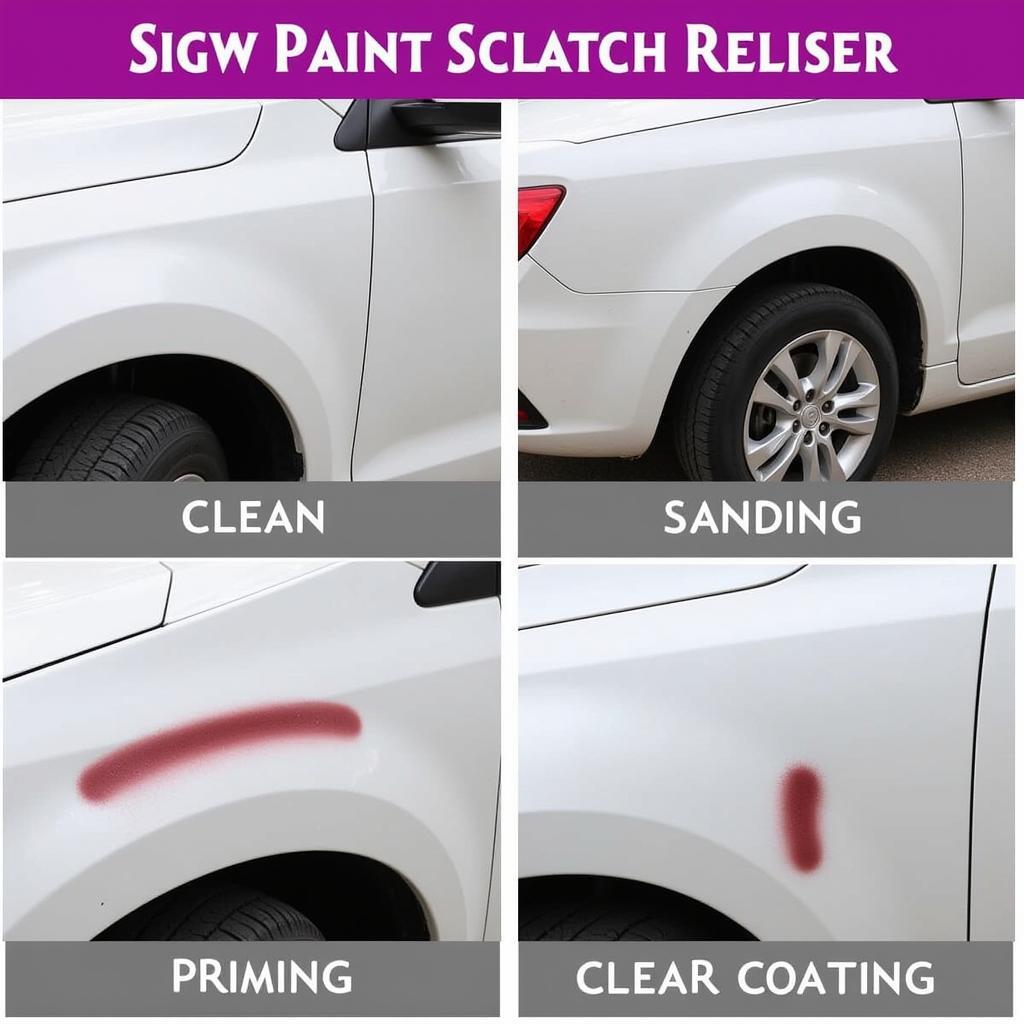
Clean the Area: Thoroughly wash your car and allow it to dry completely. Focus on cleaning the area around the stone chip using car wash soap and a microfiber towel. Once dry, use rubbing alcohol or a wax and grease remover to eliminate any remaining contaminants.
-
Mask Off Surrounding Areas: Use masking tape and paper to create a barrier around the stone chip, protecting the surrounding paint from accidental touch-ups.
-
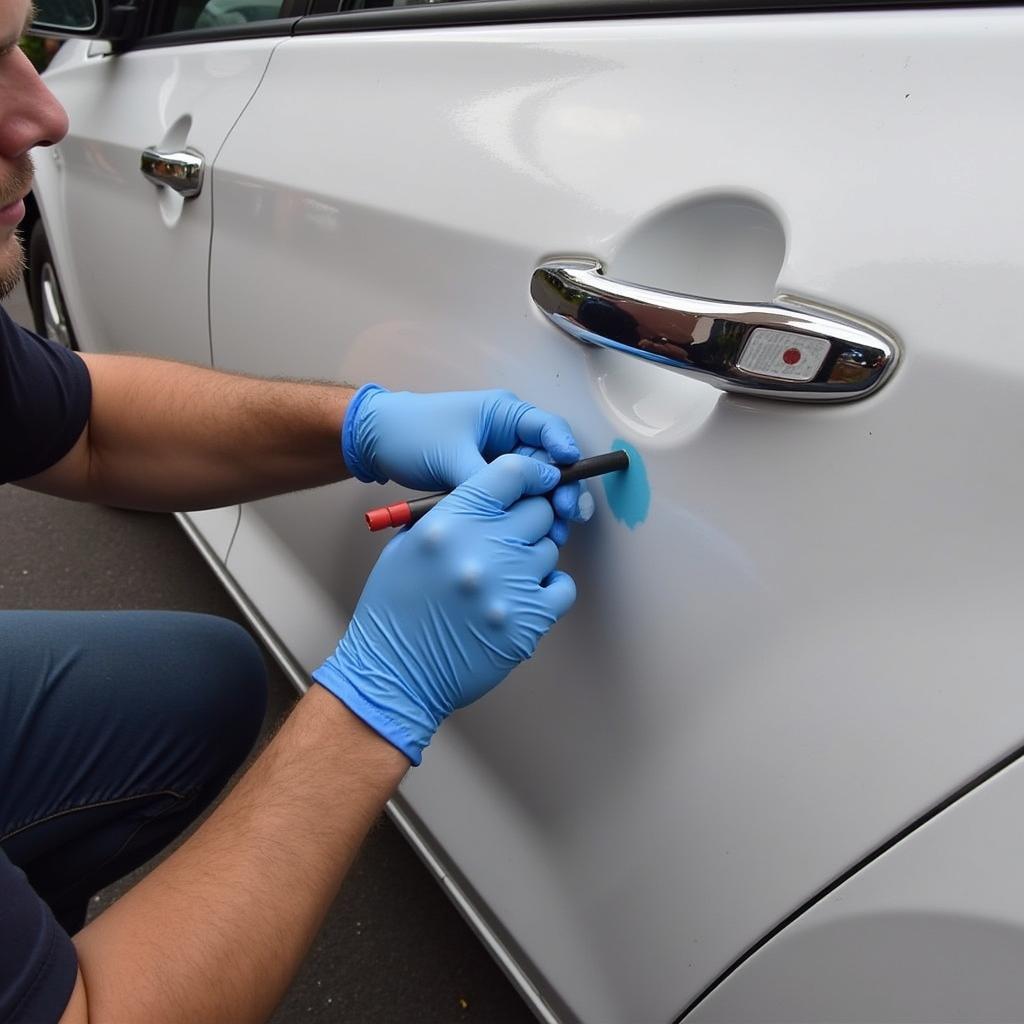
Apply Touch-Up Paint (Shallow Chips): For shallow chips, shake the touch-up paint pen or bottle thoroughly. Carefully dab a small amount of paint onto the chip, allowing it to fill the indentation. Use a fine-tipped brush or toothpick for precise application, adding multiple thin layers if needed. Let each layer dry completely before applying the next.
[image-2|applying-touch-up-paint-to-car|Applying Touch-up Paint to a Car|A hand holding a touch-up paint pen carefully applying paint to a stone chip on a car door.]
-
Fill Deeper Chips: For deeper chips, consider using a automotive primer or filler. Apply a small amount to the chip, using a plastic spreader to create a smooth and even surface. Allow the filler to dry completely, then sand the area using progressively finer grit sandpaper (e.g., 1500, 2000 grit) until it’s flush with the surrounding paint.
-
Sand and Blend (Deeper Chips): Once the filler or touch-up paint is dry, begin sanding the area with fine-grit sandpaper (e.g., 2000, 3000 grit). Use gentle, circular motions, gradually blending the edges of the repaired area with the surrounding paint. Be patient and avoid excessive sanding, as this can damage the surrounding paint.
-
Apply Clear Coat: After sanding and blending, apply a thin layer of clear coat over the repaired area, extending slightly beyond the edges. Let it dry completely.
-
Polish for a Flawless Finish: Once the clear coat is dry, use a polishing compound and a soft pad to buff the repaired area gently. This step will remove any imperfections and blend the repair seamlessly with the surrounding paint.
-
Remove Masking Tape: Carefully remove the masking tape and paper.
Preventing Future Stone Chips: Protecting Your Car’s Paint
While it’s impossible to avoid all road hazards, taking preventive measures can significantly reduce the risk of stone chips:
- Maintain a Safe Following Distance: Increase your following distance from other vehicles, especially on highways or gravel roads.
- Be Mindful of Construction Zones: Exercise caution when driving through construction zones, as these areas are prone to flying debris.
- Consider Paint Protection Film: Apply a clear paint protection film to vulnerable areas like the hood, bumper, and mirrors.
- Regular Washing and Waxing: Regularly wash and wax your car to provide a protective layer against environmental damage.
Frequently Asked Questions
Q: Can I use nail polish for touch-up paint?
A: While tempting for a quick fix, nail polish is not formulated for automotive paint and may not adhere properly or match the color accurately. Always use touch-up paint designed for cars.
Q: How long does it take for touch-up paint to dry?
A: Drying times vary depending on the type of paint and environmental conditions. Generally, allow each layer to dry for at least 30 minutes to an hour before applying the next.
Q: Can I wash my car after repairing a stone chip?
A: It’s best to wait at least 24-48 hours after the repair to wash your car. This allows the paint to cure completely and prevent water from affecting the repair.
Q: When should I consult a professional for stone chip repair?
A: If you’re dealing with numerous or large stone chips, deep scratches that expose bare metal, or if you’re uncomfortable with the repair process, it’s best to consult a professional auto body shop.
Looking for Expert Car Paint Repair?
Dealing with more than just a few stone chips? For professional assistance with car paint repair, including those pesky scratches and dents, consider exploring the services offered at:
Remember, addressing stone chips promptly not only enhances your car’s appearance but also protects it from further damage. With the right tools, a bit of patience, and this step-by-step guide, you can confidently tackle those minor paint imperfections and keep your car looking its best.


