Fixing those unsightly scratches on your car doesn’t always require a trip to the auto shop. With a DIY Car Scratch Repair Paint Kit, you can achieve professional-looking results right in your driveway. Whether it’s a minor scrape or a deeper scratch, understanding the process and choosing the right kit can save you time and money while restoring your car’s pristine appearance.
[image-1|car-scratch-repair-kit-essentials|Car Scratch Repair Kit Essentials|A flat lay photograph showcasing the essential components of a car scratch repair kit. This includes various grit sandpaper sheets, rubbing compound, polishing compound, a microfiber cloth, and two bottles: one containing primer and the other containing touch-up paint. The image should highlight the importance of having the right tools for effective scratch repair.]
Understanding Car Scratch Repair Paint Kits
Before diving into the repair process, it’s essential to understand what a car scratch repair paint kit is and what it entails. These kits are designed to address minor to moderate scratches on your car’s paintwork. They typically include:
- Sandpaper: Used to smooth out the scratch and prepare the surface for paint application.
- Primer: Helps to create an even base for the paint to adhere to, especially if the scratch has reached the bare metal.
- Touch-up paint: This is the actual paint that will cover the scratch. It’s crucial to get the correct color that matches your car’s paint code.
- Clear coat: Provides a protective layer over the touch-up paint, restoring the shine and protecting it from the elements.
- Applicators: These can range from brushes to pens, depending on the kit and the severity of the scratch.
Choosing the Right Car Scratch Repair Paint Kit
With a plethora of car scratch repair paint kits available, choosing the right one can feel overwhelming. Here’s what you should consider:
- Scratch Severity: For light scratches that haven’t penetrated the clear coat, a simple touch-up paint pen might suffice. Deeper scratches may require a kit with primer and clear coat.
- Paint Type: Ensure the kit you choose is compatible with your car’s paint type. Most modern cars use acrylic polyurethane paints.
- Color Matching: This is crucial for a seamless repair. Look for kits that offer color matching based on your car’s VIN or paint code.
- Kit Contents: Evaluate the tools and materials included in the kit and ensure they align with your needs and the severity of the scratch.
- User Reviews: Reading reviews from other car owners can provide valuable insights into the effectiveness and ease of use of different kits.
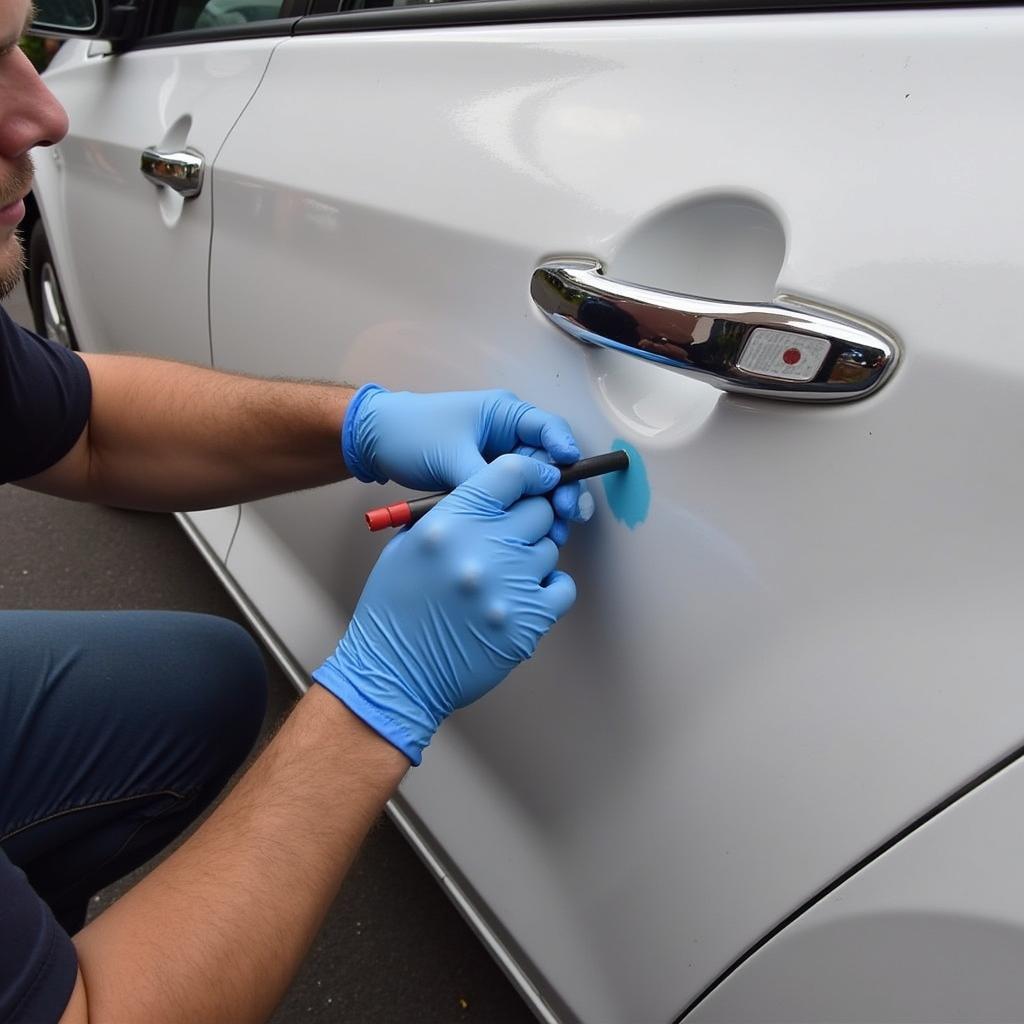
[image-2|applying-touch-up-paint-car-scratch|Applying Touch-Up Paint to a Car Scratch|A close-up shot depicting the process of carefully applying touch-up paint to a car scratch using a fine-tipped brush. The image should emphasize precision and the importance of staying within the boundaries of the scratch.]
A Step-by-Step Guide to Using a Car Scratch Repair Paint Kit
Once you have the right kit, follow these steps to achieve a professional-looking repair:
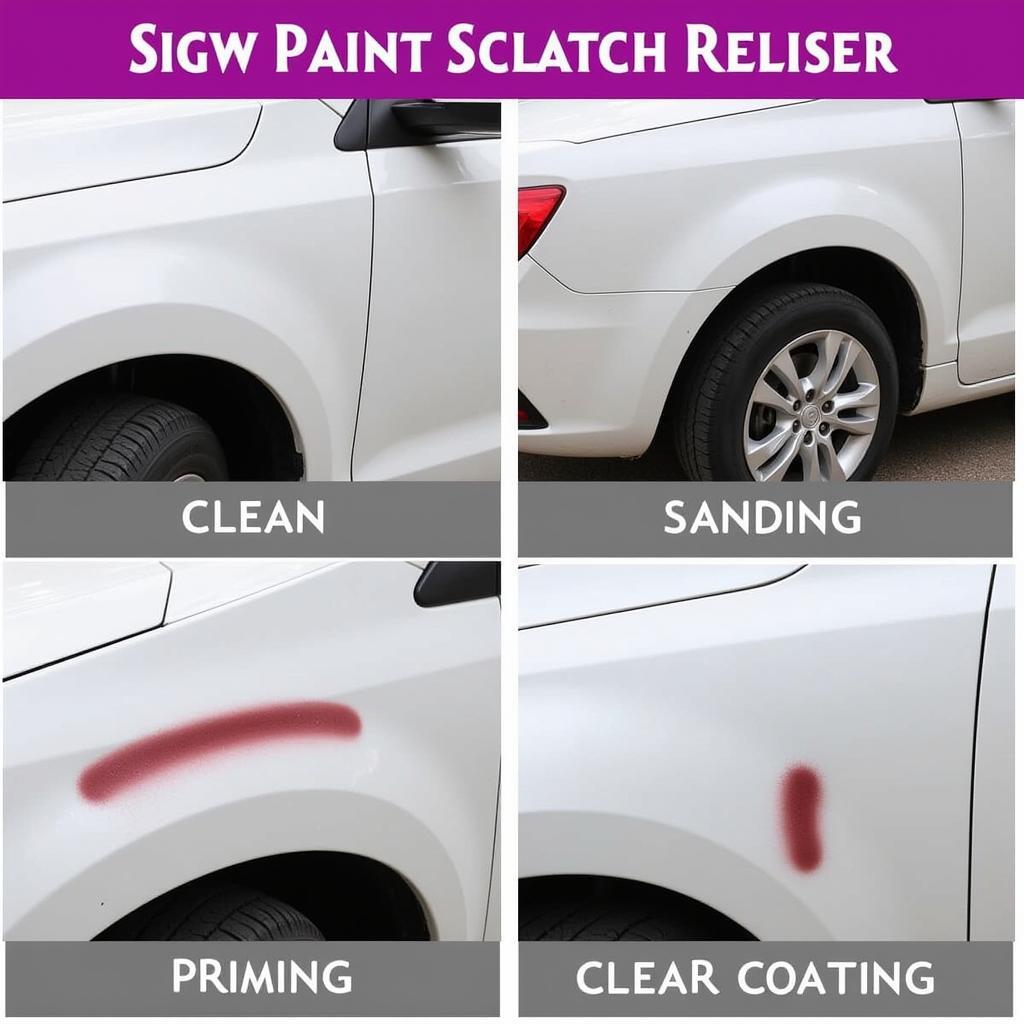
- Clean the Area: Thoroughly wash and dry the scratched area to remove any dirt, wax, or debris.
- Sand the Scratch: Using the sandpaper provided (start with a coarser grit and gradually move to a finer grit), gently sand the scratch. Use even, back-and-forth motions, feathering the edges to create a smooth transition.
- Clean Again: After sanding, clean the area again to remove any sanding dust.
- Apply Primer (If Needed): If the scratch is deep and has exposed bare metal, apply a thin coat of primer to the affected area. Allow it to dry completely.
- Apply Touch-Up Paint: Shake the touch-up paint well and apply thin, even coats to the scratch, staying within the boundaries of the damaged area. Allow each coat to dry completely before applying the next.
- Apply Clear Coat (If Needed): Once the touch-up paint is dry, apply a thin coat of clear coat, extending slightly beyond the painted area to blend it seamlessly.
- Let it Dry and Cure: Allow the repair to dry and cure completely. This may take a few days, depending on the products used.
Tips for a Flawless Finish
- Work in a Well-Ventilated Area: Paint fumes can be harmful, so ensure you work in a well-ventilated area or outdoors.
- Use a Tack Cloth: After sanding and before painting, use a tack cloth to remove any remaining dust or particles.
- Apply Thin Coats: Multiple thin coats are better than one thick coat, as they will dry more evenly and prevent runs or drips.
- Be Patient: Allow ample drying time between coats and for the final cure. This will ensure a durable and long-lasting repair.
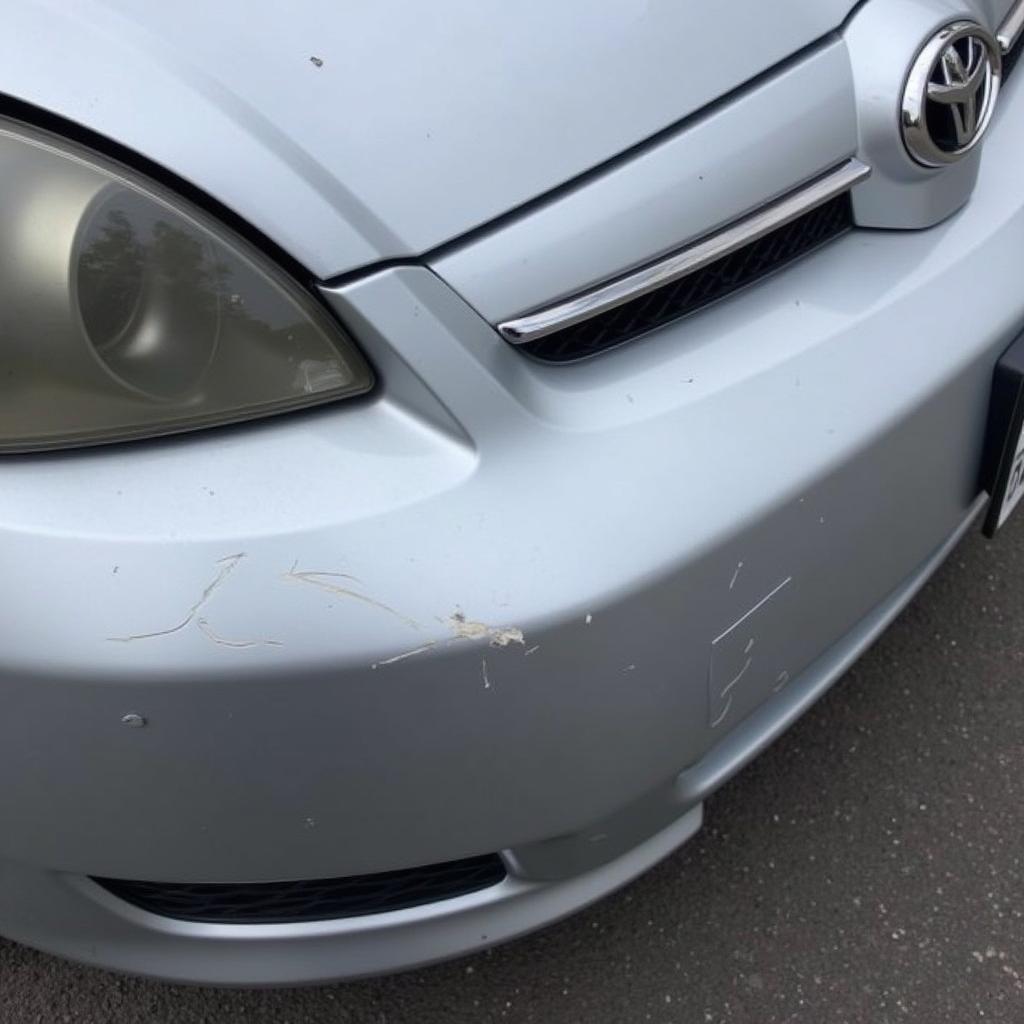
[image-3|car-scratch-repair-before-after|Car Scratch Repair Before and After| A split-screen image showcasing the before and after results of a car scratch repair using a DIY kit. The “before” side should show a prominent scratch, while the “after” side should display a seamlessly repaired surface, highlighting the effectiveness of the kit.]
Car Scratch Repair Paint Kits: A Cost-Effective Solution
Using a car scratch repair paint kit is a cost-effective solution for addressing minor to moderate car scratches. These kits can save you hundreds of dollars compared to professional repairs while delivering impressive results.
Need help with car paint repair in specific areas? Check out our resources:
By following the steps outlined in this guide and choosing the right kit for your needs, you can restore your car’s appearance and protect it from further damage. However, remember that for severe scratches or if you’re uncomfortable with the DIY approach, seeking professional help is always a wise decision.
FAQs About Car Scratch Repair Paint Kits
Q: Can I use a car scratch repair paint kit on any type of scratch?
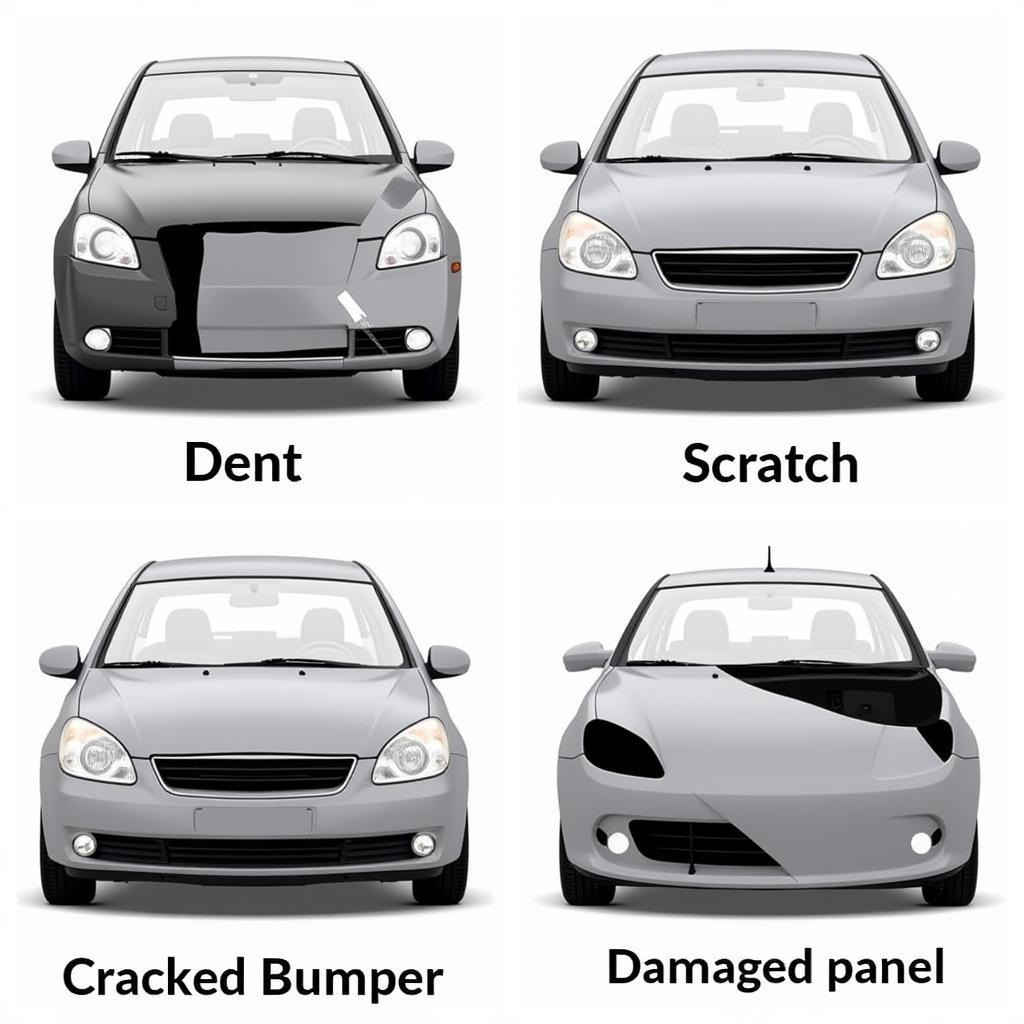
A: While these kits are effective for minor to moderate scratches, deep scratches that expose significant amounts of bare metal or damage the underlying layers may require professional attention.
Q: How can I find the correct paint code for my car?
A: Your car’s paint code is usually located on a sticker inside the driver’s side door jamb, glove box, or under the hood. You can also find it in your owner’s manual.
Q: How long does it take for a car scratch repair to cure completely?
A: The curing time varies depending on the products used but generally takes a few days to a week. During this time, avoid washing or waxing the repaired area.
Q: Can I apply the touch-up paint directly over rust?
A: No, applying touch-up paint over rust will not solve the problem. The rust needs to be removed completely before any repair is attempted.
Q: What should I do if the repaired area looks uneven or raised?
A: You can carefully sand down any unevenness using fine-grit sandpaper and then polish the area to restore the shine.
For more specific car paint repair needs:
Need further assistance? Don’t hesitate to contact our 24/7 customer support via WhatsApp: +1(641)206-8880 or Email: [email protected]. We’re here to help you get back on the road with a flawless finish!

