Minor paint repair on car DIY can be a cost-effective way to address small scratches, chips, and scuffs, restoring your car’s appearance without a hefty professional bill. This guide provides a step-by-step approach, ensuring you achieve professional-looking results from the comfort of your own garage. From assessing the damage to applying the final touches, we’ll cover everything you need to know. Let’s dive in!
Assessing the Damage: Know Your Enemy
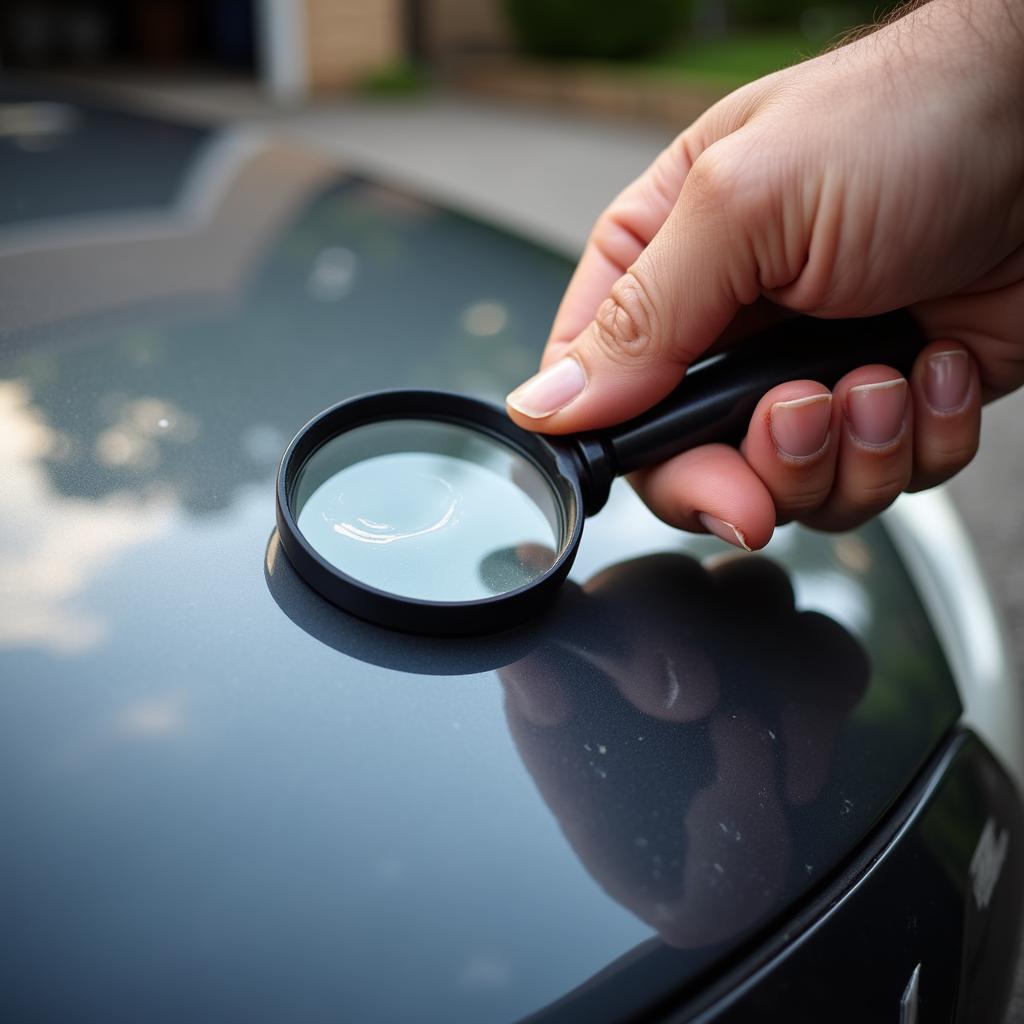
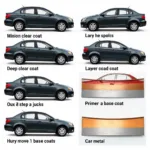
Before grabbing your car repair paint pen, it’s crucial to understand the extent of the damage. Is it a light scratch, a deep chip, or a scuff that’s removed the clear coat? This assessment will determine the appropriate repair method and the products you’ll need. A light scratch might only require a polishing compound, while a deeper chip will need a touch-up paint and clear coat.
Identifying the type of damage also helps you prepare the area correctly. For instance, rust needs to be removed before applying any paint, while deep chips might require sanding and priming for optimal adhesion. Proper assessment ensures long-lasting and seamless repairs.
 Assessing Car Paint Damage for DIY Repair
Gathering Your Arsenal: The Right Tools for the Job
Having the right tools is essential for a successful DIY minor paint repair. This includes not only the correct paint but also the necessary applicators and preparation materials. Here’s a basic list:
- Cleaning Supplies: Car wash soap, microfiber cloths, wax and grease remover
- Sandpaper: Variety of grits (e.g., 1500, 2000) for smoothing and blending
- Masking Tape: To protect surrounding areas
- Primer: For deeper chips and scratches
- Touch-up Paint: Ensure an exact color match with your car’s paint code
- Clear Coat: To protect the paint and restore shine
- Applicators: Brushes, paint repair pens for cars, or spray cans depending on the repair
- Polishing Compound: For final blending and shine
Choosing quality materials is a worthwhile investment. It ensures a better color match, smoother finish, and longer-lasting results.
Prepping the Battlefield: Cleaning and Sanding
Once you’ve assessed the damage and gathered your supplies, it’s time to prepare the area. Thoroughly clean the damaged area with car wash soap and water, then use a wax and grease remover to ensure a clean surface for optimal paint adhesion.
For deeper chips and scratches, you may need to sand the area with fine-grit sandpaper to smooth out any rough edges and create a level surface. This step is crucial for achieving a professional-looking repair. Remember to mask off the surrounding areas to avoid damaging the undamaged paintwork.
“Proper surface preparation is the foundation of a successful paint repair,” says automotive expert, Johnathan Davis, owner of Davis Auto Detailing. “It ensures the paint adheres properly and leads to a smoother, more durable finish.”
Applying the Touch-Up Paint: Patience is Key
Applying the touch-up paint requires patience and precision. If using a car paint repair pen, apply thin layers, allowing each layer to dry completely before applying the next. This prevents runs and ensures a smooth finish. If using a brush, use light strokes and avoid overloading the brush with paint.
For deeper chips, apply a primer before the touch-up paint to promote adhesion and prevent the chip from showing through. Once the touch-up paint is dry, apply a clear coat to protect the repair and restore the original shine.
Blending and Finishing: The Art of Seamless Repair
After the clear coat has dried, use a polishing compound and a microfiber cloth to blend the repaired area with the surrounding paintwork. This step is crucial for achieving a seamless, invisible repair.
“Blending is where the artistry comes in,” adds Davis. “It’s about creating a smooth transition between the repaired area and the original paint, making the repair virtually undetectable.”
Conclusion: DIY Success
Minor paint repair on car DIY can be a rewarding experience, saving you money and restoring your car’s appearance. By following these steps and utilizing the right tools and techniques, you can achieve professional-looking results. Remember to be patient and meticulous throughout the process, and don’t hesitate to seek advice from resources like quixx car paint repair for specific product recommendations.
FAQ
-
How do I find my car’s paint code? The paint code is usually located on a sticker inside the driver’s side doorjamb, glove compartment, or under the hood.
-
Can I repair any type of paint damage myself? Minor scratches, chips, and scuffs are generally suitable for DIY repairs. Larger or more complex damage may require professional attention.
-
What if the touch-up paint doesn’t match perfectly? Ensure you’re using the correct paint code. Slight variations can occur due to fading and weathering.
-
How long does the repair take to dry? Drying times vary depending on the products used and the ambient temperature. Always follow the manufacturer’s instructions.
-
Where can I buy car paint repair pen for sale? Automotive stores, online retailers, and specialized car care shops are good places to start.
Common Scenarios and Questions:
-
Scenario: Deep scratch reaching the primer.
-
Question: Do I need to apply primer before the touch-up paint? Yes, applying primer is essential for proper adhesion and coverage.
-
Scenario: Small rock chip on the hood.
-
Question: Can I use a touch-up pen for this repair? Yes, a touch-up pen is ideal for small chips.
Further Resources
For more information on specific paint repair products and techniques, check out our other articles on paint repair pens.
Need Help?
For any assistance with car diagnostics and repairs, contact us via WhatsApp: +1(641)206-8880, or Email: [email protected]. Our 24/7 customer service team is here to help.


