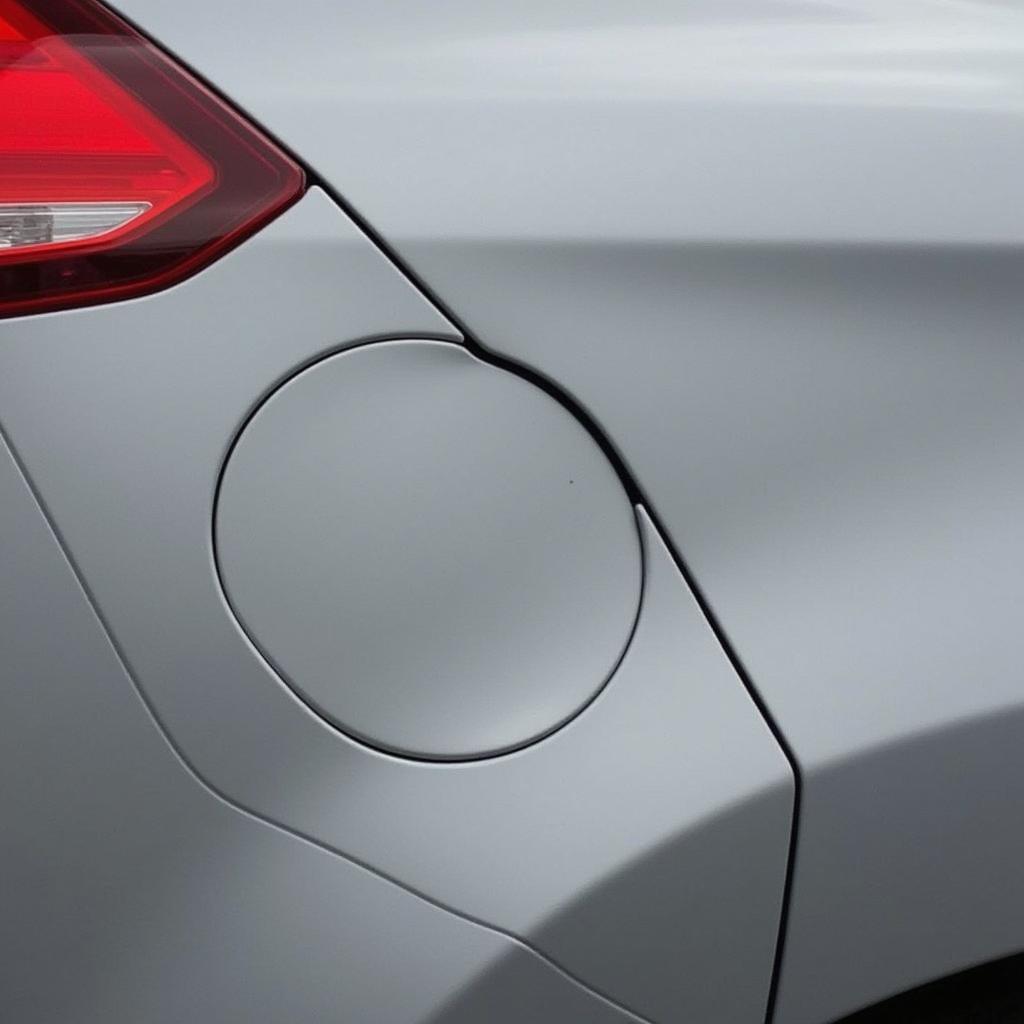
Fixing those annoying little paint nicks on your car can seem daunting, but with the right approach and a little patience, you can achieve professional-looking results without breaking the bank. This guide will walk you through the process of how to repair small paint nicks car, from assessing the damage to applying the final touches.
Repairing minor paint nicks is a crucial aspect of car maintenance that often gets overlooked. These small imperfections, though seemingly insignificant, can expose the underlying metal to the elements, leading to rust and further damage. Learning how to repair small paint nicks car not only preserves your car’s aesthetic appeal but also protects its structural integrity. This simple DIY task can save you money on costly professional repairs down the line and maintain your car’s value. It’s empowering to know you can tackle these minor blemishes yourself and keep your car looking its best. For more complex repairs, see our guide on paint chip car repair.
Assessing the Damage: Identifying the Type of Paint Nick
Before you start, it’s important to assess the severity of the paint nick. Is it a superficial scratch, a chip that’s reached the primer, or a deeper gouge exposing the bare metal? Identifying the type of damage will determine the appropriate repair method. A light scratch may only require a simple polish, whereas a deeper nick necessitates more involved steps.
Superficial Scratches
These are minor blemishes that haven’t penetrated the clear coat. They can often be buffed out with a polishing compound.
Chips to the Primer
If the chip has reached the primer, you’ll see a contrasting color underneath the top coat. This requires touch-up paint application and possibly clear coat.
Deep Gouges
These expose the bare metal and are more susceptible to rust. They require thorough cleaning, primer application, and painting before the clear coat.
Gathering Your Supplies: Essential Tools for the Job
Having the right tools makes the repair process smoother and more effective. Here’s what you’ll need:
- Automotive touch-up paint (matched to your car’s color)
- Primer (if the metal is exposed)
- Fine-grit sandpaper (2000-3000 grit)
- Rubbing compound
- Polishing compound
- Wax
- Microfiber cloths
- Masking tape
- Applicator brush or toothpick (for applying touch-up paint)
“Using the correct tools and high-quality products ensures a seamless and long-lasting repair,” advises John Miller, a veteran auto body specialist with over 20 years of experience.
Repairing the Nick: A Step-by-Step Guide
Once you’ve assessed the damage and gathered your supplies, you can begin the repair process. Here’s a detailed guide on how to repair small paint nicks car:
- Clean the area: Thoroughly wash and dry the affected area to remove dirt and debris.
- Sand (if necessary): If the nick is rough or uneven, lightly sand the area with fine-grit sandpaper to smooth it out. Be gentle to avoid further damage.
- Apply primer (if needed): If bare metal is exposed, apply a thin coat of primer to prevent rust. Let it dry completely before proceeding.
- Apply touch-up paint: Carefully apply the touch-up paint to the nick, using a fine brush or toothpick for precision. Multiple thin coats are better than one thick coat. Allow each coat to dry before applying the next. Learn more about touch-up paint techniques in our guide on touch up car paint repair.
- Sand and polish: Once the touch-up paint is dry, lightly sand with fine-grit sandpaper to level it with the surrounding paint. Then, use rubbing compound followed by polishing compound to restore the shine.
- Wax and protect: Finish by applying a coat of wax to protect the repaired area and blend it seamlessly with the rest of the car’s paint.
Preventing Future Nicks: Protective Measures for Your Car’s Paint
Prevention is always better than cure. Here are some tips to minimize future paint nicks:
- Regular washing and waxing: Keeping your car clean and waxed provides a protective layer against minor scratches.
- Parking strategically: Avoid parking in areas prone to door dings or debris.
- Using paint protection film: Consider applying a clear paint protection film to vulnerable areas like the hood and bumpers. Need more help with hood repairs? Check our guide on how to repair paint chips on hood of car.
- Addressing chips promptly: Repairing nicks as soon as they occur prevents rust and further damage.
“Taking proactive steps can significantly reduce the occurrence of paint chips and preserve your car’s finish for years to come,” says Maria Sanchez, a certified automotive detailer with a decade of experience.
 Polished Car Paint after Nick Repair
Conclusion
Knowing how to repair small paint nicks car is a valuable skill for any car owner. By following these steps and investing a little time and effort, you can maintain your car’s appearance, protect it from further damage, and save money on costly professional repairs. For more complex paint chip repair, you might consider chipped car paint repair options. Or if you are dealing with deeper nicks, our guide on hot to repair deep nicks in car paint might be helpful.
FAQ
- What if the touch-up paint doesn’t match perfectly? Slight color variations can occur. Ensure you purchase the correct paint code for your car.
- Can I use nail polish to repair paint nicks? It’s not recommended as nail polish is not designed for automotive finishes and can damage the paint.
- How long does the repair process take? It depends on the severity of the nick, but typically it can be completed within a few hours.
- What if the nick is very deep? For deeper nicks, it’s best to consult a professional for more advanced repair methods.
- How can I prevent rock chips on my car? Maintain a safe following distance, especially on gravel roads.
Need assistance? Contact us via WhatsApp: +1(641)206-8880 or Email: [email protected]. Our customer support team is available 24/7.
