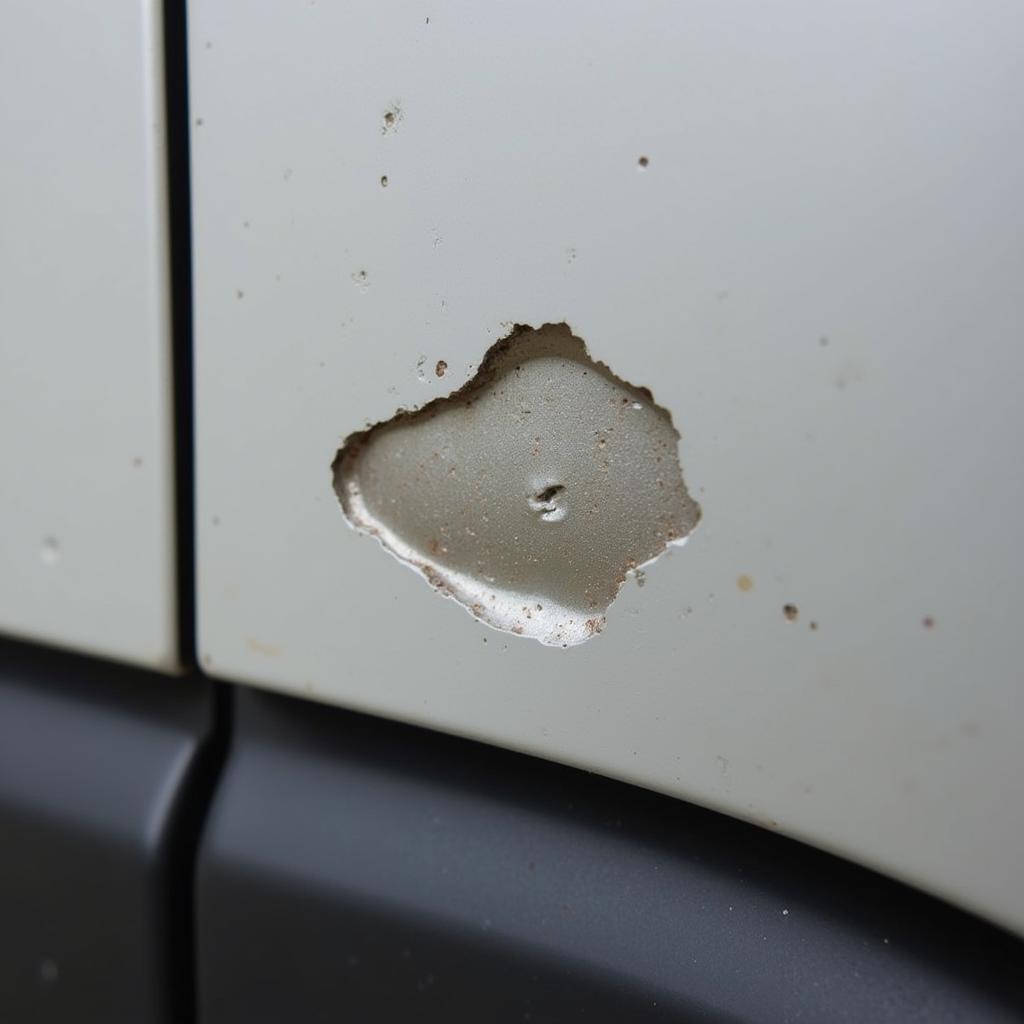
A 1/2 inch paint chip on your car might seem minor, but it can expose the metal underneath to the elements, leading to rust and further damage. Fortunately, repairing a small paint chip is a manageable DIY project that can save you a trip to the auto body shop. This guide will provide a comprehensive step-by-step process on how to repair 1/2 inch paint chip on car effectively and efficiently.
Learning how to repair a 1/2 inch paint chip on your car not only enhances the aesthetic appeal of your vehicle, but also protects its value and longevity. This seemingly small imperfection, if left untreated, can become a gateway for rust and corrosion, ultimately leading to more costly repairs down the line. This article delves into the precise steps and techniques involved in addressing this common car issue, empowering you with the knowledge to preserve your vehicle’s finish and prevent further damage.
Assessing the Damage and Gathering Supplies
Before you begin, thoroughly clean the area around the chip with soap and water, then dry it completely. This will ensure proper adhesion of the repair materials. Next, assess the depth of the chip. If it’s just a superficial scratch, you might only need touch-up paint. Deeper chips, exposing the primer or metal, will require additional steps. For information on using spray paint for repairs, check our guide on how to repair car paint with spray can.
You’ll need the following supplies: automotive touch-up paint (matched to your car’s color), primer (if the metal is exposed), fine-grit sandpaper (2000-3000 grit), rubbing compound, polishing compound, wax, applicator pads, masking tape, and a clean microfiber cloth. You might also consider a car touch up paint repair kit for convenience.
Repairing the Chip: A Step-by-Step Guide
- Prepare the Area: Clean the chipped area and mask off the surrounding paint with masking tape to protect it.
- Prime (If Necessary): If the metal is exposed, apply a thin coat of automotive primer to the chipped area. Allow it to dry completely.
- Apply Touch-Up Paint: Carefully apply the touch-up paint to the chip, using thin layers to avoid runs or drips. Allow each layer to dry before applying the next. You might find a car paint repair spray can helpful for larger areas or a more even finish.
- Sanding and Smoothing: Once the touch-up paint is completely dry (usually 24-48 hours), use fine-grit sandpaper to gently level the repaired area with the surrounding paint. Be careful not to sand too much.
- Polish and Wax: After sanding, use rubbing compound and a polishing pad to remove any sanding marks. Follow up with polishing compound and then wax to restore the shine to the repaired area.
How to Prevent Future Paint Chips
Protecting your car’s paint from chips and scratches is essential. Regular waxing provides a protective layer. Avoid driving too closely to other vehicles, especially on gravel roads. Keep your car clean, as dirt and grime can act as abrasives. If you frequently encounter such situations, understanding how to paint a car with airbrush repair can become a valuable skill.
Tips from the Expert
Johnathan Davis, a seasoned auto body repair specialist, advises, “Patience is key when repairing paint chips. Apply thin coats of paint and allow ample drying time between each coat for the best results.” He also recommends investing in high-quality touch-up paint for a seamless match. Another tip from Johnathan is to “practice on a less visible area of the car first to get comfortable with the process.”
Conclusion
Repairing a 1/2 inch paint chip on your car is a relatively simple yet crucial DIY project. By following these steps and taking preventive measures, you can keep your car looking its best and protect it from further damage. While a car wash pressure hose peeled off paint on car repair might require more extensive repairs, addressing small chips promptly is key to maintaining your car’s appearance and value. Remember to always match your touch up paint to your car’s color for a seamless finish.
FAQs
- Can I use nail polish to repair a paint chip? No, nail polish is not designed for automotive use and won’t provide a durable or color-matched repair.
- How long does it take for touch-up paint to dry? Typically, touch-up paint takes 24-48 hours to fully dry.
- What if the chip is larger than 1/2 inch? For larger chips, it’s best to consult a professional auto body repair shop.
- Where can I find my car’s paint code? Your car’s paint code is usually located on a sticker inside the driver’s side doorjamb, glove compartment, or under the hood.
- Do I need to apply clear coat after touch-up paint? If your car’s original paint has a clear coat, you should apply a clear coat over the touch-up paint for added protection and shine.
- What should I do if the chip has already rusted? If rust is present, you’ll need to remove it with a rust remover product or sandpaper before applying primer and touch-up paint.
- Can I wash my car after repairing the paint chip? It’s best to wait at least a week before washing your car after a paint chip repair to allow the paint to fully cure.
Need more assistance? Contact us via WhatsApp: +1(641)206-8880, or Email: [email protected]. Our customer service team is available 24/7.


