A small chip in your car’s paint might seem insignificant at first, but if left untreated, it can quickly blossom into a much larger problem. Rust, peeling, and further damage are all potential consequences of ignoring even minor paint chips. Luckily, repairing a chip in car paint can be easier than you think, even for those new to DIY car care. This guide will walk you through the process step-by-step, from assessing the damage to achieving a professional-looking finish.
Assessing the Damage: How Deep is Too Deep?
Before you grab your tools, it’s important to assess the severity of the paint chip.
- Minor Chips: These are small, shallow scratches that haven’t penetrated the primer layer. They’re usually easy to fix with touch-up paint.
- Primer-Level Chips: These chips expose the primer underneath the paint. They require a bit more attention and may need multiple layers of touch-up paint.
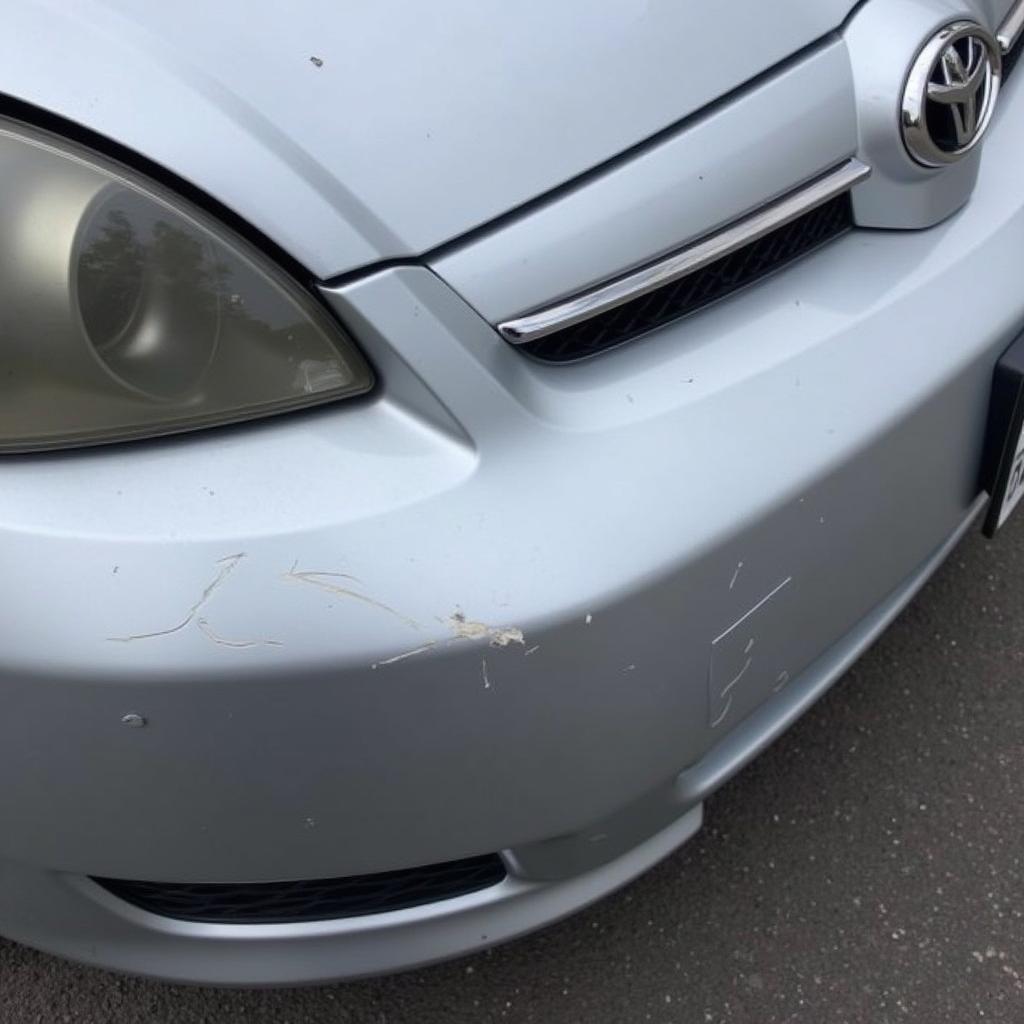
- Deep Chips: Deep chips expose the bare metal underneath the paint and primer. These require additional steps to prevent rust and ensure proper adhesion of the new paint.
[image-1|deep-car-paint-chip|Deep Chip in Car Paint| A close-up image showcasing a deep chip in car paint. The image clearly shows the exposed metal underneath the paint and primer layers, highlighting the severity of the damage.]
Gathering Your Supplies: The Right Tools for the Job
Having the right tools and materials is essential for a successful car paint chip repair. Here’s what you’ll need:
- Cleaning Supplies: Soap and water, microfiber cloths, rubbing alcohol
- Sandpaper: 220-grit, 600-grit, 1500-grit (for deeper chips)
- Masking Tape and Paper: To protect surrounding areas
- Touch-up Paint: Primer (if needed), base coat, clear coat (optional)
- Paint Applicator: Toothpick, fine-tip brush, or touch-up pen
- Clear Coat: For a glossy finish and added protection
- Polishing Compound: To blend and remove imperfections
Pro Tip from John Miller, Automotive Detailing Specialist: “Always purchase touch-up paint that matches your car’s exact paint code. You can usually find this code on a sticker inside the driver’s side door jamb or in your owner’s manual.”
The Repair Process: A Step-by-Step Guide
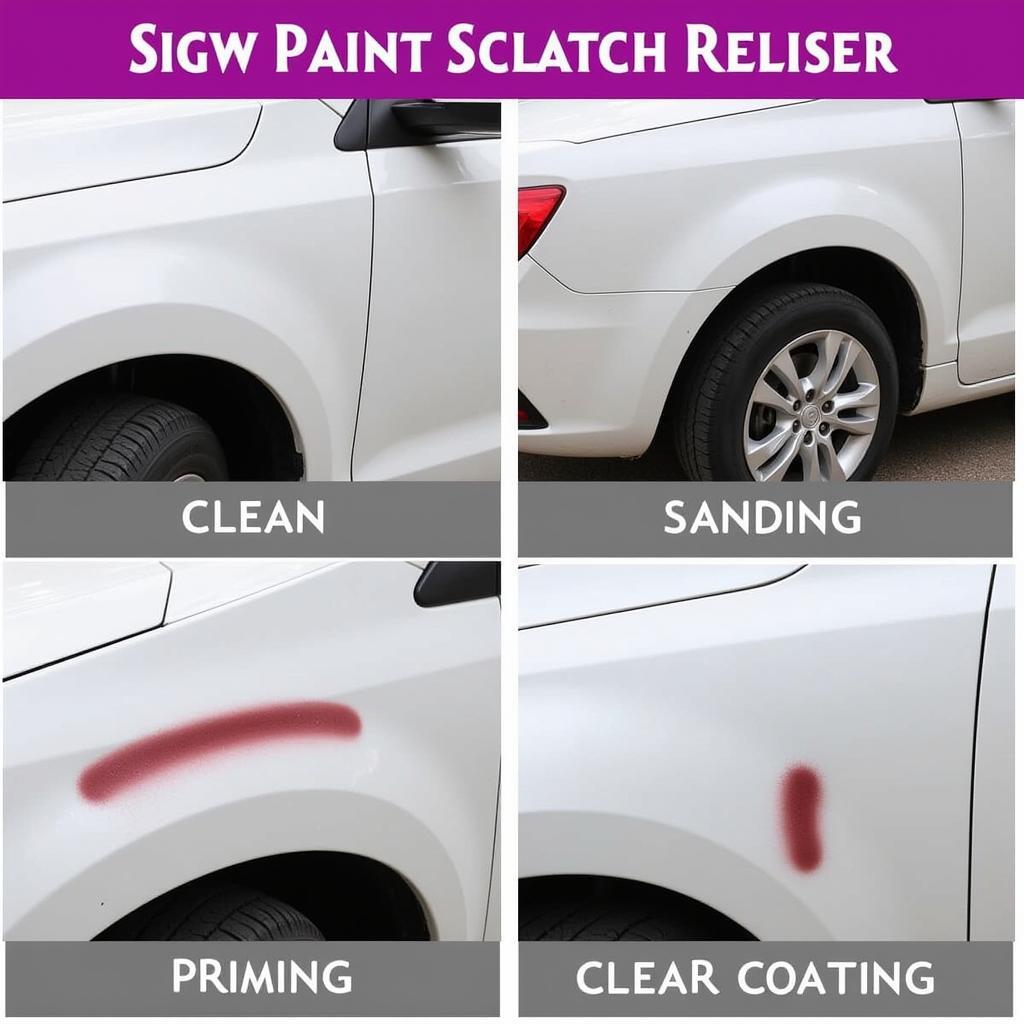
Step 1: Cleaning and Preparation
Thoroughly clean the area around the paint chip with soap and water. Once dry, use rubbing alcohol to remove any remaining dirt or grease. This ensures proper paint adhesion.
Step 2: Sanding (For Deeper Chips)
If the chip is deep and has exposed bare metal, use 220-grit sandpaper to smooth out the edges and remove any rust. Be gentle to avoid damaging the surrounding paint.
[image-2|sanding-car-paint-chip|Sanding a Car Paint Chip| An image depicting the process of sanding a car paint chip. The image should show a hand using sandpaper to smooth out the edges of the chip, with a focus on using gentle motions to avoid further damage.]
Step 3: Priming (If Needed)
If you’ve sanded down to bare metal, apply a thin coat of primer to the chipped area. Primer helps prevent rust and creates a smooth surface for the paint to adhere to. Allow the primer to dry completely before moving on to the next step.
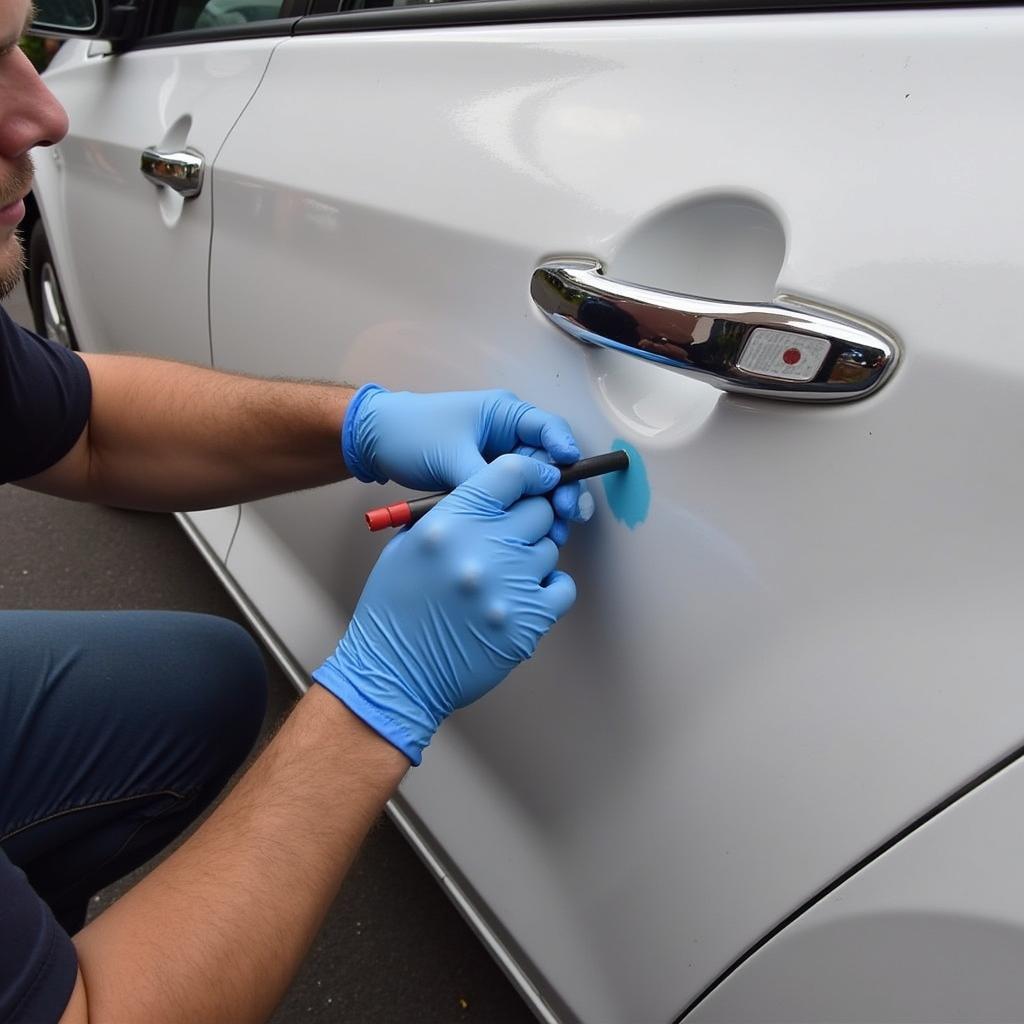
Step 4: Applying the Touch-Up Paint
Using your chosen applicator, carefully apply a thin layer of touch-up paint to the chipped area. Start from the center of the chip and work your way outwards, slightly overlapping the edges of the existing paint.
For deeper chips, you may need to apply multiple thin coats, allowing each coat to dry completely before applying the next. Avoid applying thick coats, as this can lead to unevenness and a less professional finish.
Pro Tip: “If using a touch-up pen, practice on a piece of cardboard first to get a feel for the paint flow and pressure needed,” advises Lisa Chen, Autobody Repair Technician.
Step 5: Leveling and Blending (For Deeper Chips)
If you’ve applied multiple coats of paint, you may need to level and blend the repair area. Once the final coat of paint is completely dry, use 600-grit sandpaper to carefully smooth out any ridges or high spots. Follow this with 1500-grit sandpaper for a finer finish.
Step 6: Applying Clear Coat (Optional)
For added protection and a glossy finish, apply a thin layer of clear coat over the repaired area. This step is especially important if the chip was deep or if you used sandpaper to level the touch-up paint.
[image-3|applying-clear-coat-to-car|Applying Clear Coat to Car| An image demonstrating the application of clear coat to a car’s paint. The image should show a hand holding a spray can, evenly applying a thin layer of clear coat over the repaired paint chip.]
Step 7: Polishing
After the clear coat has dried, use a polishing compound and a microfiber cloth to buff the repaired area. This helps blend the repair with the surrounding paint and creates a smooth, glossy finish.
Preventing Future Paint Chips: Proactive Car Care
Preventing future paint chips is always easier than repairing them. Here are a few tips to keep your car’s paint looking its best:
- Regular Washing and Waxing: This helps protect the paint from dirt, debris, and UV rays.
- Careful Parking: Park away from shopping cart corrals and other areas prone to dings.
- Touch-Up Minor Chips Promptly: Addressing chips early prevents rust and further damage.
Conclusion
Repairing a chip in car paint might seem daunting, but with the right approach and a bit of patience, you can achieve professional-looking results in your own garage. By following these steps and taking proactive measures to protect your car’s paint, you can keep your vehicle looking its best for years to come. Remember, a small chip today doesn’t have to turn into a major headache tomorrow.

