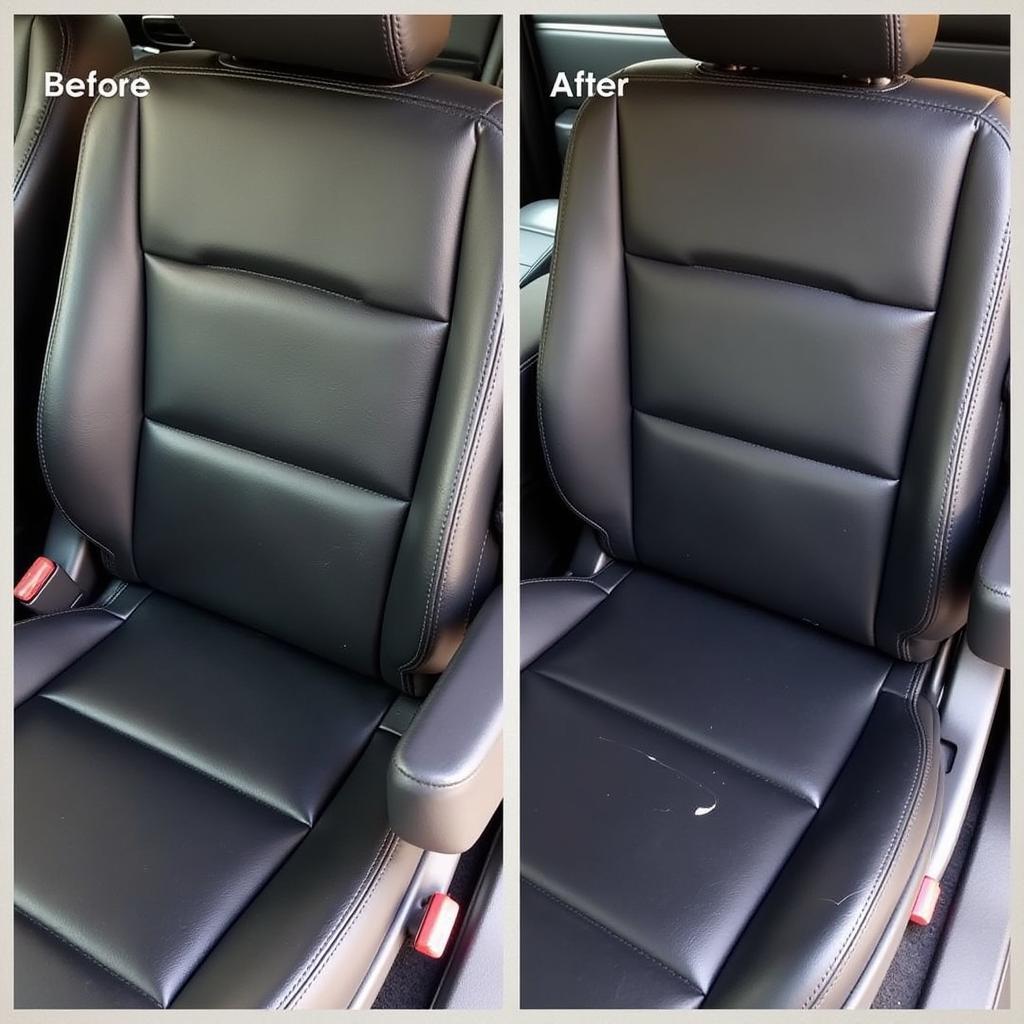
Cracked leather car seats are an eyesore and can significantly detract from the value of your car. But before you consider reupholstering, you might be surprised to learn that repairing them yourself is often possible. This guide will walk you through the process of repairing cracked leather car seats, helping you restore their former glory and protect your investment.
Understanding Why Leather Seats Crack
Before diving into the repair process, it’s helpful to understand why leather seats crack in the first place. The most common culprits are:
- Sunlight Exposure: Prolonged exposure to the sun’s UV rays can dry out leather, making it brittle and prone to cracking.
- Heat: Excessive heat, like that from a car parked in direct sunlight, can exacerbate the drying effects of UV rays.
- Cold: Extreme cold can also damage leather, making it stiff and more susceptible to cracking.
- Lack of Conditioning: Leather is skin and requires regular conditioning to stay supple. Neglecting this can lead to dryness and cracking.
- Wear and Tear: Frequent use, especially rubbing against rough clothing, can eventually wear down the leather and cause cracks.
[image-1|cracked-leather-car-seat|Cracked Leather Car Seat Closeup|A close-up image of a car seat with significant cracking, highlighting the texture and severity of the damage.]
DIY vs. Professional Repair: Which Route Should You Take?
Deciding whether to tackle the repair yourself or call in a professional depends on several factors:
DIY Repair:
- Pros: Cost-effective, sense of accomplishment, often sufficient for minor cracks and scratches.
- Cons: Requires time and effort, may not be suitable for severe damage, risk of further damaging the leather if not done correctly.
Professional Repair:
- Pros: High-quality results, can handle severe damage, offers longer-lasting solutions.
- Cons: More expensive, requires finding a reputable repair shop.
“For minor cracks and scratches, DIY repair using quality leather repair kits can be surprisingly effective,” says John Miller, a seasoned automotive upholsterer with over 20 years of experience. “However, extensive damage often requires the expertise and specialized tools of a professional.”
Essential Tools and Materials for DIY Leather Seat Repair
If you decide to try your hand at DIY repair, gather the following:
- Leather Cleaning Solution: Choose a dedicated leather cleaner designed to remove dirt, grime, and oils without drying out the leather.
- Leather Repair Kit: Select a kit that matches your leather’s color and grain as closely as possible. These kits typically include a filler compound, colorant, and various applicators.
- Rubbing Alcohol: Used to clean the leather surface before applying the repair compound.
- Microfiber Cloths: Essential for cleaning and buffing the leather.
- Masking Tape: Protects surrounding areas during the repair process.
- Hairdryer (Optional): Can be used to speed up the drying process of the repair compound.
[image-2|leather-repair-kit|Leather Repair Kit and Tools|An image showcasing a leather repair kit with various colorants, applicators, and tools, alongside essential cleaning supplies.]
A Step-by-Step Guide to Repairing Cracked Leather Car Seats
Follow these steps for a successful DIY leather seat repair:
-
Clean the Area: Thoroughly clean the affected area with a leather cleaning solution and a microfiber cloth. This removes dirt and grime that can interfere with the repair compound’s adhesion.
-
Prepare the Cracks: Use a piece of fine-grit sandpaper (included in most repair kits) to gently sand down any raised edges or loose leather around the cracks. Wipe away any dust with a clean microfiber cloth.
-
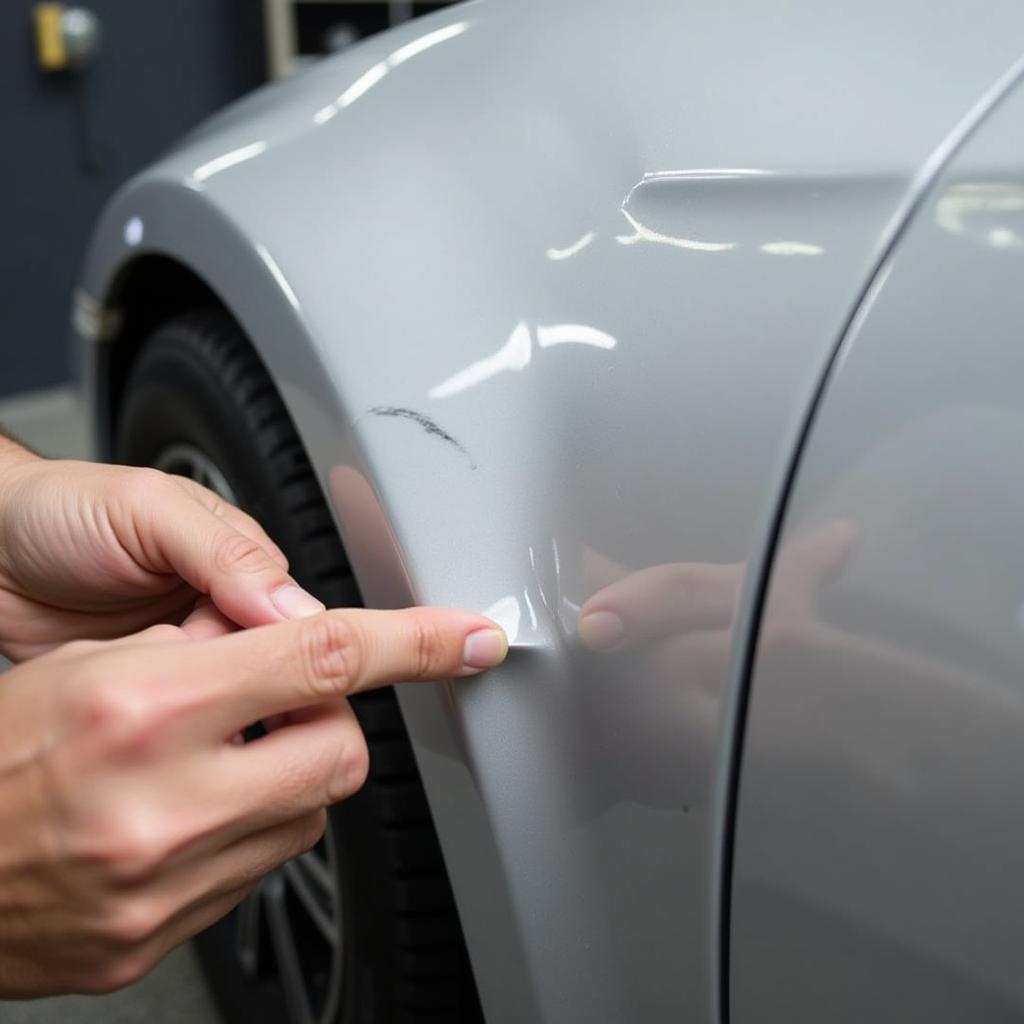
Apply the Repair Compound: Following the instructions provided with your specific repair kit, carefully apply the leather filler compound to the cracks. Use a palette knife or a similar tool to push the compound into the cracks and create a smooth, even surface.
-
Allow to Dry: Let the repair compound dry completely. This might take a few hours, depending on the product. You can use a hairdryer on a low heat setting to speed up the drying process.
-
Sand and Repeat (If Necessary): Once the first layer is dry, lightly sand the area again to ensure a smooth finish. If the cracks are deep, you might need to apply additional layers of repair compound, allowing each layer to dry completely before sanding and applying the next.
-
Apply the Colorant: Using the colorant provided in your repair kit, carefully apply a thin, even coat over the repaired area. Use a sponge, brush, or airbrush, depending on your kit’s instructions and your preference.
-
Let it Dry and Apply Additional Coats: Allow the colorant to dry completely before applying additional coats. Multiple thin coats will achieve a more even and natural-looking finish than one thick coat.
-
Apply Leather Conditioner: Once you’re happy with the color and coverage, apply a high-quality leather conditioner to the entire seat. This helps restore the leather’s moisture and protect it from future damage.
[image-3|repairing-car-seat|Repairing a Car Seat|An image depicting the process of applying leather repair compound to a cracked car seat, emphasizing the use of appropriate tools and techniques.]
Preventing Future Cracks: Maintenance Tips for Leather Car Seats
Prevention is key to keeping your leather car seats looking their best. Follow these maintenance tips:
- Regular Cleaning: Clean your leather seats at least every few months, or more often if they’re frequently used.
- Condition Regularly: Use a high-quality leather conditioner every 1-2 months to keep the leather hydrated and prevent drying.
- Park in the Shade: Whenever possible, park your car in the shade or use a sunshade to protect the interior from harmful UV rays.
- Avoid Extreme Temperatures: Don’t leave your car parked in direct sunlight for extended periods, especially during hot weather. Similarly, try to avoid parking in extremely cold conditions.
Conclusion
Repairing cracked leather car seats yourself is achievable and cost-effective, especially for minor damage. By following the steps outlined in this guide and using the right materials, you can restore your seats’ appearance and protect them from further wear. For more severe damage, seeking professional help ensures a long-lasting and high-quality repair. Remember, regular maintenance is crucial for preventing future cracks and keeping your leather car seats looking their best for years to come.
For further guidance on repairing car interiors, you can explore our comprehensive guide on how to repair a leather seat in a car. Additionally, if you’re considering professional help, you might find our article on how much does it cost to repair a car seat useful for understanding potential costs.


