A torn leather car seat can be a real eyesore, diminishing the aesthetic appeal of your vehicle’s interior. But fear not! Repairing a torn leather car seat is often more manageable than it seems. Whether it’s a minor scratch, a small tear, or a larger rip, this comprehensive guide will provide you with all the information you need to tackle the repair like a pro.
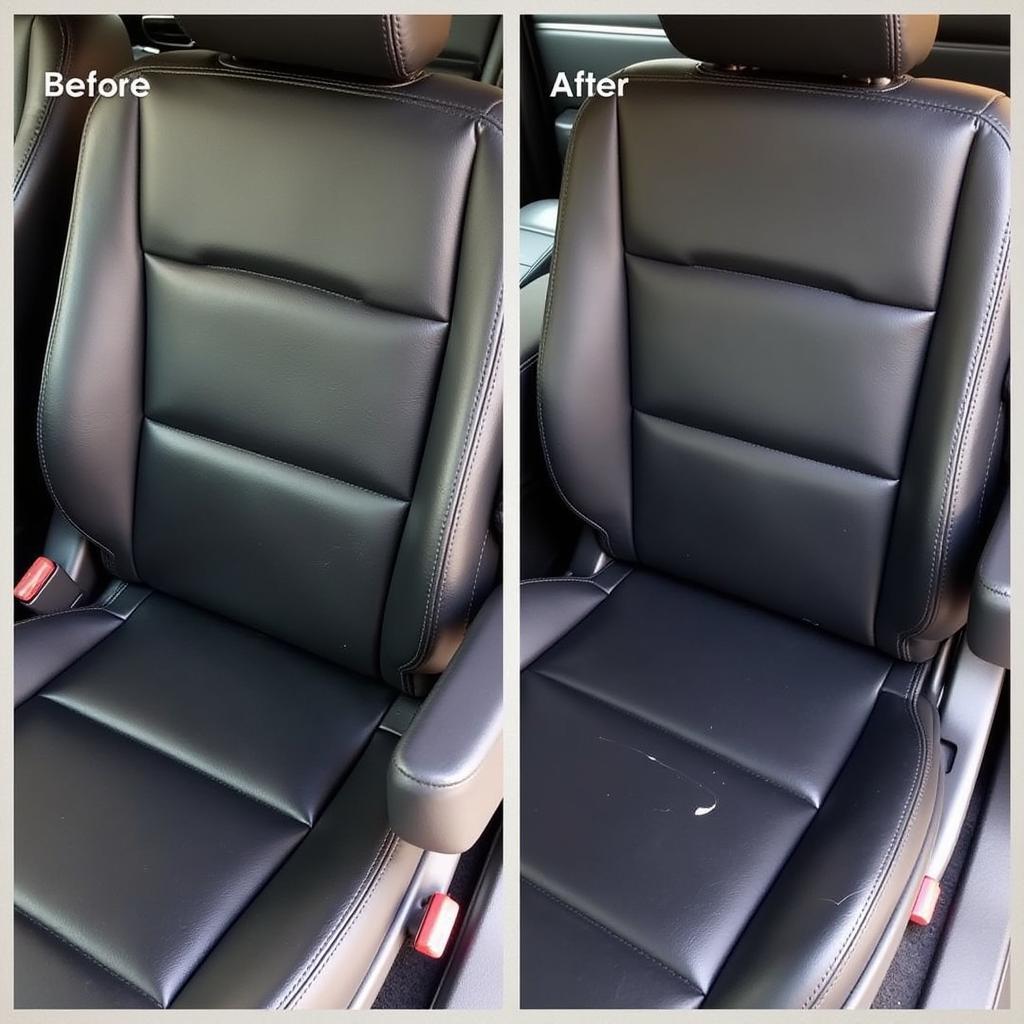
[image-1|torn-leather-car-seat-repair|Torn leather car seat before repair|A close-up shot of a car seat with a noticeable tear in the leather, showcasing the damage that needs repair.]
Understanding the Damage: Assessing Your Leather Tear
Before diving into the repair process, it’s crucial to assess the severity of the damage.
- Minor Scratches and Scuffs: These superficial blemishes often only affect the leather’s topcoat and can usually be addressed with simple cleaning and conditioning techniques.
- Small Tears and Cuts: These require a more involved approach, typically involving leather fillers, adhesives, and color-matching techniques.
- Large Rips and Holes: Extensive damage might demand the expertise of a professional upholsterer. However, depending on the tear’s location and your DIY skills, you might be able to achieve satisfactory results with advanced repair kits and techniques.
Essential Tools and Materials for Leather Car Seat Repair
Having the right tools and materials is crucial for a successful leather car seat repair. Here’s a list of what you’ll typically need:
- Leather Cleaning Agent: Opt for a dedicated leather cleaner to remove dirt, grime, and oils effectively without damaging the material.
- Leather Conditioner: A quality leather conditioner helps to moisturize the leather, preventing it from drying out and becoming more prone to cracking or tearing.
- Leather Filler: Choose a high-quality leather filler that matches your car seat’s color and texture. This filler will help to fill in any gaps or holes in the leather.
- Leather Adhesive: Select a strong adhesive specifically designed for leather bonding. It will secure the edges of the tear and hold the leather filler in place.
- Colorant/Dye (if needed): If the tear exposes a different color underneath or if the repair area requires color correction, you’ll need a leather colorant or dye that matches your car seat’s original color.
- Applicator Tools: These may include a palette knife, small brushes, sponges, and microfiber cloths for applying various products and achieving a smooth finish.
- Heat Gun or Hair Dryer: Applying heat can help to speed up the drying process of leather fillers and adhesives, as well as to set the colorant.
[image-2|leather-repair-kit-and-tools|Leather repair kit and tools for car seat|An assortment of leather repair tools and materials neatly arranged on a workbench, showcasing the essential items needed for the repair process.]
Step-by-Step Guide to Repairing a Torn Leather Car Seat
Here’s a detailed guide to walk you through the repair process:
- Clean the Area: Start by thoroughly cleaning the damaged area and its surroundings with a leather cleaner. Use a soft-bristled brush to reach crevices and remove stubborn dirt.
- Assess and Trim (if necessary): If there are any loose leather fibers or frayed edges around the tear, carefully trim them using sharp scissors.
- Apply Leather Filler: Using a palette knife, carefully apply the leather filler to the torn area. Ensure the filler fills the gap evenly and smoothly. Allow the filler to dry completely, following the manufacturer’s instructions.
- Sand and Smooth: Once the filler is dry, use fine-grit sandpaper to gently sand the area until it’s flush with the surrounding leather. Be careful not to sand too aggressively, as this could damage the leather further.
- Apply Leather Adhesive (if needed): If the tear is large or the edges need securing, apply a thin layer of leather adhesive to the back of the tear and carefully press the edges together. Use clamps or weights to hold the leather in place while the adhesive dries.
- Color Matching (if necessary): If the repair area needs color correction or the tear exposes a different color underneath, apply a leather colorant or dye that closely matches your car seat’s original color. Use a sponge or brush to apply thin, even coats, allowing each coat to dry completely before applying the next.
- Apply Leather Conditioner: After completing the repair, apply a high-quality leather conditioner to the entire seat. This will help to moisturize the leather, protect it from future damage, and blend the repaired area with the surrounding leather.
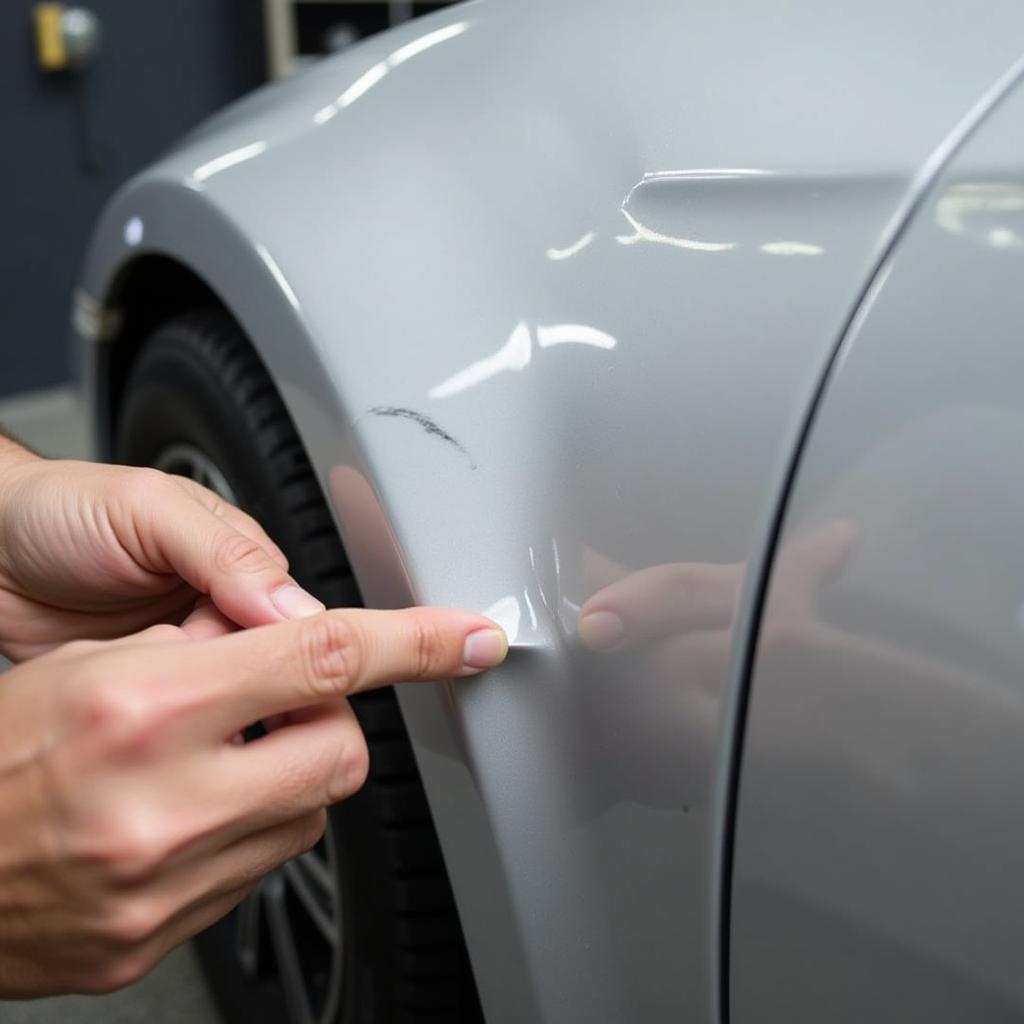
[image-3|applying-leather-filler-on-car-seat|Applying leather filler on a torn car seat|A person carefully applying leather filler to a torn car seat using a palette knife, highlighting the precision required during this step.]
Tips for a Seamless Repair
- Practice Makes Perfect: If you’re new to leather repair, it’s a good idea to practice on a hidden area of the seat or on a piece of scrap leather before tackling the actual repair.
- Patience is Key: Leather repair requires patience and attention to detail. Don’t rush the process. Allow ample drying time for fillers, adhesives, and colorants to ensure a long-lasting repair.
- Less is More: When applying fillers, adhesives, or colorants, it’s best to start with a small amount and gradually add more if needed. Applying too much product can lead to an uneven finish and make the repair more noticeable.
- Consider Professional Help: While minor leather repairs can often be successfully tackled with DIY methods, if you’re dealing with extensive damage or if you’re not confident in your abilities, it’s best to consult a professional upholsterer. They have the expertise and tools to deliver high-quality repairs.
Preventing Future Tears
Prevention is always better than cure. Here are a few tips to help you prevent future tears in your leather car seats:
- Regular Cleaning and Conditioning: Make it a habit to clean and condition your leather car seats regularly, preferably every few months or as needed. This will help to keep the leather supple and prevent it from drying out, cracking, and tearing.
- Avoid Sharp Objects: Be mindful of sharp objects that could potentially scratch or puncture your leather seats. Avoid placing heavy or sharp items on the seats, and be cautious when getting in and out of the vehicle.
- Pet Protection: If you frequently travel with pets, invest in a quality seat cover to protect your leather seats from scratches, dirt, and pet hair.
- Park in the Shade: Prolonged exposure to direct sunlight can cause leather to fade, dry out, and become more susceptible to damage. Whenever possible, park your car in the shade or use a sunshade to protect the interior.
Remember, a little care and attention can go a long way in preserving the beauty and longevity of your leather car seats. By following the tips outlined in this guide, you can effectively repair minor tears and maintain your car’s interior looking its best for years to come.
For more detailed guides on specific types of car seat repairs, check out these resources:
- How to repair cigarette burn in leather car seat
- How to repair a large rip in leather car seat
- How to repair a tear in a leather car seat
FAQs on How to Repair Torn Leather Car Seat
Q: Can I use super glue to repair a torn leather car seat?
A: It is not recommended to use super glue or other general-purpose adhesives on leather car seats. These adhesives can be too harsh and inflexible, leading to further damage and a less durable repair.
Q: How long does it take for a leather car seat repair to dry completely?
A: The drying time for leather fillers, adhesives, and colorants varies depending on the specific products used. Always refer to the manufacturer’s instructions for recommended drying times.
Q: Can I repair a torn leather car seat if the tear is near the stitching?
A: Repairing tears near stitching can be more challenging and might require professional expertise. If the tear is significant or affects the structural integrity of the seat, it’s best to consult an experienced upholsterer.
For further assistance and expert advice on your specific car repair needs, feel free to reach out to us. Contact us via WhatsApp: +1(641)206-8880, Email: [email protected]. Our dedicated customer support team is available 24/7 to assist you.


