A cracked or scuffed bumper can be an eyesore. Thankfully, a plastic car bumper repair kit can save you a trip to the body shop and a hefty bill. These kits provide a DIY solution for minor to moderate bumper damage, allowing you to restore your car’s appearance effectively. Let’s dive into everything you need to know about choosing and using a plastic car bumper repair kit. black plastic car bumper repair kits are a particularly good option for restoring black bumpers to their original pristine condition.
Understanding Plastic Bumper Repair Kits
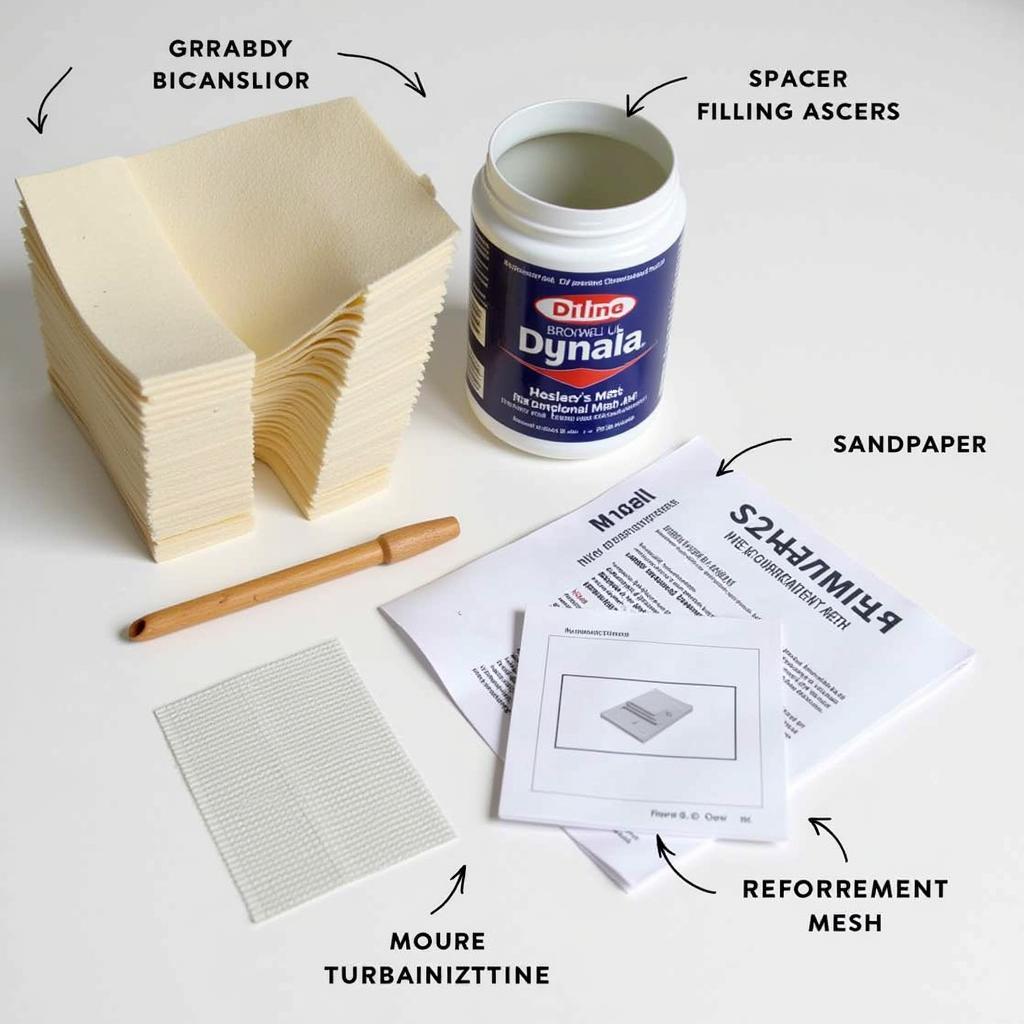
Plastic bumper repair kits typically include everything needed for a basic repair: sandpaper, filler, hardener, adhesive, and sometimes even paint and primer. Understanding the components and their function is key to achieving a professional-looking result.
What’s Inside a Typical Kit?
- Filler/Adhesive: Used to fill cracks, dents, and gouges.
- Hardener: Mixes with the filler to activate and harden it.
- Sandpaper: For smoothing the repaired area and blending it with the surrounding bumper.
- Reinforcement Mesh (Optional): Provides extra support for larger repairs.
- Primer and Paint (Optional): For matching the repaired area to the existing bumper color.
Choosing the Right Kit
Selecting the right plastic car bumper repair kit depends on the type and extent of the damage. Minor scratches and scuffs might only require a basic kit with filler and sandpaper. More significant damage might need a kit with reinforcement mesh or even a plastic welding kit. buy plastic car bumper repair kit to find the perfect kit for your specific needs.
Damage Assessment
- Scratches and Scuffs: Easily addressed with basic filler and sanding.
- Cracks and Splits: Require more filler and potentially reinforcement mesh.
- Deep Gouges and Dents: Need significant filling and careful shaping.
How to Use a Plastic Car Bumper Repair Kit: A Step-by-Step Guide
Repairing your bumper with a plastic car bumper repair kit is a straightforward process, even for beginners. Follow these steps for the best results:
-
Clean the Damaged Area: Thoroughly clean the damaged area with soap and water, removing any dirt, grease, or wax.
-
Prepare the Surface: Roughen the damaged area and surrounding area with sandpaper to create a better surface for the filler to adhere to.
-
Mix the Filler and Hardener: Follow the kit’s instructions carefully for the correct mixing ratio.
-
Apply the Filler: Apply the filler to the damaged area, ensuring it fills the crack or dent completely. If using reinforcement mesh, embed it in the filler.
-
Smooth and Shape: Use a spatula or your fingers to smooth and shape the filler, blending it with the surrounding bumper.
-
Cure the Filler: Allow the filler to cure completely according to the manufacturer’s instructions.
-
Sand the Repaired Area: Once cured, sand the repaired area with progressively finer sandpaper until smooth and flush with the bumper.
-
Prime and Paint (If Necessary): Apply primer and paint if included in your kit or if the damage is significant. Ensure the paint color matches your bumper.
Tips for a Professional Finish
- Work in a well-ventilated area.
- Wear gloves to protect your hands.
- Apply thin layers of filler for better control and curing.
- Use a sanding block for even sanding.
- Practice on a hidden area before tackling the visible damage.
car bumper plastic repair kit can be an effective and affordable way to repair your car’s bumper.
Commonly Asked Questions About Plastic Car Bumper Repair Kits
Q: How long does the repair last? A: With proper application and care, the repair can last for several years.
Q: Can I use a repair kit on any type of plastic bumper? A: Most kits are designed for common automotive plastics, but always check the kit’s specifications.
Q: What if the damage is extensive? A: For severe damage, consult a professional body shop. A car bumper repair plastic welding kit may be required for a more durable fix in these cases.
Conclusion
A plastic car bumper repair kit offers a cost-effective and convenient way to repair minor to moderate bumper damage. By choosing the right kit and following the proper application techniques, you can restore your car’s appearance and save money in the process. Remember to assess the damage carefully and follow the manufacturer’s instructions for optimal results. If you’re looking to touch up the paint on your bumper trim, a car plastic bumper trim paint repair kit can help you achieve a seamless and professional-looking finish.
FAQ: More Questions Answered
Q: Can I wash my car after the repair? A: Yes, but wait at least 24 hours after the repair to allow the filler to fully cure.
Q: What if the filler doesn’t match the bumper color? A: You can paint over the filler once it’s cured to match the bumper color.
Q: Can I use a heat gun to speed up the curing process? A: While some fillers allow heat application, always follow the manufacturer’s instructions. Excessive heat can damage the bumper.
Q: How do I prevent future bumper damage? A: Park carefully, avoid tight parking spaces, and consider installing bumper guards.
Looking for more information on car repair? Check out our articles on headlight restoration and DIY car maintenance. Need help with a more complex car repair issue? Contact us via WhatsApp: +1(641)206-8880, or Email: [email protected]. Our customer service team is available 24/7.

