Repairing holes in your car bumper can seem daunting, but with the right tools and techniques, it can be a manageable DIY project. This guide will walk you through the process of fixing those unsightly holes and restoring your bumper to its former glory. Whether it’s a small puncture or a larger tear, understanding the repair process can save you money and keep your car looking its best.
Repairing minor bumper damage yourself can be a cost-effective solution. For more complex repairs, like fixing broken plastic tabs, check our guide on car bumper broken plastic tab repair.
Understanding Your Car Bumper Damage
Before you begin, it’s essential to assess the damage. The size and location of the hole will dictate the best repair method. Small holes can often be filled with a specialized bumper repair kit, while larger holes might require patching or even replacement of the bumper cover. It’s important to also check for any underlying damage to the bumper’s structure.
Identifying the Type of Hole
Is it a clean puncture, a tear, or a crack? Knowing the type of damage will help you choose the right materials and techniques. For instance, a screw hole repair requires a different approach than fixing a crack. Consider the material of your bumper too – is it plastic, fiberglass, or metal? Each material has specific repair requirements.
Gathering the Necessary Tools and Materials
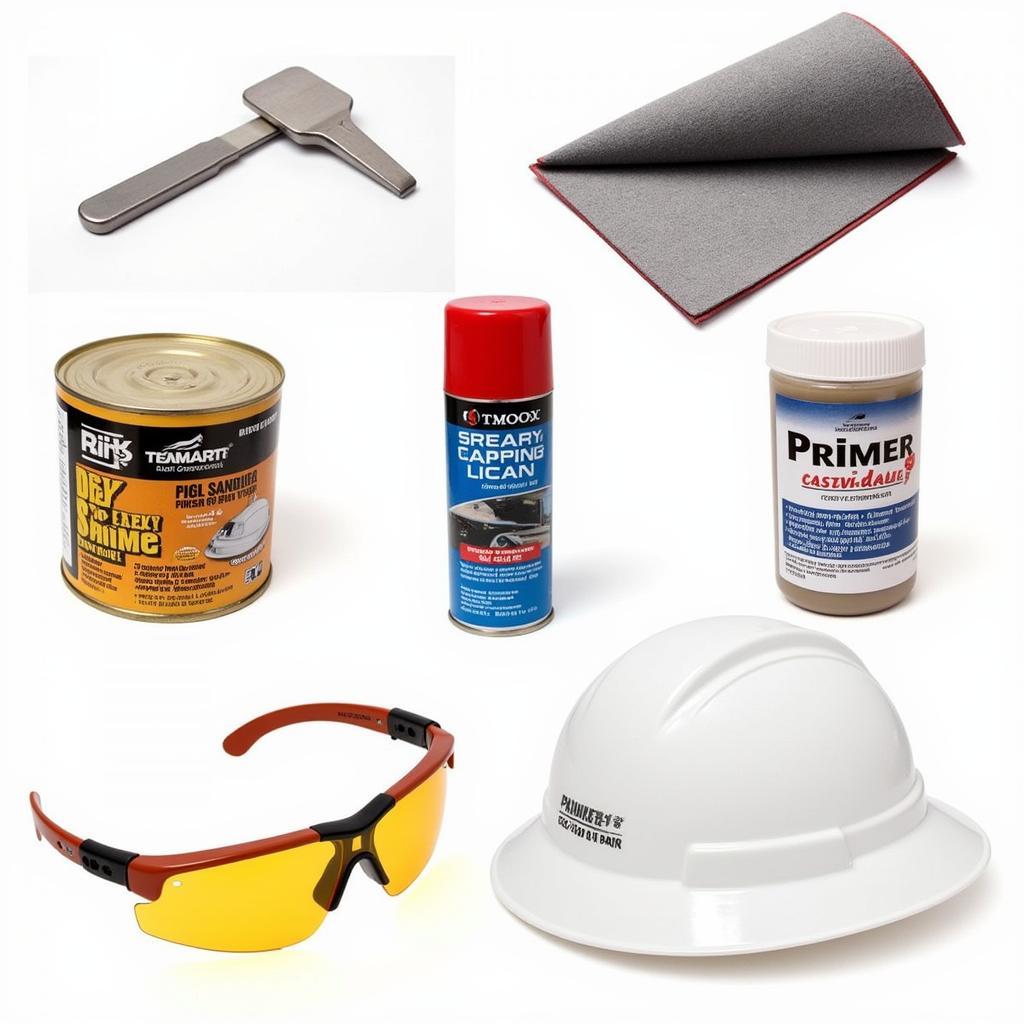
Having the right tools on hand will make the repair process smoother and more efficient. Here’s a typical list of items you’ll need:
- Bumper repair kit (including filler, hardener, and applicator)
- Sandpaper (various grits)
- Masking tape
- Cleaning solvent (e.g., wax and grease remover)
- Primer
- Paint (matching your car’s color)
- Clear coat
- Plastic welder (for larger plastic bumper repairs)
- Patching material (fiberglass or plastic mesh, depending on bumper material)
- Gloves and safety glasses
If you’re unsure about how to handle a broken bumper, our guide on how to repair a broken car bumper provides valuable insights.
Step-by-Step Guide to Repairing Bumper Holes
- Clean the Area: Thoroughly clean the damaged area with a cleaning solvent to remove dirt, grease, and wax. This ensures proper adhesion of the repair materials.
- Sand the Damaged Area: Sand the area around the hole with coarse sandpaper to create a rough surface for the filler to adhere to. Gradually move to finer grits for a smooth finish.
- Apply the Filler: Mix the bumper filler and hardener according to the manufacturer’s instructions. Apply the filler to the hole, ensuring it fills the cavity completely and extends slightly beyond the edges.
- Smooth the Filler: After the filler dries, sand it down with progressively finer sandpaper until it’s flush with the surrounding bumper surface.
- Prime the Area: Apply a thin, even coat of primer to the repaired area. This helps the paint adhere properly and provides a uniform surface.
For information on repairing the bumper cover itself, refer to our guide on car bumper cover repair.
- Paint the Repaired Area: Apply several thin coats of paint that matches your car’s color, allowing each coat to dry before applying the next.
- Apply Clear Coat: Once the paint is dry, apply a clear coat to protect the paint and give it a glossy finish.
- Final Sanding and Polishing: After the clear coat dries, lightly sand with very fine sandpaper and polish for a professional-looking finish.
If the damage involves plastic, our guide on how to repair plastic bumper on car could be particularly helpful. Addressing screw holes specifically? See our guide on car bumper screw hole repair.
Conclusion
Repairing holes in your car bumper can be a satisfying DIY project. By following these steps and using the right materials, you can restore your bumper’s appearance and save money. Remember to always prioritize safety and wear appropriate protective gear. Addressing these issues promptly keeps your car looking great and prevents further damage.
FAQs
- Can I repair a large hole in my bumper myself? While small holes are manageable DIY projects, larger holes might require professional repair.
- What type of filler should I use for plastic bumpers? Use a two-part epoxy filler specifically designed for plastic bumpers.
- Do I need to prime the repaired area before painting? Yes, priming is crucial for proper paint adhesion and a uniform finish.
- How long does the filler take to dry? Drying times vary depending on the product, but generally, it takes a few hours.
- Can I use any type of paint for my bumper? Use automotive paint that matches your car’s color code for the best results.
- How can I prevent future bumper damage? Careful parking and avoiding low-clearance obstacles can help prevent bumper damage.
- What if my bumper is cracked, not just a hole? Similar repair techniques can be used for cracks, but ensure the crack is stable and not spreading.
You might also be interested in exploring topics such as fixing dents in your car or repairing scratches. For further assistance, don’t hesitate to contact us via WhatsApp: +1(641)206-8880 or Email: [email protected]. We offer 24/7 customer support.


