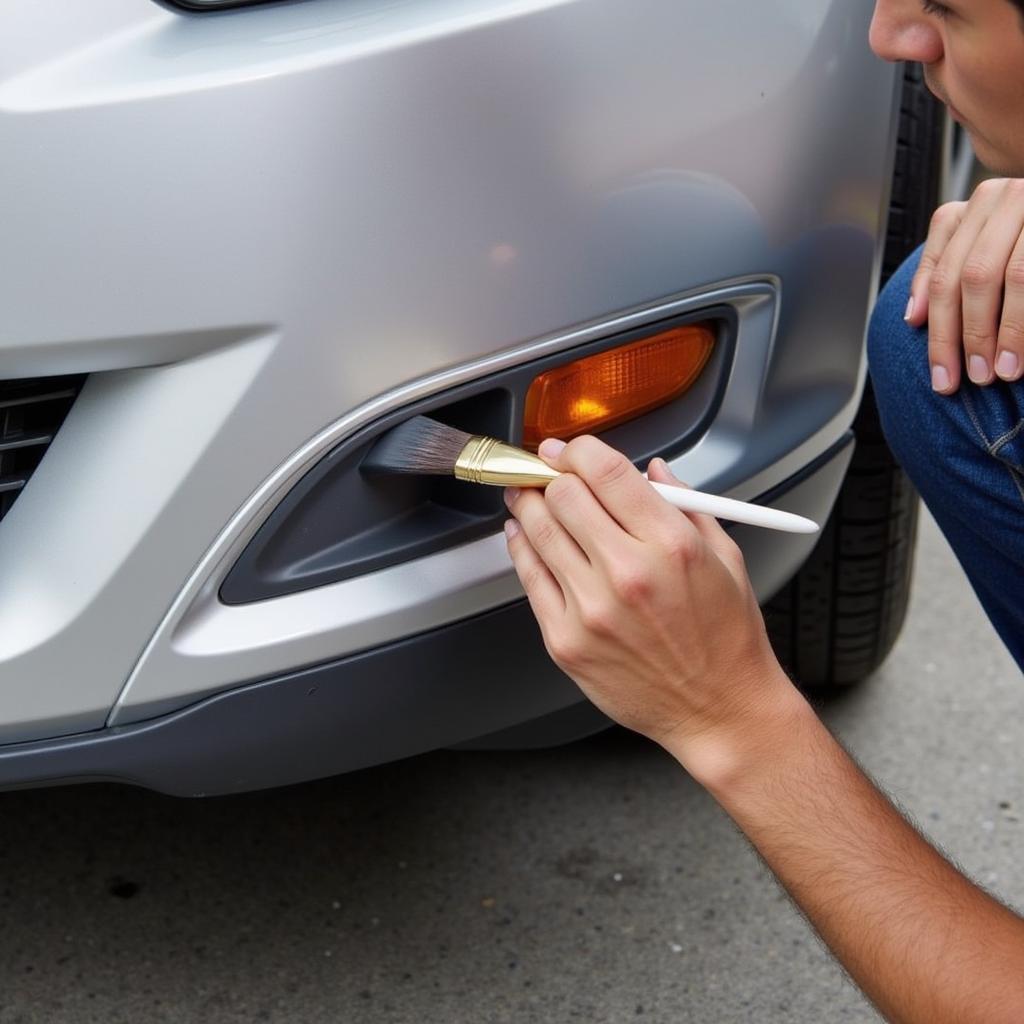
Scratched your car’s plastic bumper trim? Don’t fret! A car plastic bumper trim paint repair kit can be your saving grace. These kits offer a cost-effective and convenient way to restore your bumper’s appearance without breaking the bank or visiting a professional body shop.
Understanding the Damage
Before diving into the repair process, it’s crucial to assess the extent of the damage. Is it a minor scratch, a deep gouge, or widespread fading? Knowing the severity helps you choose the right repair kit and approach.
Choosing the Right Car Plastic Bumper Trim Paint Repair Kit
Not all repair kits are created equal. Consider these factors when making your selection:
- Type of Plastic: Identify the type of plastic on your bumper (usually polypropylene or ABS). Some kits are designed for specific plastic types.
- Color Matching: Opt for a kit that offers a precise color match to your car’s paint code.
- Kit Contents: Check for essentials like sandpaper, primer, paint, clear coat, applicator tools, and gloves.
Prepping the Surface
Thorough preparation is key to achieving a professional-looking finish.
- Clean the Area: Wash the damaged area with soap and water, removing dirt, wax, and debris. Rinse and dry thoroughly.
- Sanding: Use the sandpaper provided in your kit to smooth out scratches and create a better surface for adhesion.
- Masking: Use painter’s tape to mask off surrounding areas you don’t want to paint.
 Applying car plastic bumper trim paint
Repairing the Damage
Now, for the main event:
- Primer (if needed): For deeper scratches or bare plastic, apply a thin coat of primer following the kit’s instructions. Allow it to dry completely.
- Paint Application: Apply thin, even coats of paint to the damaged area. Multiple thin coats are better than one thick coat. Let each coat dry before applying the next.
- Clear Coat (optional): Some kits include a clear coat for added protection and shine. Apply it following the same technique as the paint.
Finishing Touches
- Drying Time: Allow the paint to dry completely as per the manufacturer’s instructions.
- Buffing (optional): For a smooth and glossy finish, consider using a rubbing compound and polishing pad.
- Waxing: Once fully cured, wax the repaired area to protect it and blend it with the surrounding paint.
FAQs
Q: Can I use a regular paint touch-up pen on plastic bumper trim?
A: It’s not recommended. Touch-up pens are designed for metal surfaces and might not adhere well to plastic, leading to peeling or chipping.
Q: How long does it take for the repair to dry completely?
A: Drying times vary, but most kits require at least 24 hours for the paint to fully cure.
plastic car bumper repair are becoming increasingly popular among car owners.
Q: Can I do this myself or should I go to a professional?
“For minor scratches and scuffs, a DIY car plastic bumper trim paint repair kit is usually sufficient,” says Mark Williams, an auto body specialist with 20 years of experience. “However, for deep gouges or extensive damage, it’s best to consult a professional.”
Conclusion
A car plastic bumper trim paint repair kit can be a DIY enthusiast’s best friend, providing a simple and affordable way to erase unsightly scratches and restore your car’s appearance. Remember to choose the right kit, prepare the surface thoroughly, and follow the instructions carefully for optimal results. Now you can tackle those pesky bumper scratches with confidence!
car bumper repairs gold coast can help you save a lot of money in the long run.
Need help with car diagnostics or repairs? We offer 24/7 support via WhatsApp: +1(641)206-8880 or Email: [email protected].
