Car window seals are essential components of your vehicle. They keep the elements out, ensure a quiet ride, and even contribute to the structural integrity of your car. But over time, these seals can deteriorate, leading to leaks, wind noise, and other problems. Knowing how to repair car window seals can save you a trip to the mechanic and keep your car in top shape.
Understanding Car Window Seal Problems
Before you embark on a DIY repair, it’s crucial to understand the common issues that plague car window seals.
- Cracking and Dry Rot: Exposure to sunlight, heat, and cold takes a toll on the rubber, making it brittle and prone to cracking.
- Peeling and Detachment: The adhesive bonding the seal to the car frame can weaken, causing the seal to peel away.
- Tears and Punctures: Sharp objects or accidental damage can cause tears or punctures in the seal.
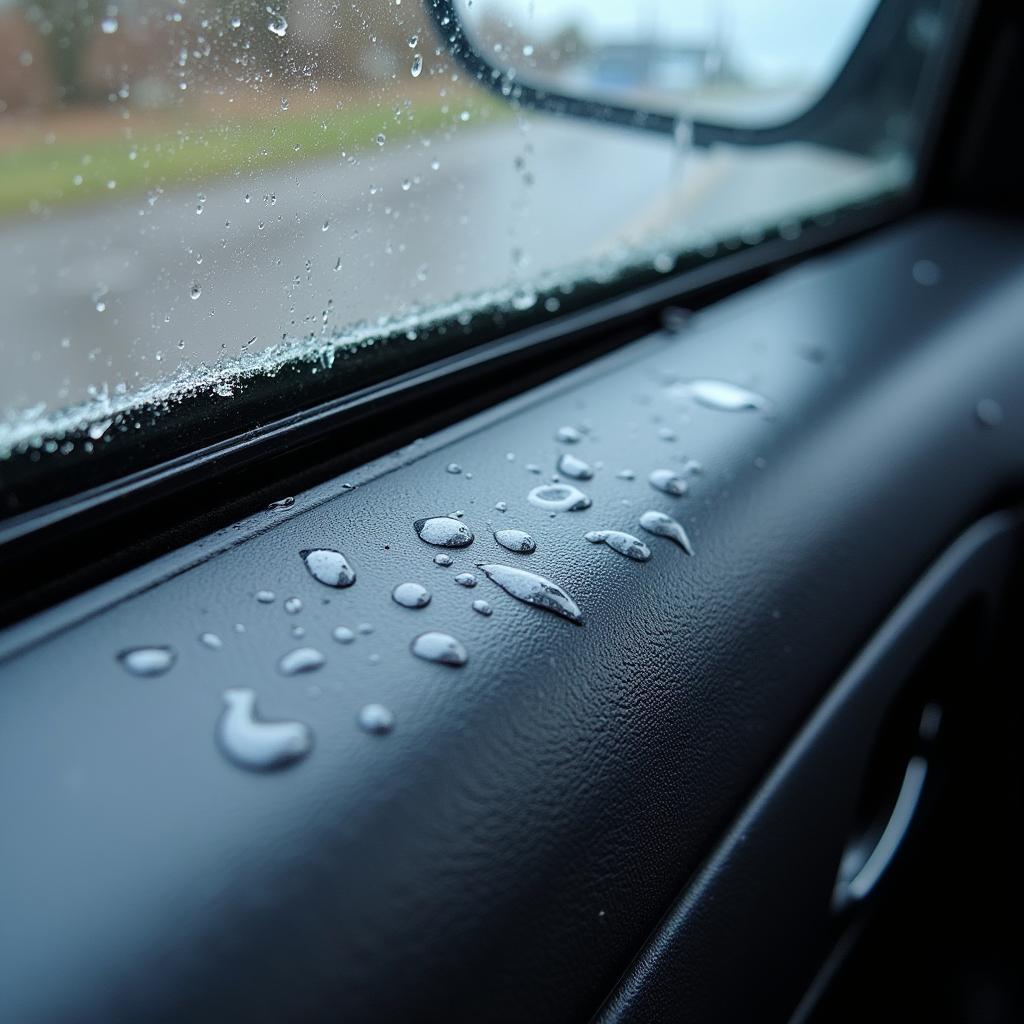
 Water Leak from Car Window Seal
These issues not only compromise your car’s aesthetics but can also lead to water leaks, wind noise, and reduced fuel efficiency. Recognizing these problems early on allows you to address them before they escalate.
DIY Car Window Seal Repair: A Step-by-Step Guide
Repairing car window seals is a manageable DIY project that can save you money. Here’s a step-by-step guide to help you get started:
1. Gather Your Materials:
- Cleaning Solution (Mild soap and water or rubbing alcohol)
- Clean cloths or rags
- Masking tape
- Automotive sealant (choose one specifically designed for car window seals)
- Sealant application gun
- Utility knife (optional, for removing severely damaged seals)
2. Prepare the Surface:
Thoroughly clean the area around the damaged seal with a cleaning solution. This will remove dirt, grime, and any residue that could interfere with the sealant’s adhesion. Allow the area to dry completely.
3. Apply Masking Tape:
Use masking tape to create a clean and defined area around the repair zone. This will help you apply the sealant accurately and prevent it from getting on unwanted surfaces.
4. Apply the Sealant:
Load the automotive sealant into the application gun. Carefully apply a continuous bead of sealant along the damaged area of the seal, ensuring it fills any gaps or cracks completely.
5. Smooth and Remove Excess:
Use a gloved finger or a damp cloth to smooth out the applied sealant, ensuring an even and consistent finish. Remove any excess sealant promptly to prevent it from drying and leaving unsightly marks.
6. Allow Time to Cure:
Refer to the sealant manufacturer’s instructions for the recommended curing time. It usually takes 24-48 hours for the sealant to fully cure and form a watertight bond.
7. Test the Repair:
Once the sealant has cured, carefully inspect the repaired area for any gaps or inconsistencies. Gently press around the seal to ensure it feels secure and firmly attached. If you notice any issues, reapply sealant as needed.
When to Call a Professional
While minor car window seal repairs are often manageable DIY projects, some situations warrant professional intervention. Consider seeking the help of an auto glass specialist if:
- The damage to the seal is extensive.
- You’re uncomfortable working with automotive sealants.
- The window itself is damaged or needs replacement.
- You’ve attempted a DIY repair, but the problem persists.
Preventing Future Car Window Seal Issues
Prevention is always better than cure. Implementing these preventative measures can significantly extend the lifespan of your car window seals:
- Regular Cleaning: Clean your car window seals regularly using a mild soap solution and a soft-bristled brush. This will prevent dirt and grime buildup, which can accelerate wear and tear.
- UV Protection: Park your car in the shade whenever possible, or use a car cover to protect it from prolonged sun exposure. This will help prevent the sun’s UV rays from degrading the rubber seals.
- Lubrication: Apply a silicone-based lubricant to your car window seals every few months. This will keep the rubber supple and prevent it from drying out and cracking.
By following these tips, you can keep your car window seals in optimal condition for years to come.
Conclusion
Maintaining your car window seals is crucial for a comfortable and leak-free driving experience. Understanding the common causes of damage and learning how to perform basic repairs empowers you to address these issues proactively. Remember, early detection and timely intervention are key to preventing minor problems from escalating into costly repairs. For extensive damage or if you’re unsure about tackling a DIY repair, don’t hesitate to seek professional assistance from a qualified auto glass technician.

